- Location
- South Salem
Hi all I am going to post the progress of my 180 gallon reef tank room build.
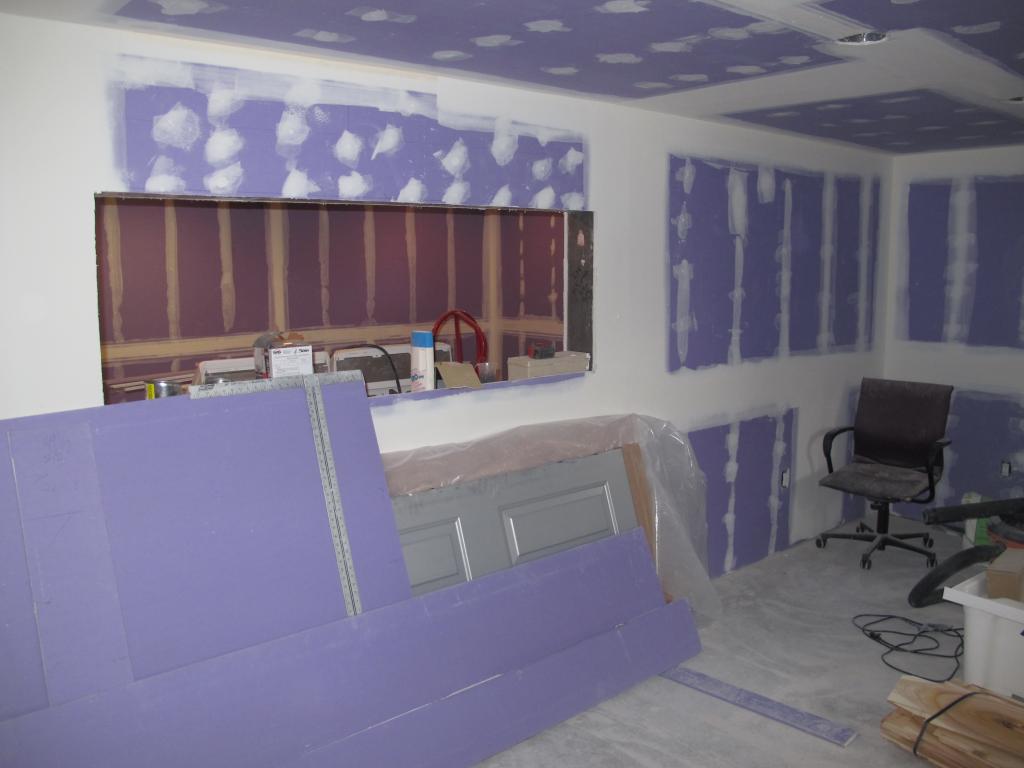
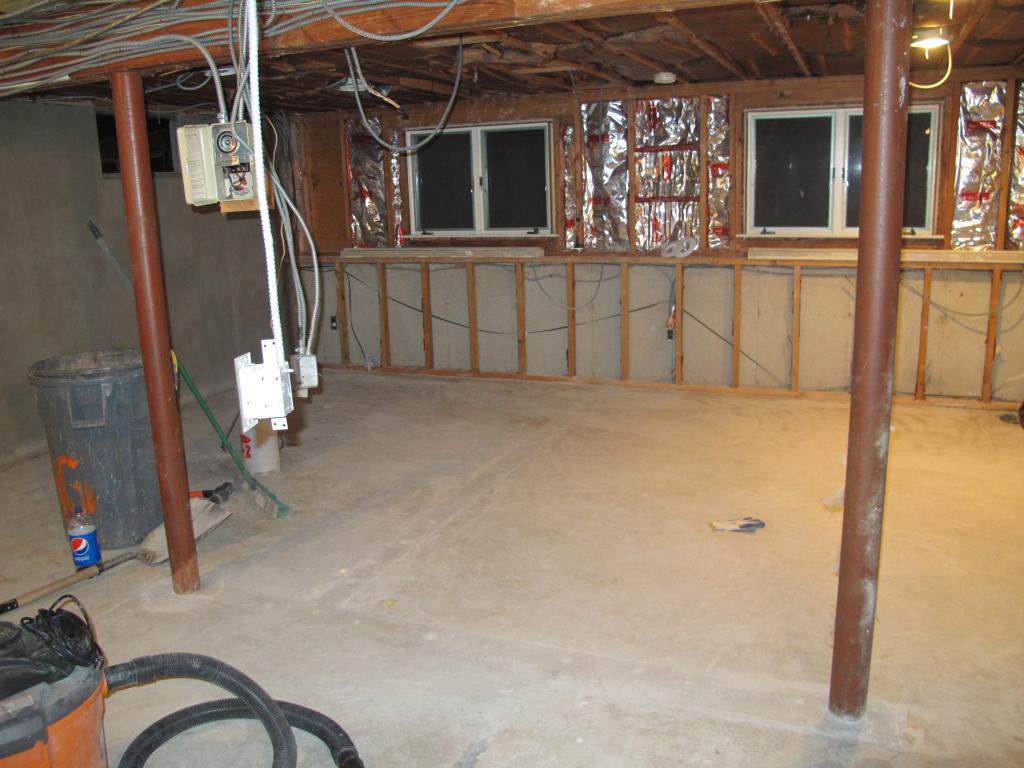
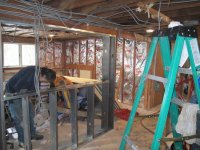
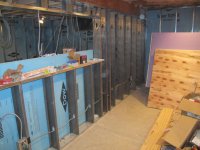
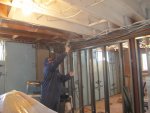
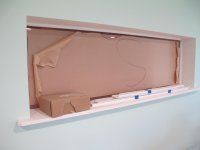
? I started with demolition of my basement. I made a divider wall going down the center of the basement with a 2x6 window frame. One room will be my children?s playroom and the other my office/laundry/fish room. After a lot of research and thought, I decided to paint my exposed joists and plywood subfloor above with mold resistant paint. After a suggestion from someone on Manhattan reefs I also installed two bathroom vents in the ceiling that automatically go on when it senses high humidity. I also installed commercial grade ductless units in both rooms that also have dehumidifiers. I installed paperback insulation in-between all of the ceiling joists as well as installing a moisture and mold resistant drop ceiling. All mold resistant purple drywall on the walls. I used all metal stud no wood.
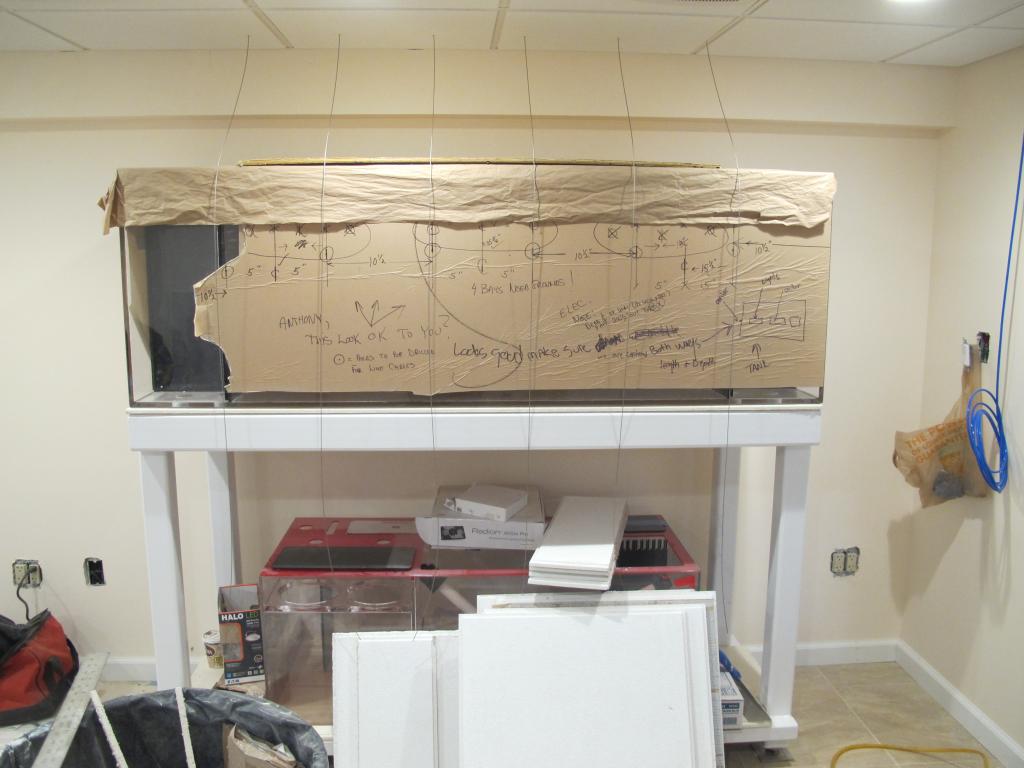
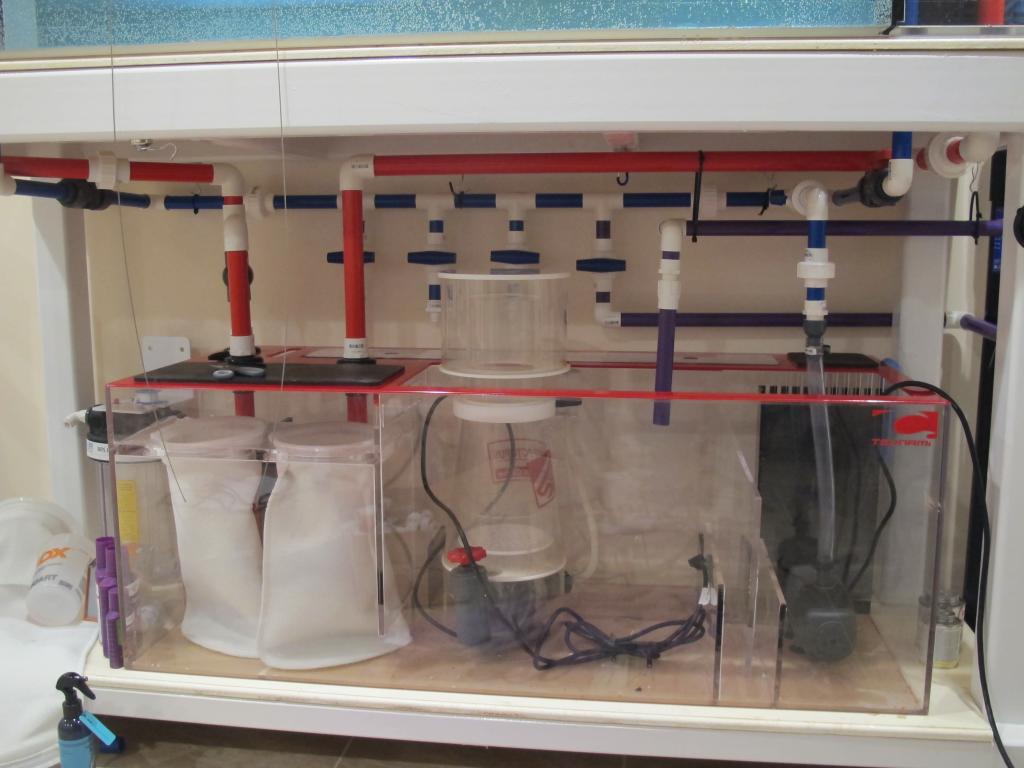
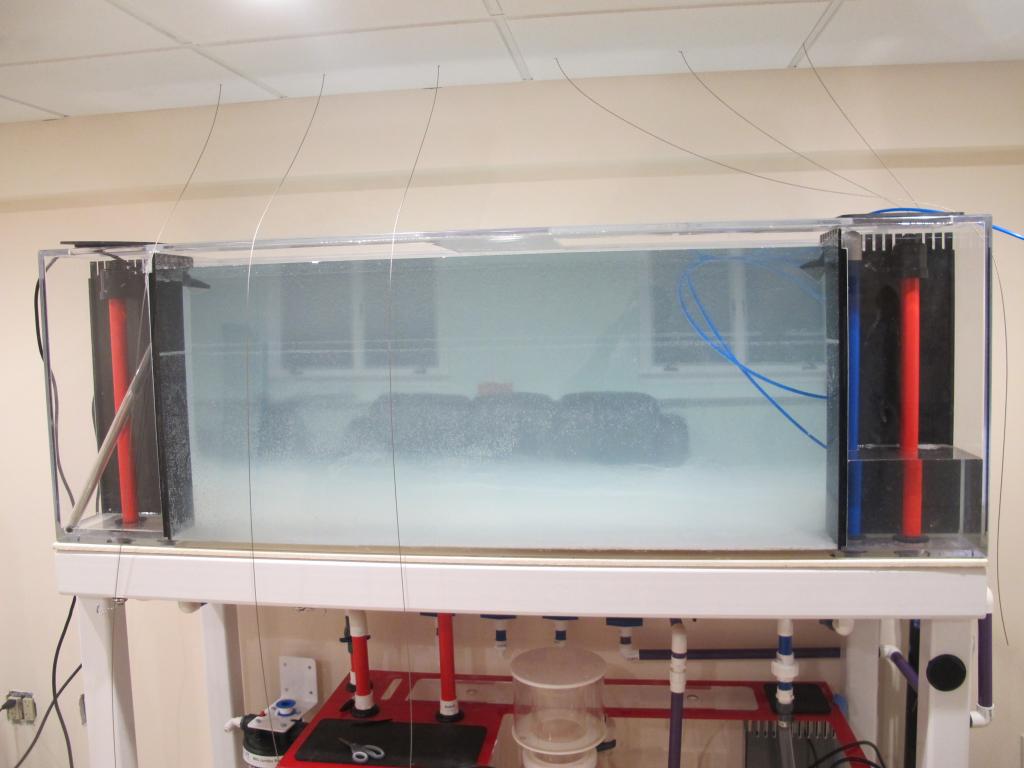
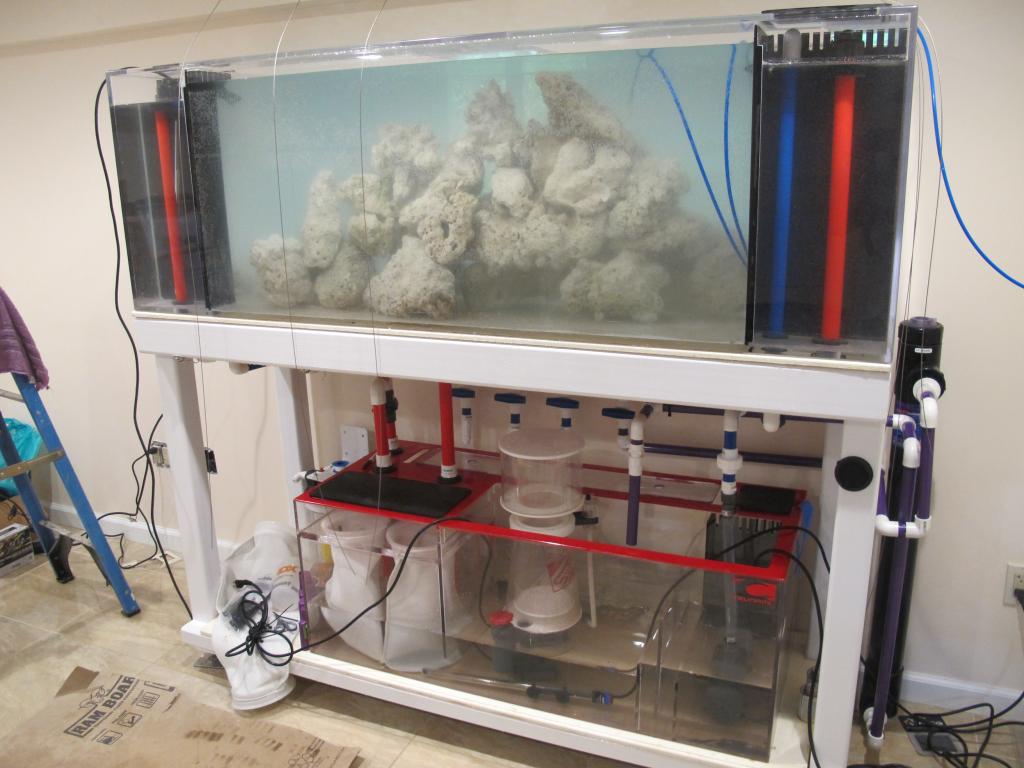
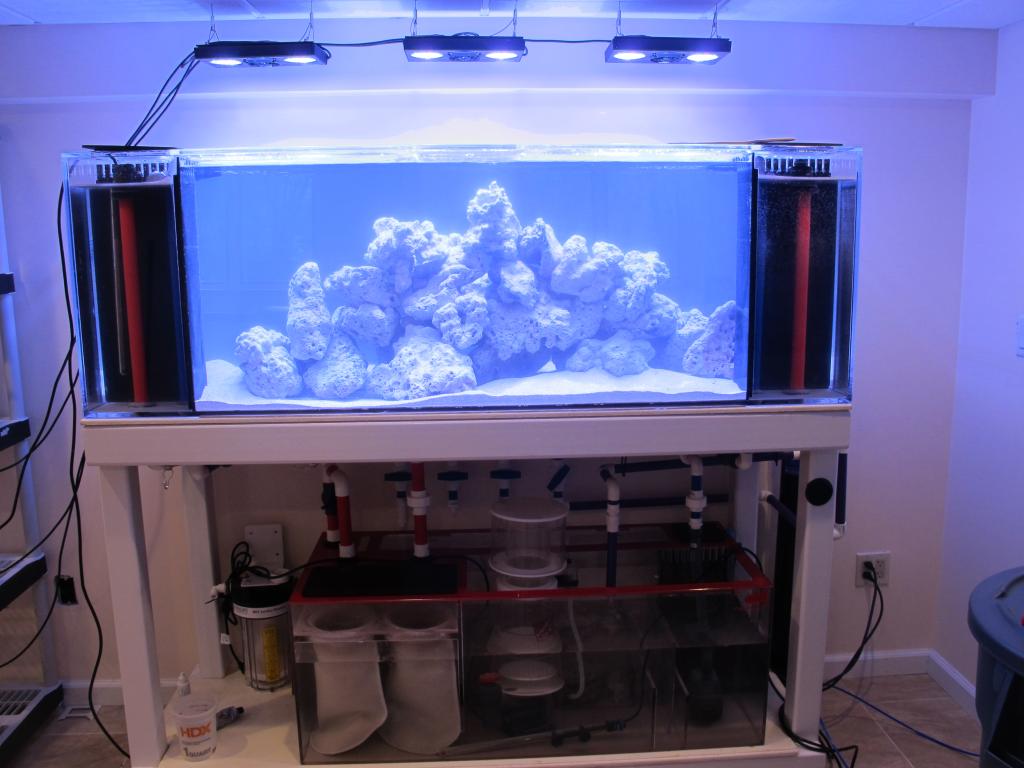
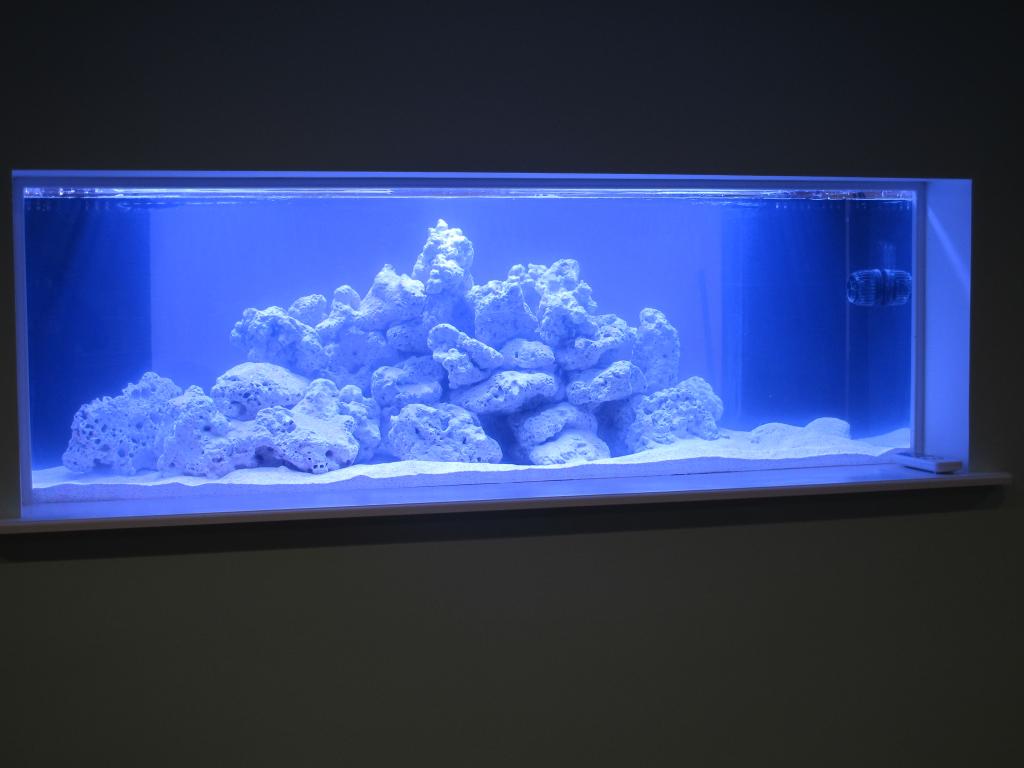
? I purchased the tank and sump from fishtanksdirect.com. I decided to go with an acrylic tank with corner over flows instead of sapphire glass. Although they scratch easier I decided that not if but when a flying toy from one of my sons hits the tank I think the acrylic will hold up better. They are both made by Tsunami.
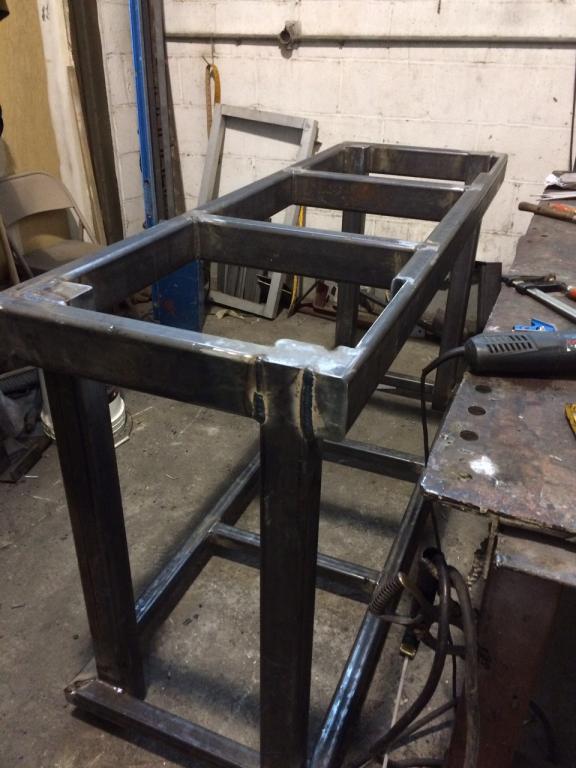
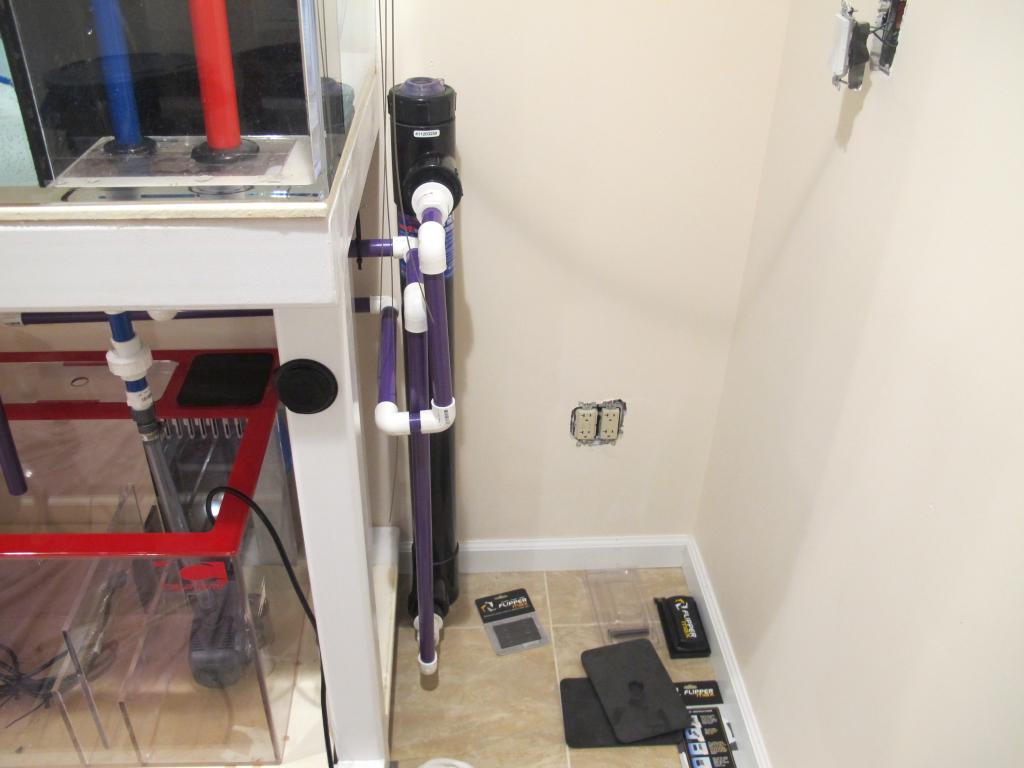
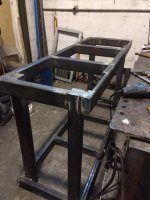
? I built the stand out of tube steel and welded connections. I did not want a center post and felt the best way to go about not having one was with steel. (I definitely over engineered this and could have gotten away with 2x2 tube steel. I sand blasted the stand and painted the stand with Tenemec.
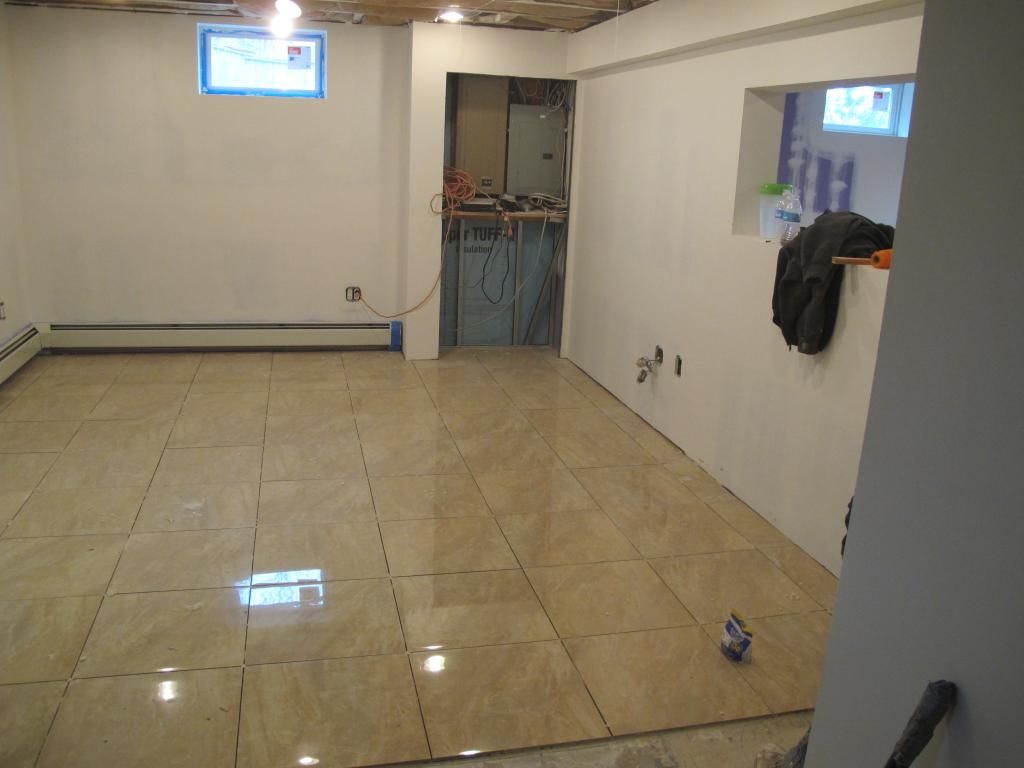
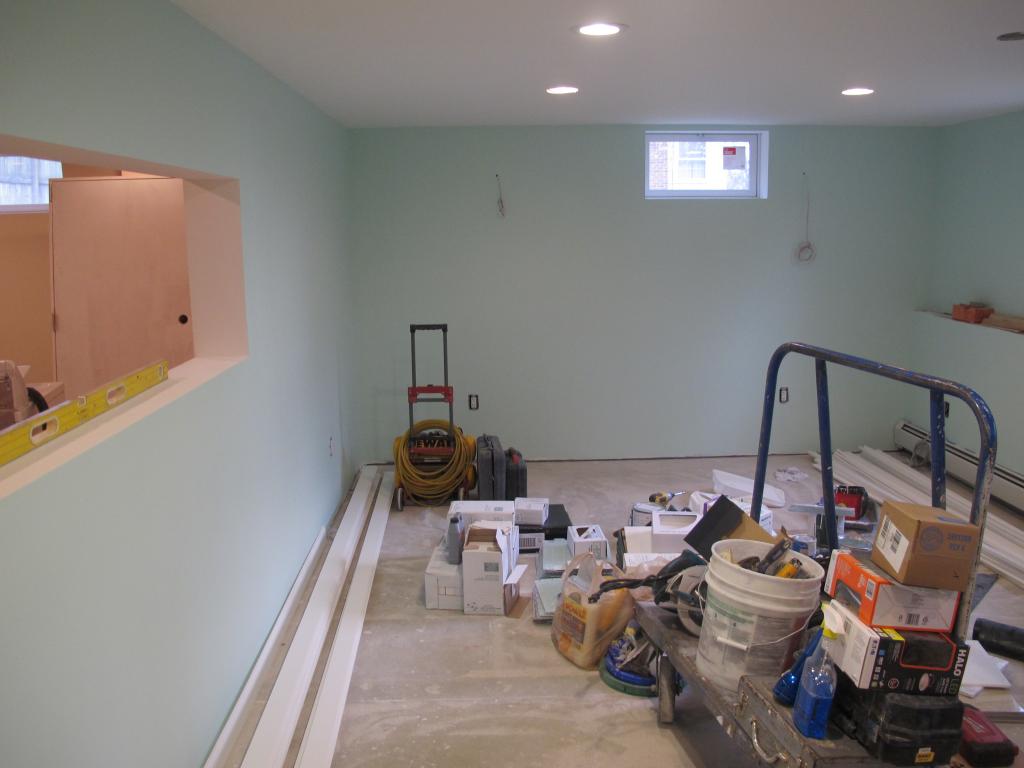
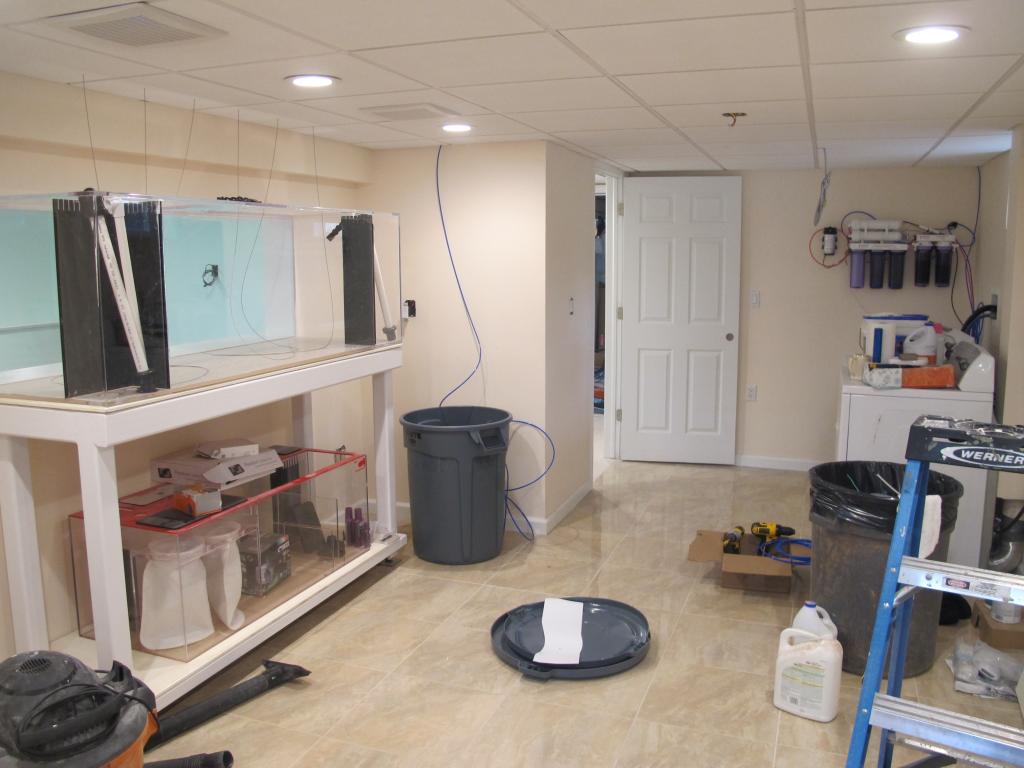
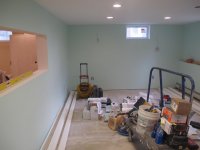
? All the rooms are currently still under construction but the tank is finally in place. I will keep posting updated progress pictures.
? I started with demolition of my basement. I made a divider wall going down the center of the basement with a 2x6 window frame. One room will be my children?s playroom and the other my office/laundry/fish room. After a lot of research and thought, I decided to paint my exposed joists and plywood subfloor above with mold resistant paint. After a suggestion from someone on Manhattan reefs I also installed two bathroom vents in the ceiling that automatically go on when it senses high humidity. I also installed commercial grade ductless units in both rooms that also have dehumidifiers. I installed paperback insulation in-between all of the ceiling joists as well as installing a moisture and mold resistant drop ceiling. All mold resistant purple drywall on the walls. I used all metal stud no wood.
? I purchased the tank and sump from fishtanksdirect.com. I decided to go with an acrylic tank with corner over flows instead of sapphire glass. Although they scratch easier I decided that not if but when a flying toy from one of my sons hits the tank I think the acrylic will hold up better. They are both made by Tsunami.
? I built the stand out of tube steel and welded connections. I did not want a center post and felt the best way to go about not having one was with steel. (I definitely over engineered this and could have gotten away with 2x2 tube steel. I sand blasted the stand and painted the stand with Tenemec.
? All the rooms are currently still under construction but the tank is finally in place. I will keep posting updated progress pictures.
Attachments
-
 IMG_2699.jpg130.5 KB · Views: 239
 -
 IMG_2764.jpg93.2 KB · Views: 244
 -
 IMG_2705.jpg79.6 KB · Views: 236
 -
 IMG_2788.jpg68.1 KB · Views: 242
 -
 IMG_2817.jpg57.5 KB · Views: 247
 -
 IMG_2685.jpg94.7 KB · Views: 238
 -
 IMG_2886.jpg56.3 KB · Views: 239
 -
 IMG_2897.jpg64.9 KB · Views: 243
 -
 IMG_2898.jpg56.4 KB · Views: 240
 -
 IMG_2983.jpg76.4 KB · Views: 239
 -
 IMG_2985.jpg71.9 KB · Views: 240
 -
 IMG_2986.jpg32.9 KB · Views: 238
 -
 tank stand.jpg59.4 KB · Views: 244