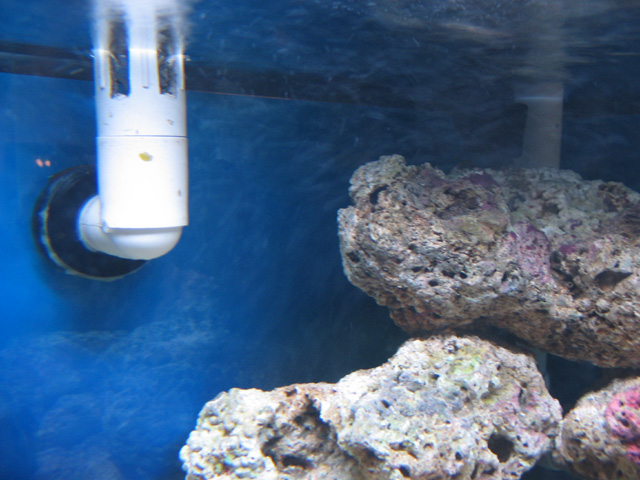
• Why not take a moment to introduce yourself to our members?

A

Anonymous

Guest
Modo":2ocoa4lr said:
You stated that you could remove the deviders with the holes, right? If that is the case you could replace with solid plexi pieces. Then cut one short for flow over and the other you could brace up with about an inch or so gap for the underflow.

This along with the 6" pipe piece might do the trick. I also agree with checking all your plumbing.

The idiot that designed my system (me) made it so that only the one divider can be removed. The other one can't hence the need to make something that can fit in the single slot created by the removed divider.

Bryan
 
A

Anonymous

Guest
Well, here is what I have done since then

I left the dividers the way they were

I added some features to the piece of 6" pipe

I added a piece of plexiglass laying diagonally between the two dividers.

That is kind of hard to describe so I am posting a pic, as well as a pic of the bubbles in the tank.

The 6" pipe I can't really show what I did, but I will try to describe it.

The water comes down in 2 hoses. This dumps in the top of the 6" Pvc pipe. The water then has 2 ways to go. It can overflow over the top of the pipe( about 50% of it does) or it can go thru a plexiglass divider in the middle of the pipe that has 16 1/4" holes in it, then leave the pipe through slots cut in the side of it.

Having some of the water go down through the pipe slows the water over the top enough that alot of the bubbles are popping.

Look at the pics and if you have any more suggestions, fire away.

Thanks for all the input


Bryan

BTW in case you are wondering, the reason the first divider has holes running down the side like that is so it carries the output of the skimmer through with it.
 

Attachments

  • bubbles2.jpg
    bubbles2.jpg
    107 KB · Views: 171
  • bubbles3.jpg
    bubbles3.jpg
    105.2 KB · Views: 170
  • bubbles4.jpg
    bubbles4.jpg
    102.7 KB · Views: 171
A

Anonymous

Guest
So, any more opinions on this?

In other words, one last bumpola


Bryan
 
A

Anonymous

Guest
Well heck, I have a question on this topic - what is the consensus on the best way to partition a sump so as to eliminate bubbles?

Option A - forcing the water to pass through a long narrow channel with a series of horizontal baffles that force the water to alternatively pass under and over the baffles.

Option B - forcing the water to pass through long narrow channels filled with live rock rubble.

Option C - allowing the water to flow slowly through a large area (ie, no channels) with with live rock rubble.

Options A & B both force the water to travel a longer linear distance through the sump before reaching the return pump intake, therefore giving the bubbles more time to dissipate. However, the water is traveling relatvely fast through the channels.

Option C does nothing to increase the distance between the location the water enters the sump and the location of the return pump intake. However, the water will move much more slowly through the sump.

I am currently using option B in my sump. The sump measures about 26"x32". I used eggcrate and plexiglass to form 6"-8" wide channels that zig-zag back & forth through 2/3 of the sump. The channels are filled with live rock rubble. Micro-bubbles are still reaching my return pump.

After seeing what Bryan has done, I starting to think that Option A would work much better. But I would like to hear from all of you before I yank everything out of the sump and re-do it.
 

Sponsor Reefs

We're a FREE website, and we exist because of hobbyists like YOU who help us run this community.

Click here to sponsor $10:


Top