- Location
- Long Island
Hey Manhattan Reefs community! I am a member of Nano-Reef.com and came across this site from other members. I figured I would make a build thread here as well!
Tank first got wet on Oct 22, 2016.
Build Notes:
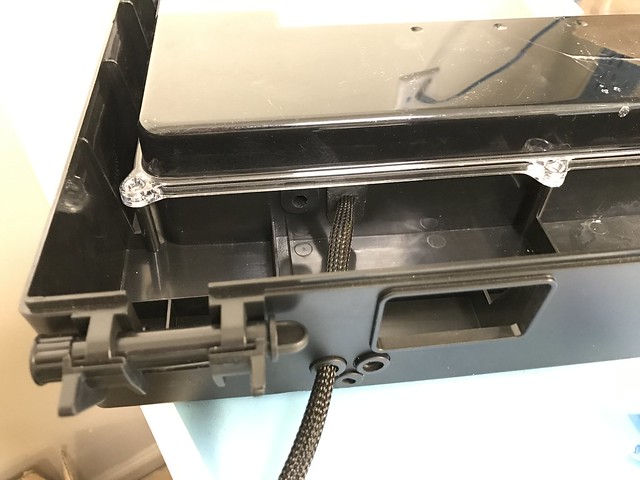
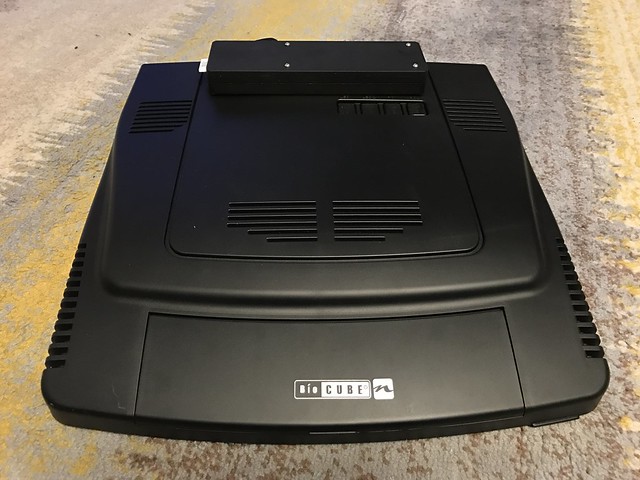
Coralife Biocube 14G
inTank Media Basket (Filter Floss, Purigen, Chemi-Pure Elite)
Upgraded MJ900 Pump (Cobalt)
Vortech MP10 wes QD
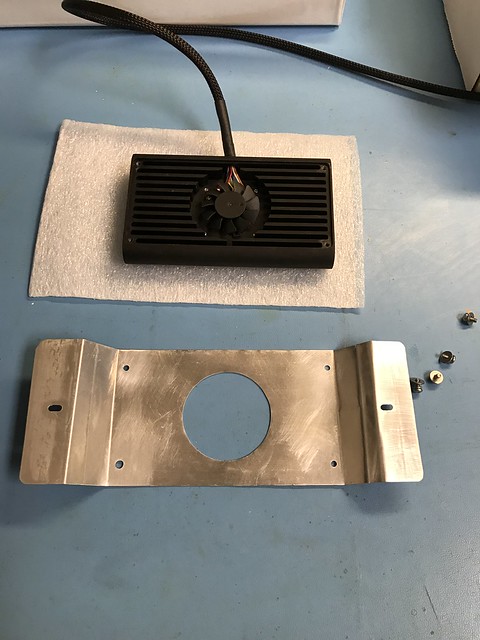
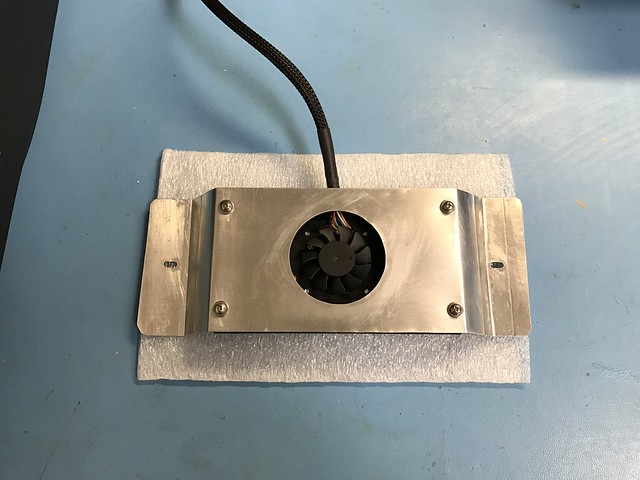
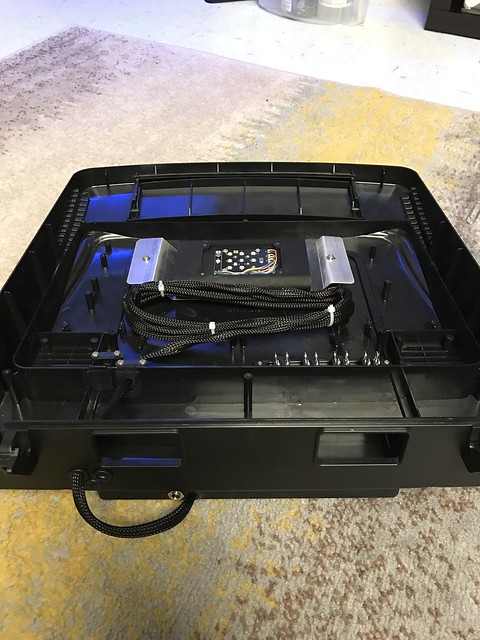
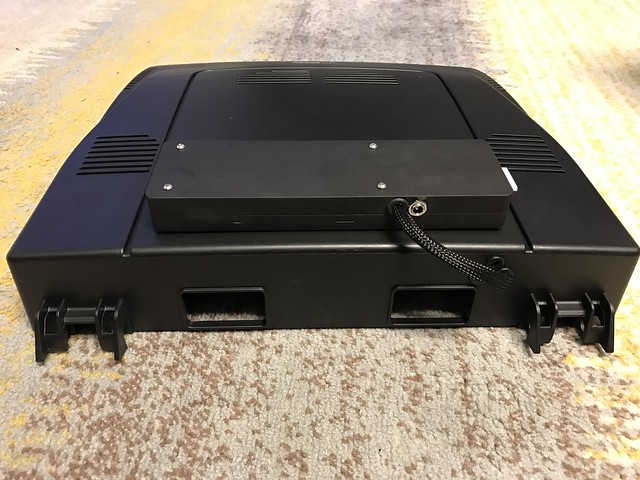
NanoBox Tide Plus M
50W Heater
2 Thermometers
Tools:
Salinity Refractometer
Turkey Baster
Live Stock:
Approx. 10lbs of Live Rock
10lbs of Live Sand
Maine Mocha Clownfish
Ocellaris Clownfish
5 Dwarf Ceriths
2 Nassarius
3 Florida Ceriths
3 Antillean Nerites
Unknown Zoa
GSP
Frogspwan
I will need to take a current pic on upload!
Tank first got wet on Oct 22, 2016.
Build Notes:
Coralife Biocube 14G
inTank Media Basket (Filter Floss, Purigen, Chemi-Pure Elite)
Upgraded MJ900 Pump (Cobalt)
Vortech MP10 wes QD
NanoBox Tide Plus M
50W Heater
2 Thermometers
Tools:
Salinity Refractometer
Turkey Baster
Live Stock:
Approx. 10lbs of Live Rock
10lbs of Live Sand
Maine Mocha Clownfish
Ocellaris Clownfish
5 Dwarf Ceriths
2 Nassarius
3 Florida Ceriths
3 Antillean Nerites
Unknown Zoa
GSP
Frogspwan
I will need to take a current pic on upload!