- Location
- 11756
The Background:
The Fuge & Frag Tank:
The Quarantine:
The Crew:
The Levels:
The Auto Top Off:
The Safety Net:
- With the coming of a basement, I can finally build something on a grander scale. I didn't want to go so big that I needed all new equipment, and wanted to end up with about 200g total water volume, with the flexibility to add more. I definitely want to have a ton of fish (more than most people would be comfortable with me having :lol2
")
- Want the fuge to be something worth looking at and a place to keep the more sensitive animals, filefish, seahorses, etc.
- Want to keep the tank as simple as possible, so not going crazy with reactors and such
- Water changes twice a month - planning on 40g each change
- Going to skip the filter socks (for now)
- All of my current fish are going to get QT'd before going into the new tank
- All new fish will be fully QT'd
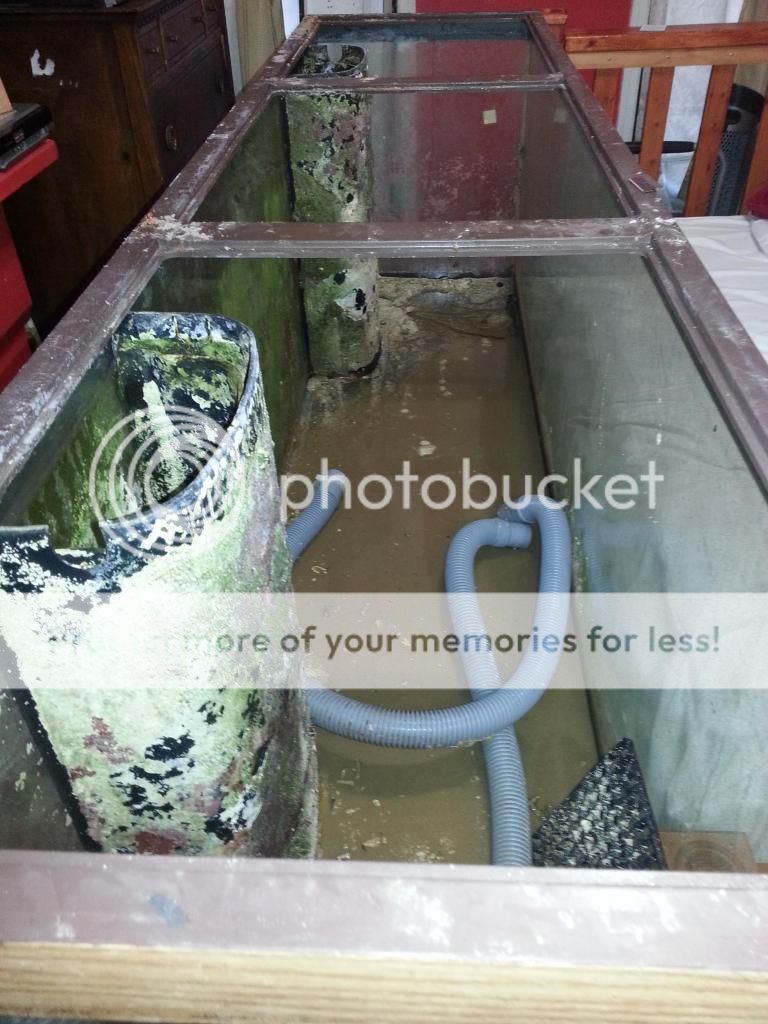
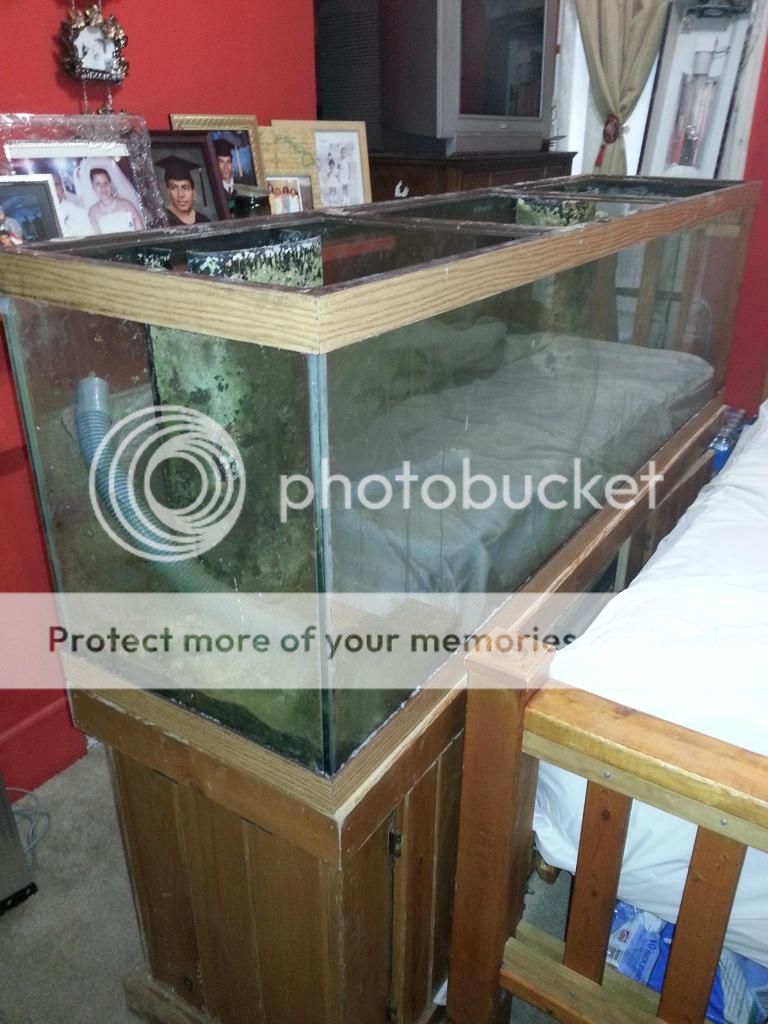
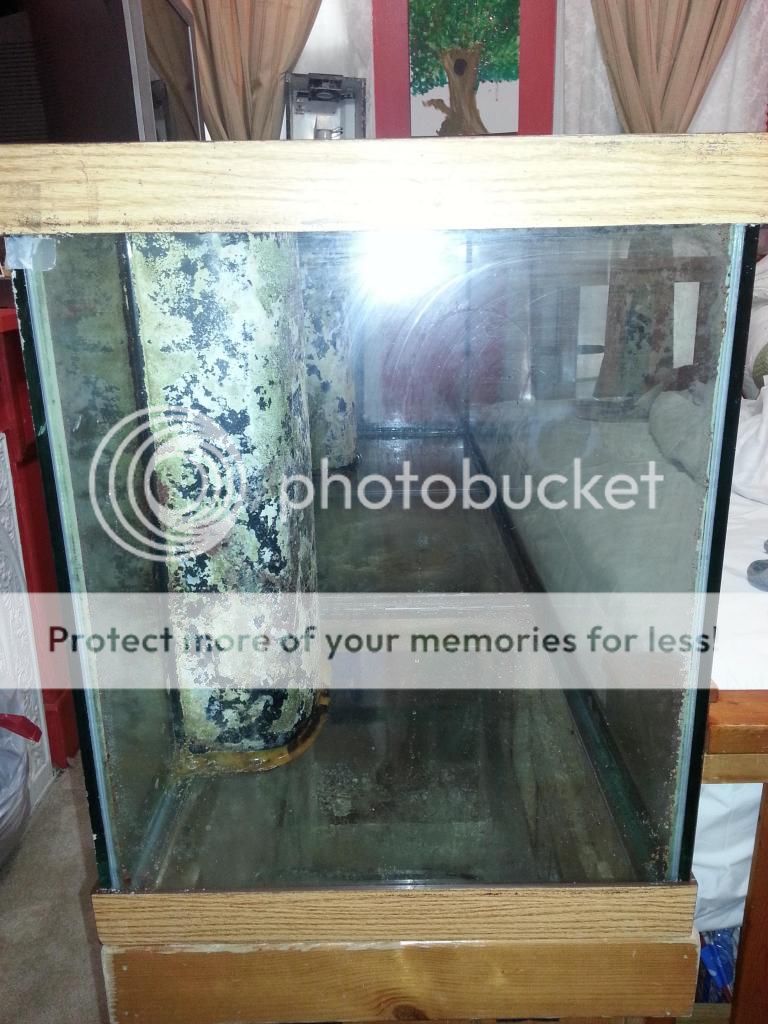
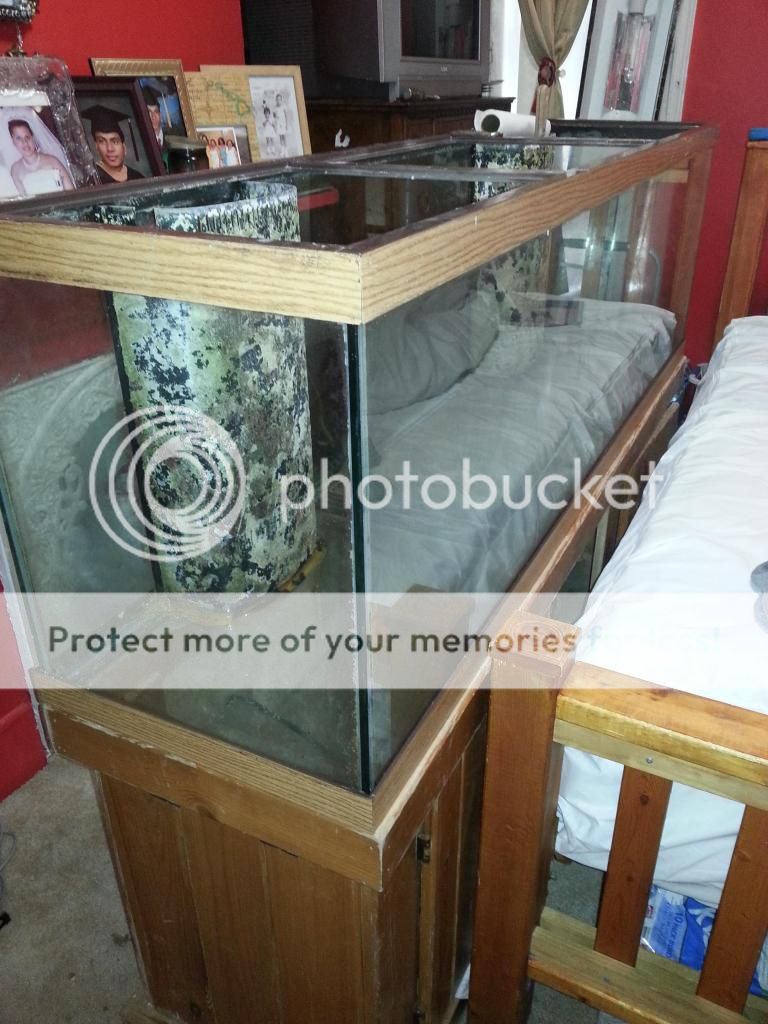
- 125g tank - 1 overflow box removed
- 2 x MP40 (either end)
- 1x MP20 (middle back wall)
- 3 x 250 DE MH (on dimmable ballasts)
- Ehiem 1262 return
- AGA model 4 sump - modified
- SRO XP 5000int
- Phosban reactor for carbon
- ~100lbs LR (going with two towers and a couple smaller softie/nem islands
- 1inch sand bed
The Fuge & Frag Tank:
- 57 rimless
- Mag 7 return
- Shared sump with 125g
- 1 x 150mh 10k
- ~50lbs LR - building around the overflow
- DSB - maybe
The Quarantine:
- Located under the main tank
- Remora HOB skimmer
- Flourescent light
The Crew:
- Sailfin Tang
- Hippo Tang
- Royal Gramma
- 3 Engineer gobies
- 1 Marine Betta
- 2 percs
The Levels:
- Calcium and Alk dosed via two sentry dosing pumps
The Auto Top Off:
- Dual float switches from ATO
The Safety Net:
- Screen covers for each tank
- Going to be inset on the rimless tank so it's not sitting on the rim