S

sparkysreef

Guest
Ok I've decided to bring this over to help and share with members here.

Give me some time to get all the pics over here. Text will be a simple job of copy and paste.
I will also date every post from when i originally did it starting last april.
 
S

sparkysreef

Guest
April 4, 2006

I am going to be in the process of tearing down my 180gal and starting over. This will consist of treating flat worms, removing all LR, and reaquascaping. This tank will be BB(bare bottom) and predominantly SPS with a couple of clams and LPS. All corals will also be removed during the project.
I started on phase one tonight. Cutting the *starboard (*starboard=cutting board). This is used to support the rock so that no 1 point is putting pressure on the glass. The glass can support the rock just fine on its own but this distributes the weight more evenly. Also no worry of scratches and don't have to view the plywood beneath the glass bottom.
The rock will be on a PVC rack to keep it off the bottom and will hold everything together to the particular aquascape I desire.

More to come in very near future:

After the starboard and rock is all back in place I will be installing my new pendant lights which will be on a light mover. The lights will travel back and forth across the tank on a fixed rail.http://www.aci-hydroponics.com/content/lightmovers.htm
Removal of my MRC Ca (Ca=calcium) reactor and install of the Deltec reactor. http://www.deltecusa.us/calciumreactors/pf600s.php
Sump return pump will be removed from system. I will have one pump doing the job of sump return and closed loop.
My vortech pumps (2) are going to be installed as well.http://www.aquariumspecialty.com/catalog/product_info.php?products_id=422
Closed loop is going to have additional lines installed for more flow and directed into corners of tank to keep detritus accumulation to a minimum.
 
S

sparkysreef

Guest
Aril 4, 2006
Starboard cutting. The cut outs on the back outside corners are for the built in tank overflows.

PICT0001.jpg


PICT0002.jpg


4adf25eb.jpg
 
Last edited:
S

sparkysreef

Guest
Sat 4/8/06. Had some reef buddies come over to help out. Here's how the day went. Removed all rock from tank and put into a 55 gal drum with heater and PH. The corals will be kept in the main tank until I can transfer them into a 65gal sump that will be plumbed into the main sump. After that was all done we started removing all dead coral pieces and dead snail/hermit shells. Then the real fun came. Sucking out all the leftover junk on the bottom.

PICT0138.jpg


PICT0084.jpg


Deltec AP702 got a real workout
PICT0119.jpg


PICT0118.jpg


Found just a couple of MIA frags
PICT0148.jpg


PICT0014.jpg


PICT0122.jpg


PICT0047.jpg


PICT0027.jpg


PICT0025.jpg


Tank got just a bit cloudy
PICT0145.jpg
 
Last edited:
S

sparkysreef

Guest
Sorry for the large pics. I will go back and fix them later this week.

Here was the last pic taken on that day.

PICT0151.jpg
 
S

sparkysreef

Guest
May 7, 2006

I have been busy for some time now and putting things off. Anyway..................................

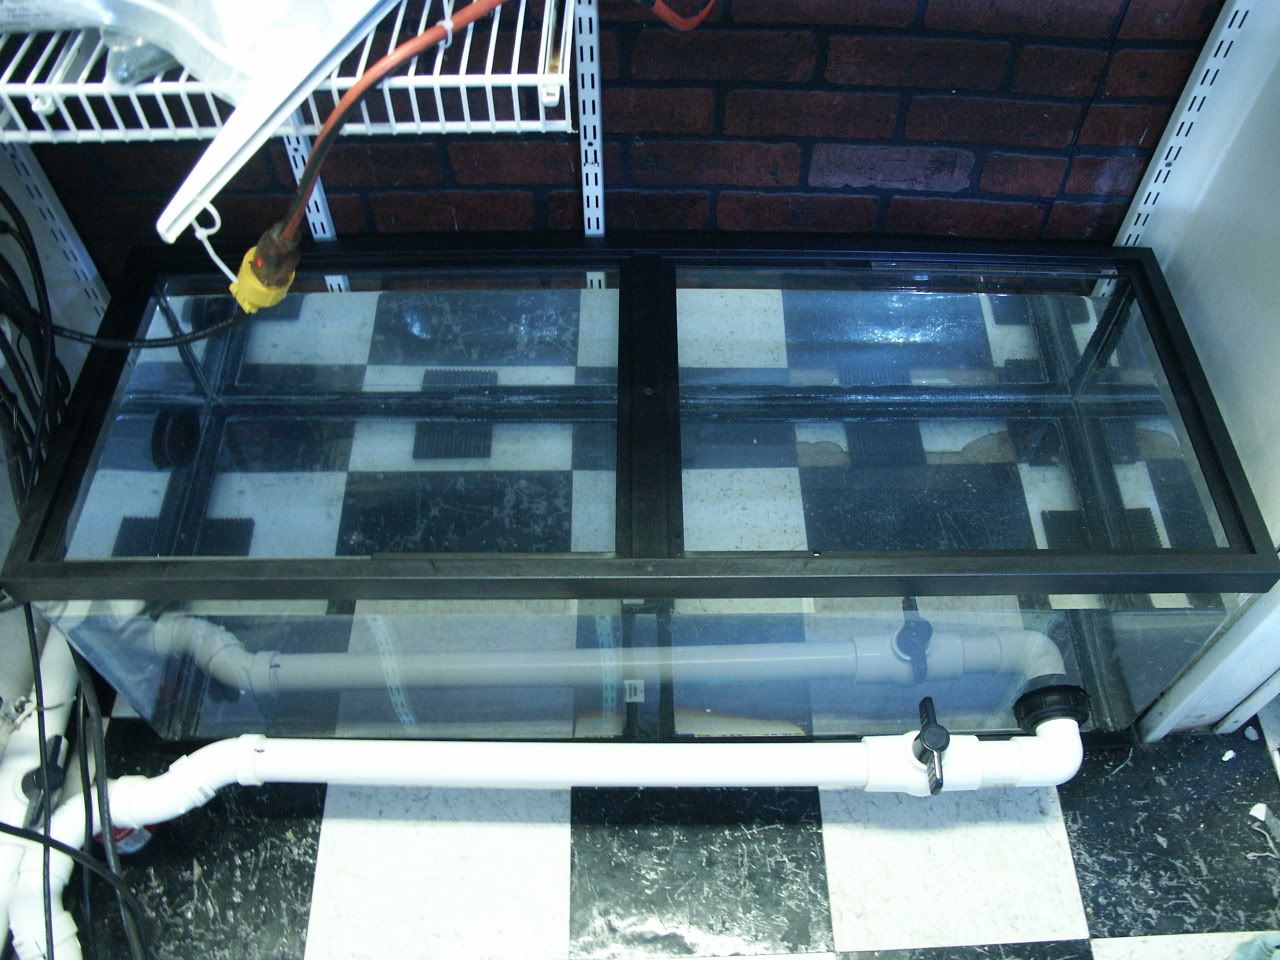
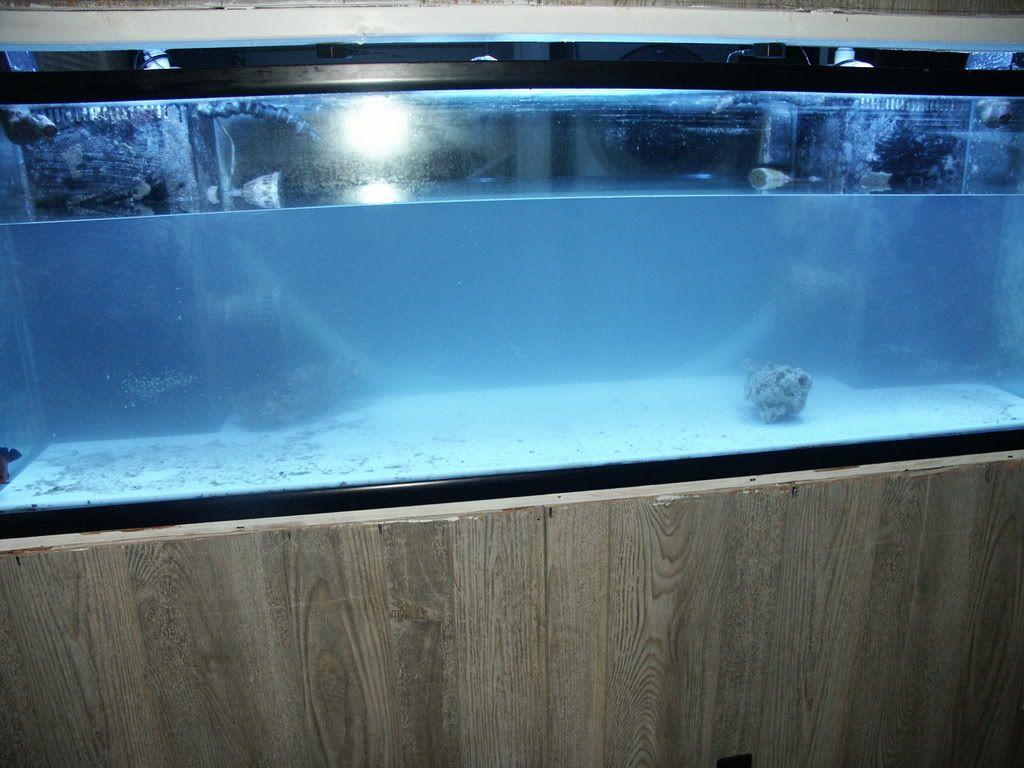
I added another 65gal sump in addition to my current sump for increased water capacity.
The main reasons for this is:
(1) The current sump was a little too small for power outages and would overflow a few gallons onto the floor. When power was restored eveything would be fine but sump level really low.
(2) It is very hard to gain access into the top of old sump and with all the baffles and euro bracing which covers 60% of the top. Also it's just a pain to use it for any type of equipment.
(3) Water changes are now going to be a breeze.
(4) NEW! Found out today that the extra sump caused a big drop in tank temp. 2 degrees. I guess all that extra water offset the heat from the velocity T4.
(5) Setting up an auto top off/media chamber/heaters/etc will be so easy with a large open top sump
(6) Will make a great future frag tank.
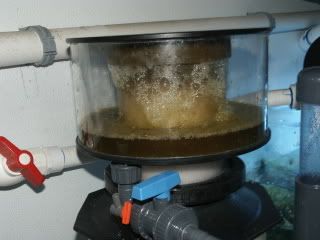
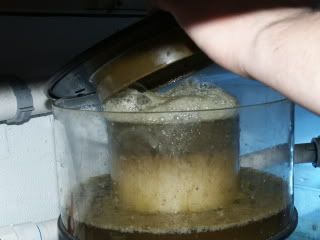
(7) Can finally install a filter sock.
8 old sump light and macros will be moved to new sump. this will eliminate all salt creep from under tank.
(9) the list goes on.

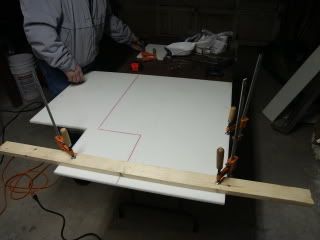
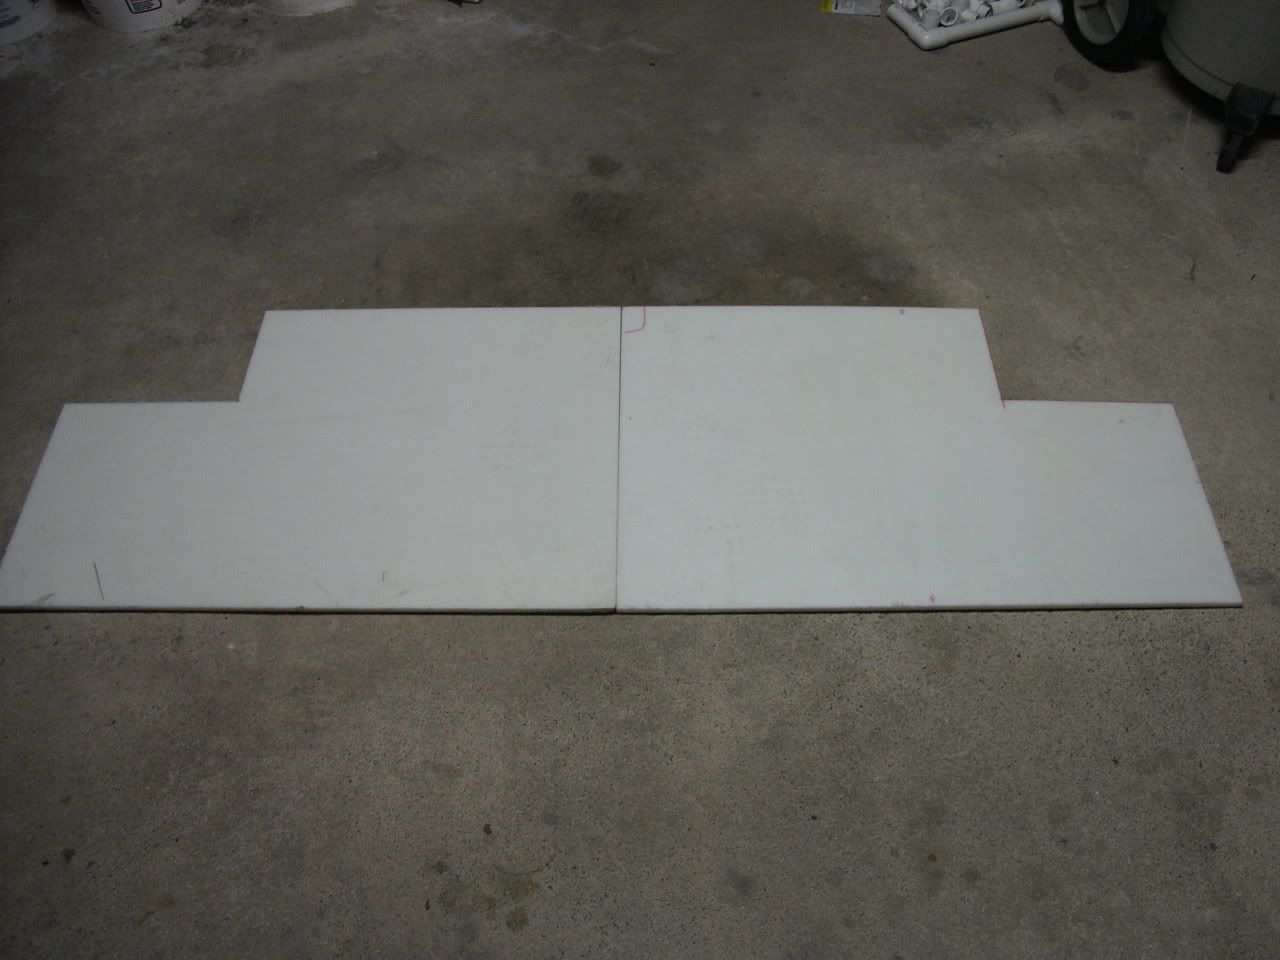
The new sump is a 48 X 18 X 17 = 65 gal from http://www.glasscages.com/?sAction=CustomPageSumpTanks

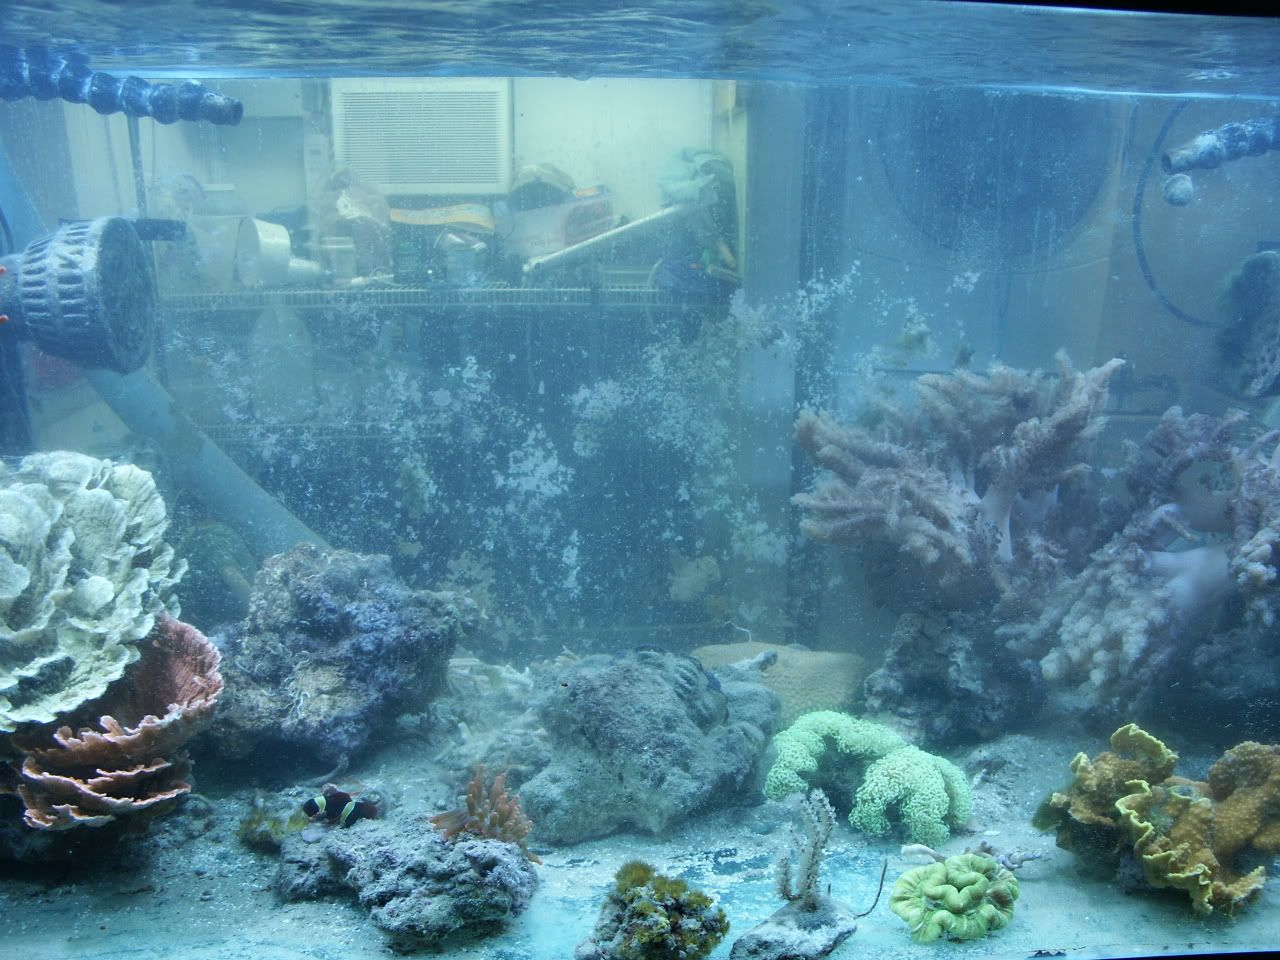
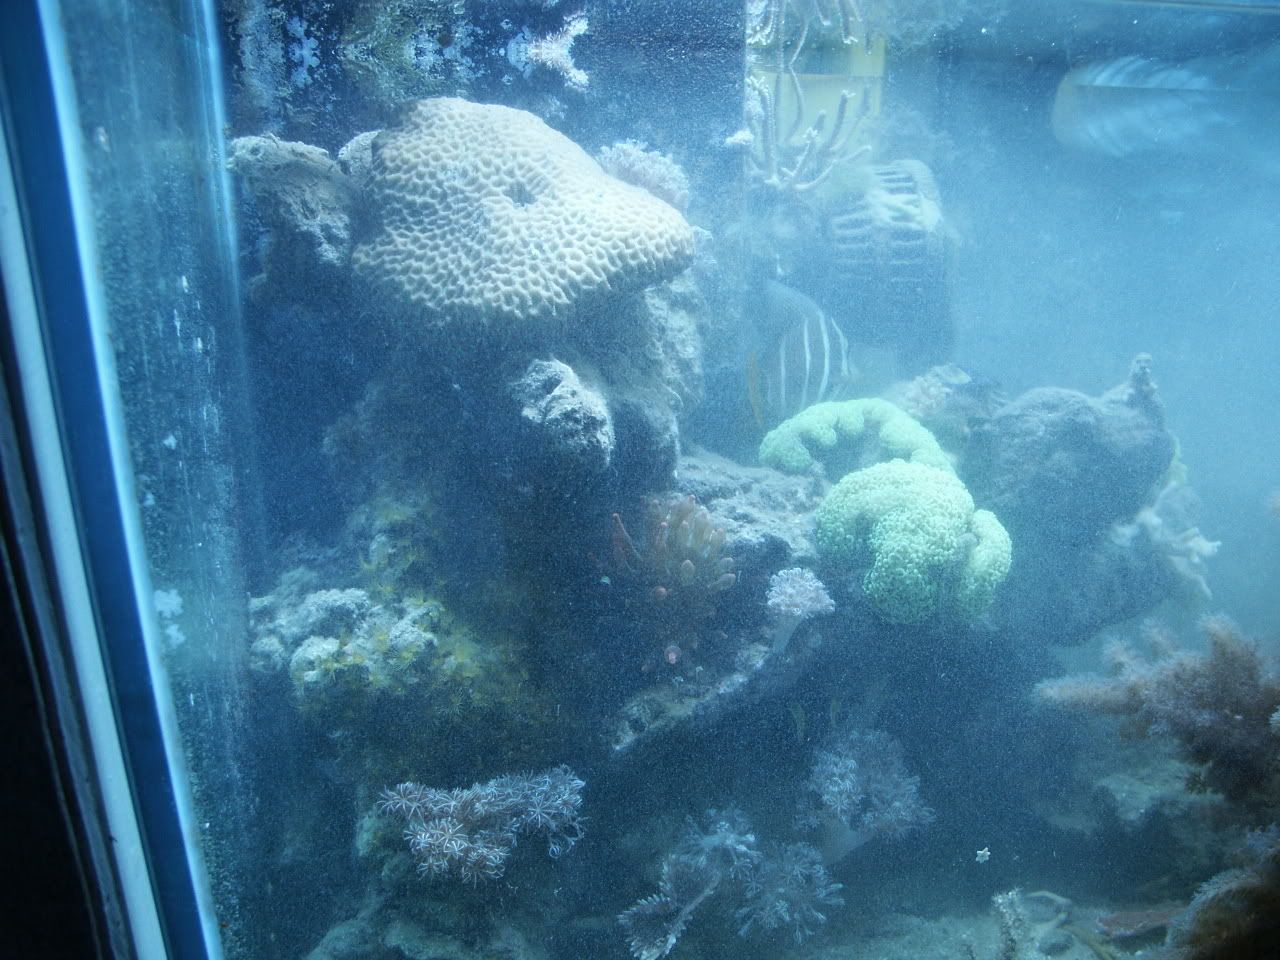
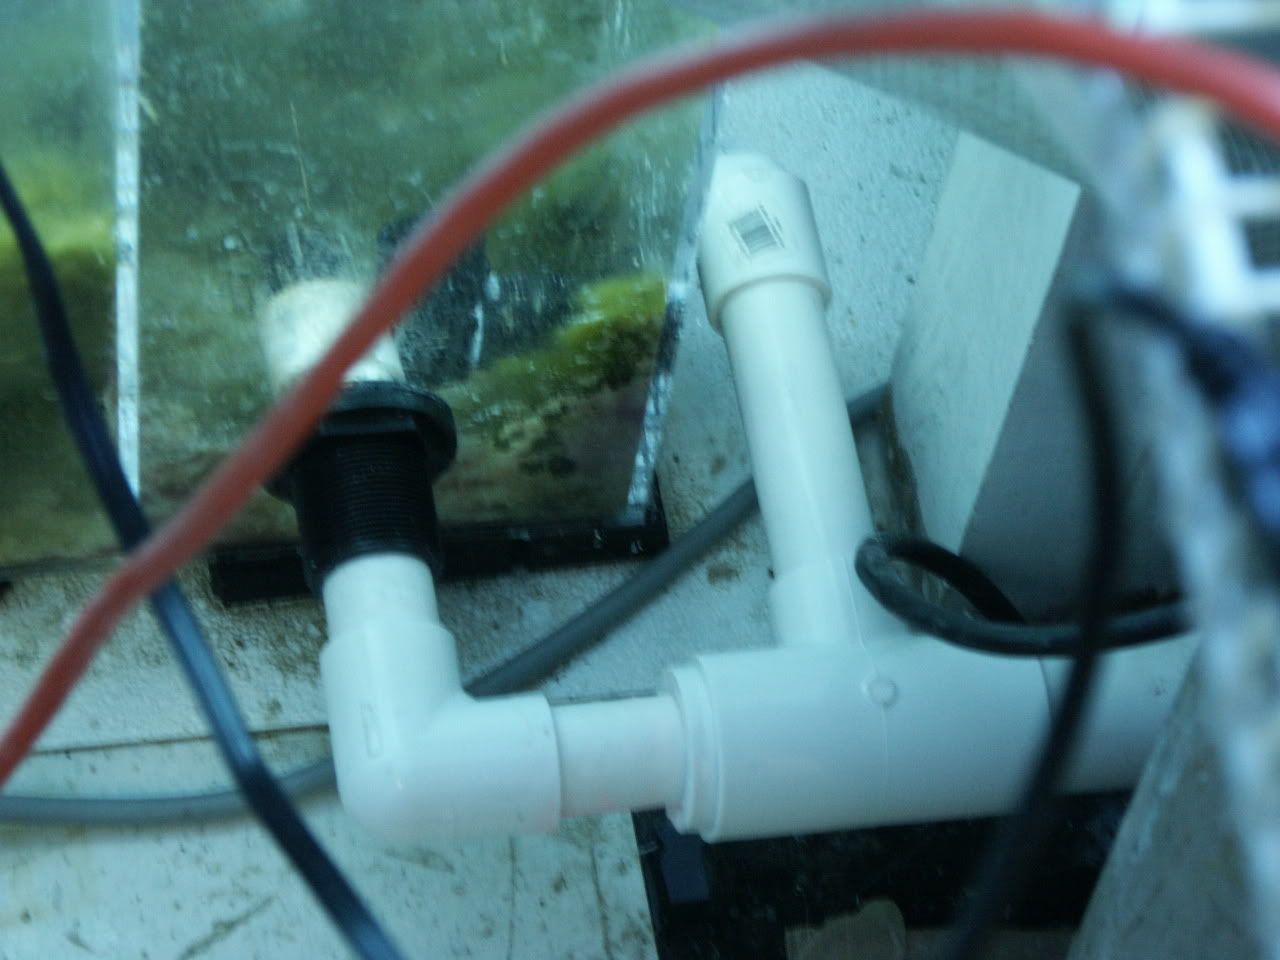
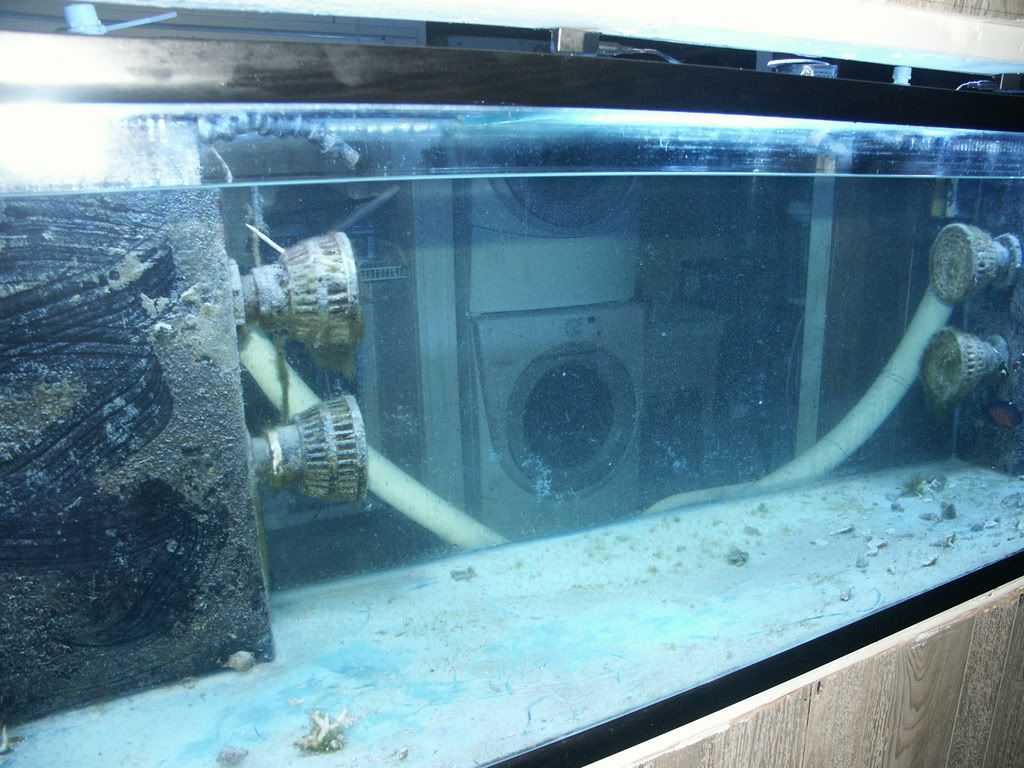
This pic is where two bulkheads from the first sump meet up into one 1 1/2" PVC line. This line becomes the inlet into the second sump.

PICT0165.jpg


PICT0163.jpg


PICT0164.jpg


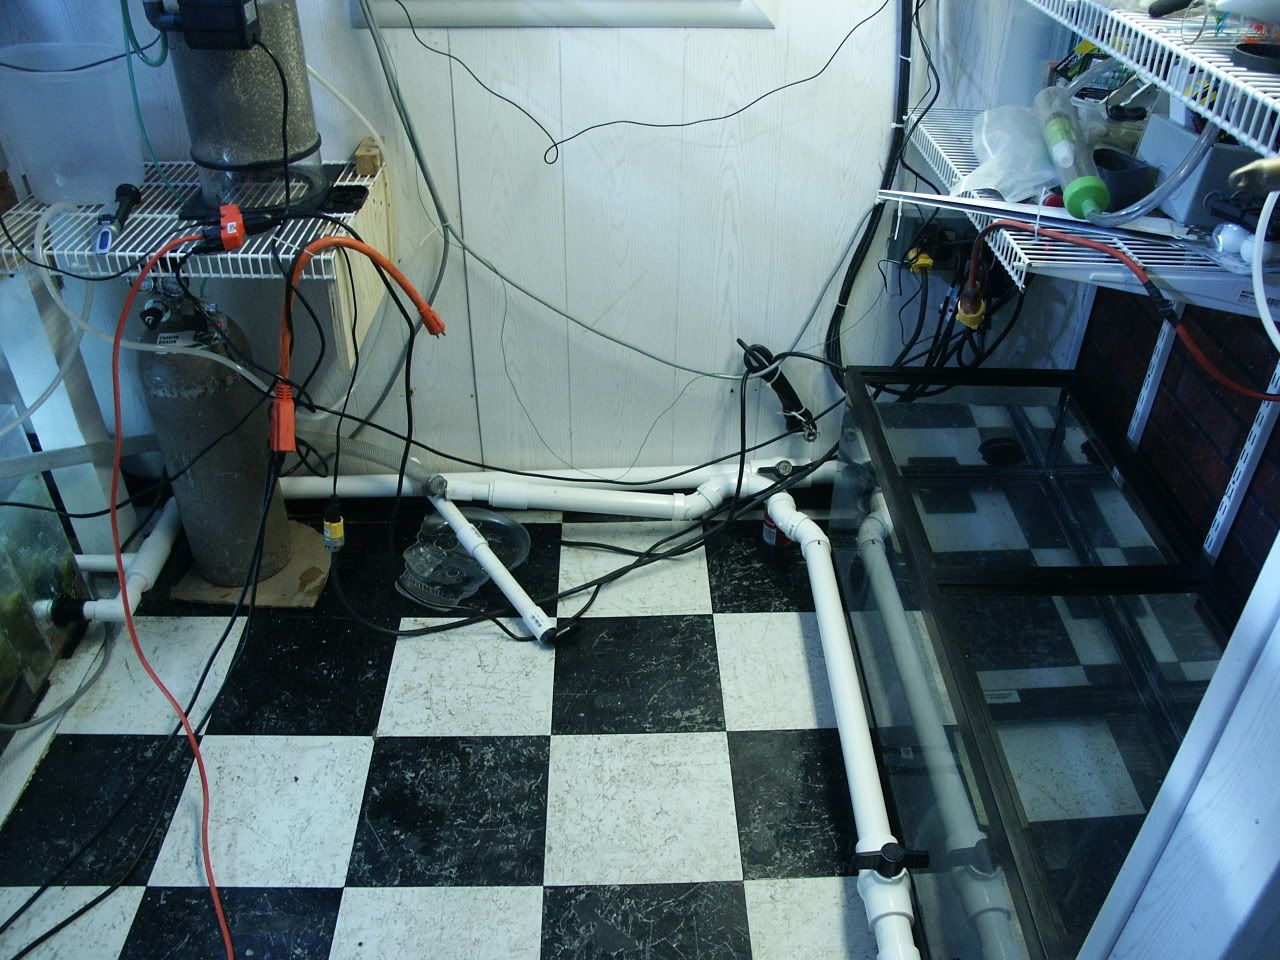
So basically all I did was install two sumps in series. So water flow goes like this. Main tank overflows gravity feed skimmer. Water outlet of skimmer drains into sump #1. Sump #1 outlets are plumbed together and become feed inlet for sump #2. Sump #2 outlet goes to intake of return pump. Return pump pushes water back up into main tank through line-loc nozzles.
 
Last edited:
S

sparkysreef

Guest
Rating - 100%
52   0   0
hey looking good, but whats those "tunze" looking things attached to your overflow box? :scratchch

Those are intakes for a closed loop system. I installed it that wya so I did not hve to drill the glass. PM me and I will explain it in length. right now I have a ton of work left just to coplete this thread.
 
S

sparkysreef

Guest
Rating - 100%
52   0   0
Time to start cooking.............rock cooking that is.

Before starting
PICT0149.jpg


Rock is removed from left side drum. Then dunked and and swished around from left to right in the 3 buckets
PICT0166.jpg


Finally it is put into the right side drum. This will have to be repeated many times until the water stays clean which means all the junk has been removed from the rock.

This rock has been sitting since march. This is what took place today.
Before removing rock
PICT0149.jpg


Crap left behind after removing rock from first drum
PICT0169.jpg


What deposited in the buckets. I put a bucket of clean water in the pic for reference
PICT0174.jpg


All rock after it has been put into last drum after cooking(washing)
PICT0170.jpg
 
Last edited:
S

sparkysreef

Guest
Rating - 100%
52   0   0
September 17, 2006

Last weekend I removed every last drop of miracle mud and turtle grass from the eco-systems sump.

Today I took every coral out of the tank and placed them all in the sump. Vacuumed out almost every drop of crap and FW's in there. One more siphon job should do it but I have to wait for my make up water drum to fill. So sometime between tomorrow evening and tues evening that should be done. FW's will be at a bare minimum at that point and I will dose the tank.

When all of the above is said and done I will install the starboard and check the fit. Then it will be modeling aquascaping with custom pvc racks to get the effect and look that I want. I am going to have the starboard on the floor and milk crates around it to simulate the tank walls. That way I can be assured what it will look like before even going into the tank.

I will start up the pics when the aquascaping starts
 
S

sparkysreef

Guest
Rating - 100%
52   0   0
September 19, 2006

Today I siphoned out the remaining detritus/dirt/crap/etc out of the tank. After that I made a nuclear bomb look like a firecracker when I nuked the tank with 8 bottles of FWE. It is in there right now and after it circulates awhile I will do my water change. The skimmer took some time to kick in but then it started overflowing all over the floor. I took the drain line and put it into a 5gal bucket.

Keep in mind that my tank and both sumps are COMPLETELY empty and bare so the FW's were at a bare minimum. So far so good
 
S

sparkysreef

Guest
Rating - 100%
52   0   0
September 25, 2006

Well here it is one week later and not a single FW. I will still hit them again this week as per Ross' advice. Also did a second cleaning of the LR. All that's left is to get the LR back in the tank and start a frag farm.
 
S

sparkysreef

Guest
Rating - 100%
52   0   0
October 3, 2006

I was very lucky to get out of work early today as it almost never happens. So from 3:30pm until 9:30pm I worked non-stop and set my tank back up. I set up a plastic tarp on the garage floor and placed all of my LR on it. Then I made up pvc racks on the fly.
I set up all the rock until i was somewhat satisfied.
Took the starboard and used a 1/4 round router bit on both sides to achieve a half round edge. Placed it in the tank and stacked the rock. It is not completely finished as i will move a piece or two and maybe add some more or a long branch/shelf between the two structures.
Please give me all your opinions, good or bad, as i would like feedback to what i did as well as any ideas/suggestions.

got live rock?
PICT0202.jpg


PICT0204.jpg


Ok so let's get started ( the milk crates in the pics were to simulate the tank glass so i could get an idea of clearances)
PICT0205.jpg


PICT0215.jpg


PICT0209.jpg


PICT0221.jpg


PICT0220.jpg


PICT0223.jpg


PICT0224.jpg
 
Last edited:
S

sparkysreef

Guest
Rating - 100%
52   0   0
Now that I have the general idea off to the actual thing.

Please excuse the cloudy pics as i did not have the time to let the water settle
PICT0234.jpg


PICT0227.jpg


PICT0237.jpg


PICT0243.jpg


PICT0246.jpg


PICT0245.jpg


PICT0251.jpg


PICT0249.jpg


PICT0248.jpg
 
Last edited:
S

sparkysreef

Guest
Rating - 100%
52   0   0
I still have to break up some LR to get small pieces to cover some of the PVC that is still exposed. I'm sure the look will change when the sps takeover begins. I have a ton of left over LR. I will fit whatever i can into my first sump for filtration and put the rest up for sale on here when i get the time.

So what's left? Place both of my vortechs where i think they will be best for flow. Replumb my closed loop with 6 lines in addition to my sea swirls. These lines will put flow all at the bottom of the tank. 4 in the corners created by the overflows and 2 seperate spray bars at the bottom of the back glass that will push along the bottom under the LR racks towards the front glass.
Most likely though, I will install my new RO III lights and the light mover first.

more to come.........I have to keep the ball moving since i am hosting in january
 
S

sparkysreef

Guest
Rating - 100%
52   0   0
That's it for now. Go ahead and start with all your question, comments, etc.
 

Sponsor Reefs

We're a FREE website, and we exist because of hobbyists like YOU who help us run this community.

Click here to sponsor $10:


Top