- Location
- Long Island, NY
Any updates buddy?
PS..nice sig :wink1:
PS..nice sig :wink1:


")
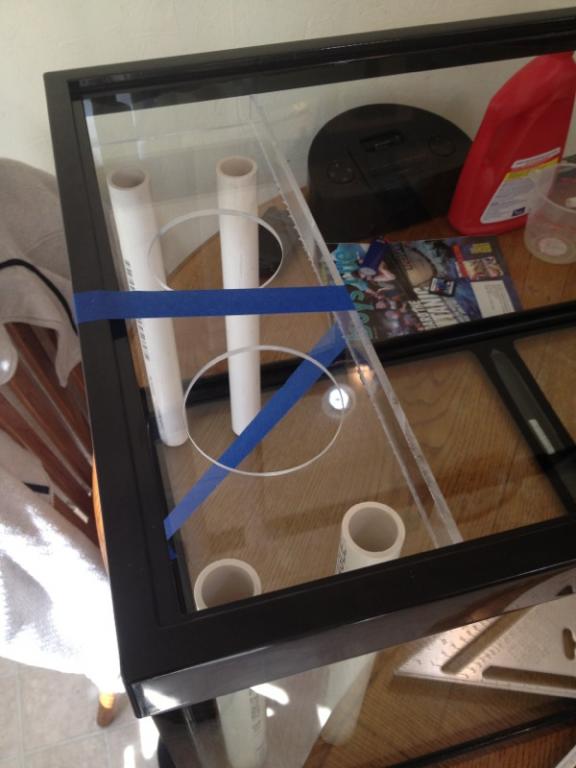
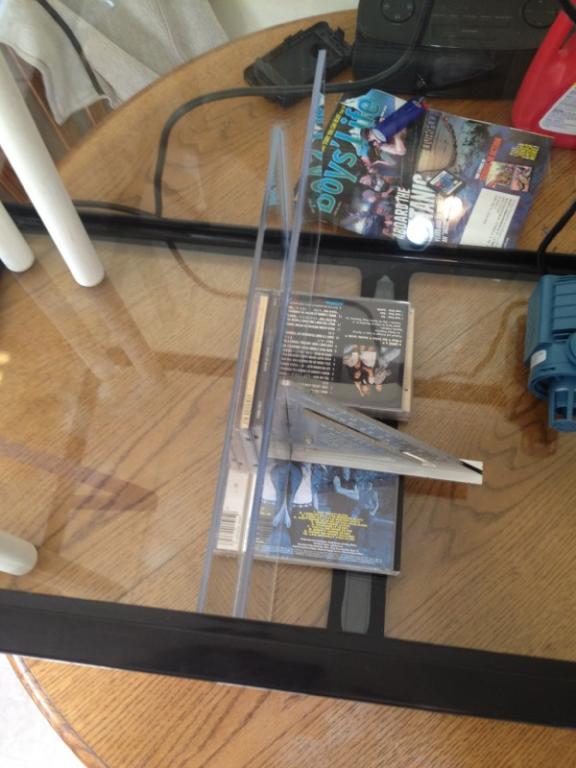
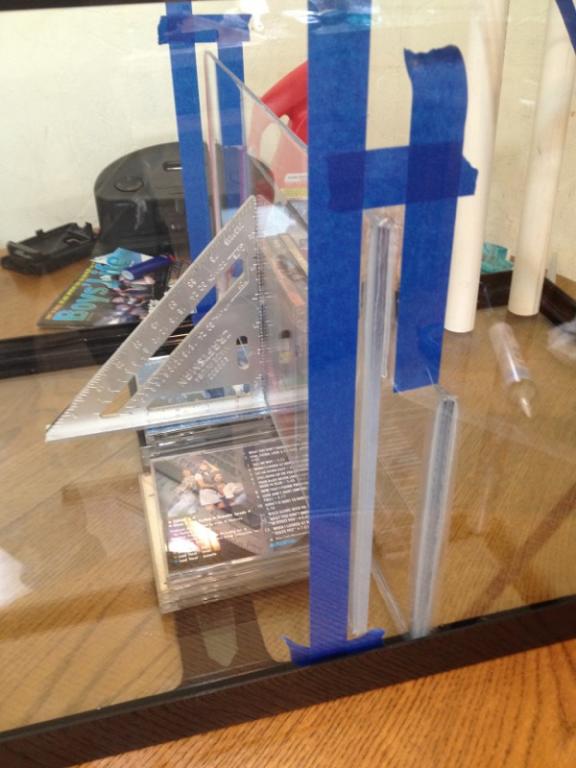
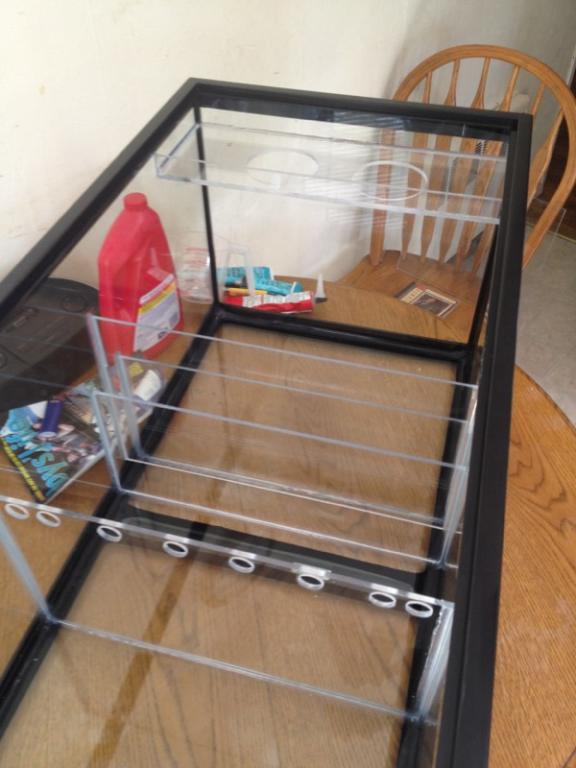
Looking good bobby :d . I got more frags for you !