ravi197699

Thruster
Vendor
Location
Hicksville
Rating - 100%
151   0   0
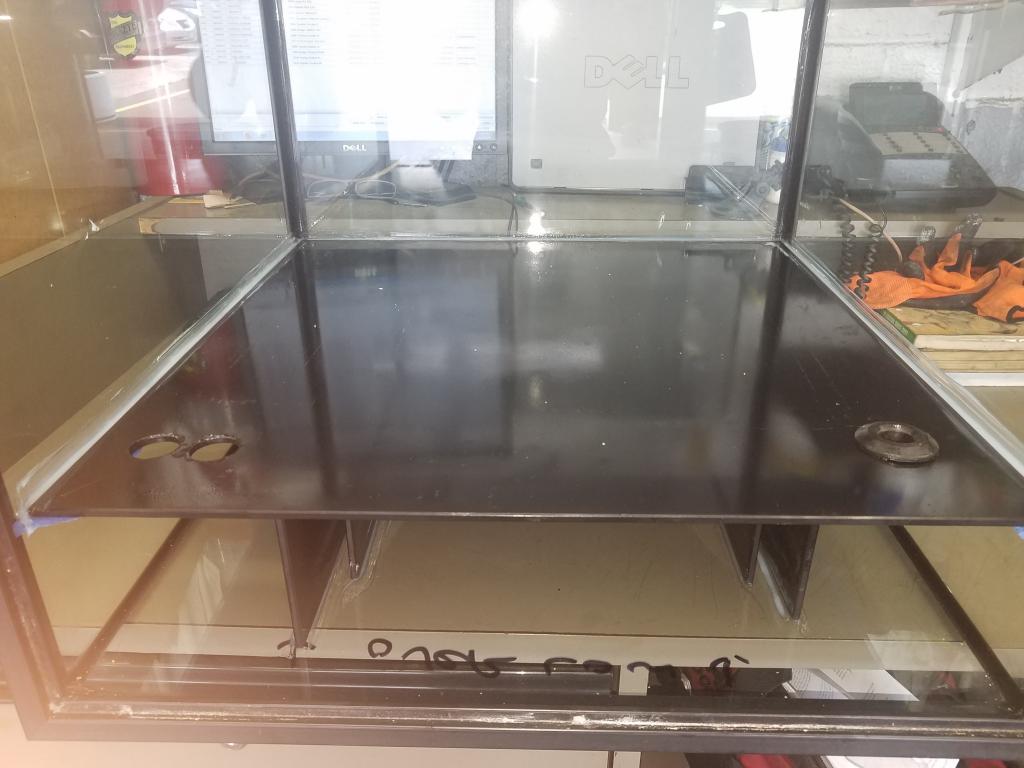
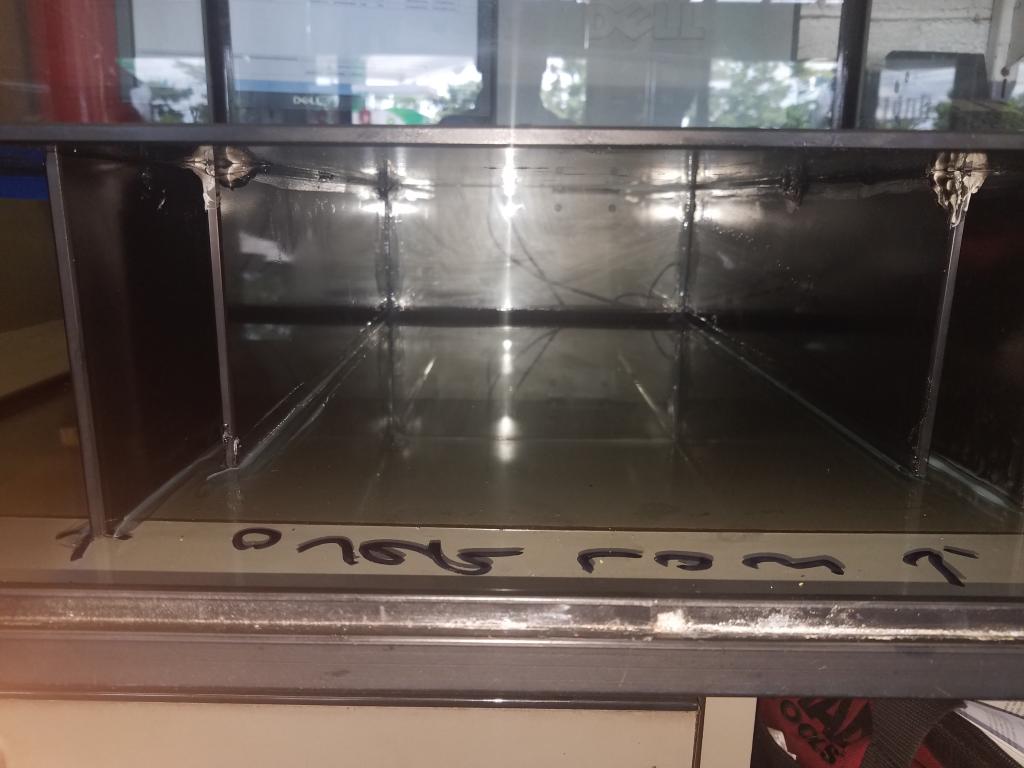
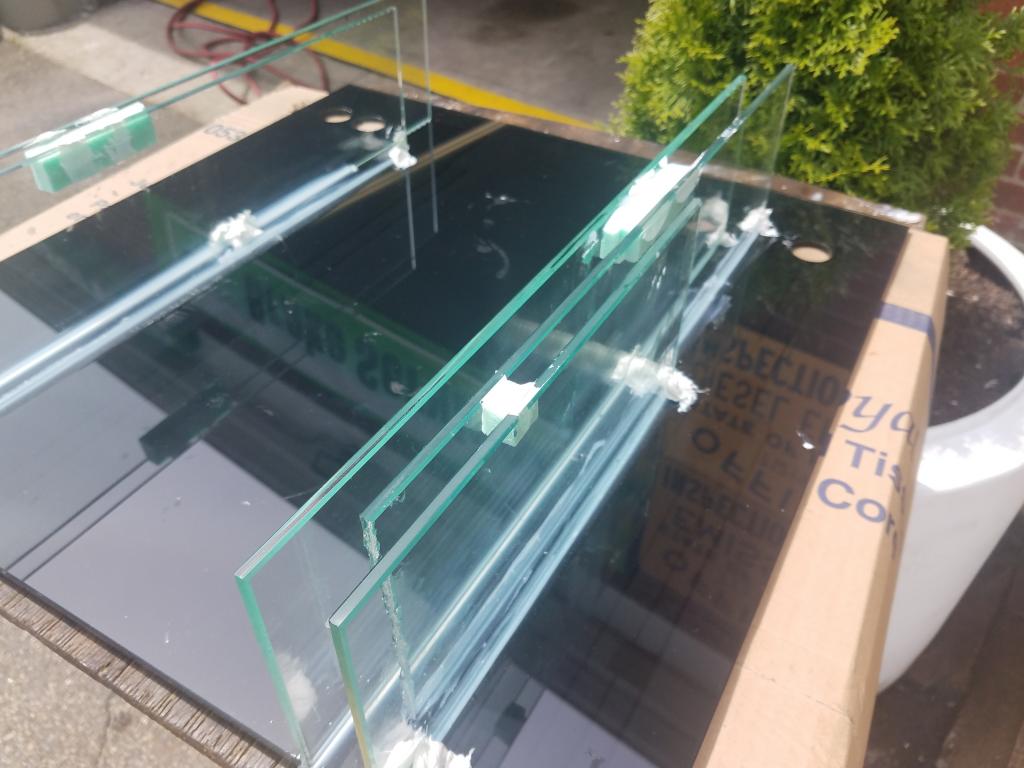
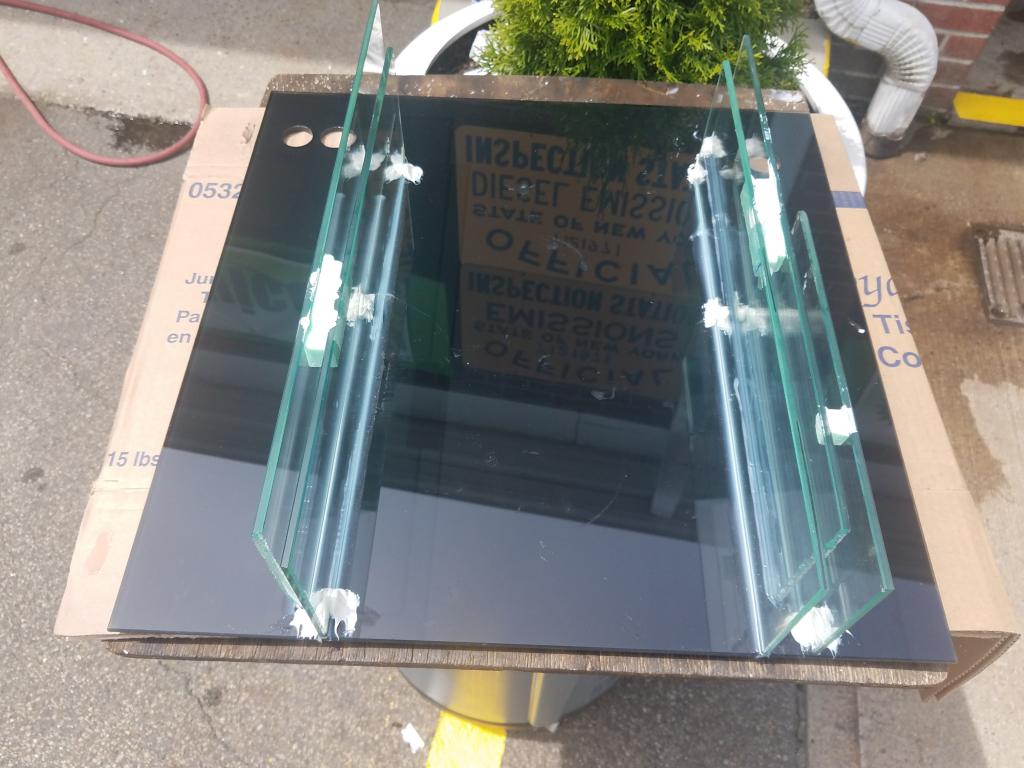
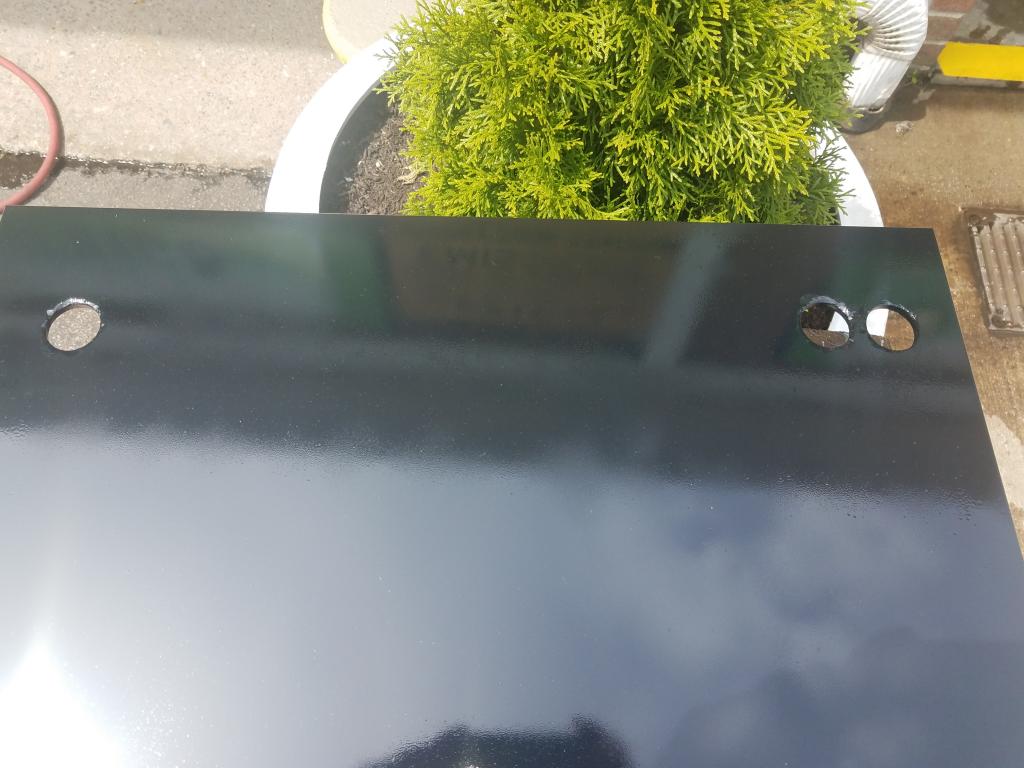
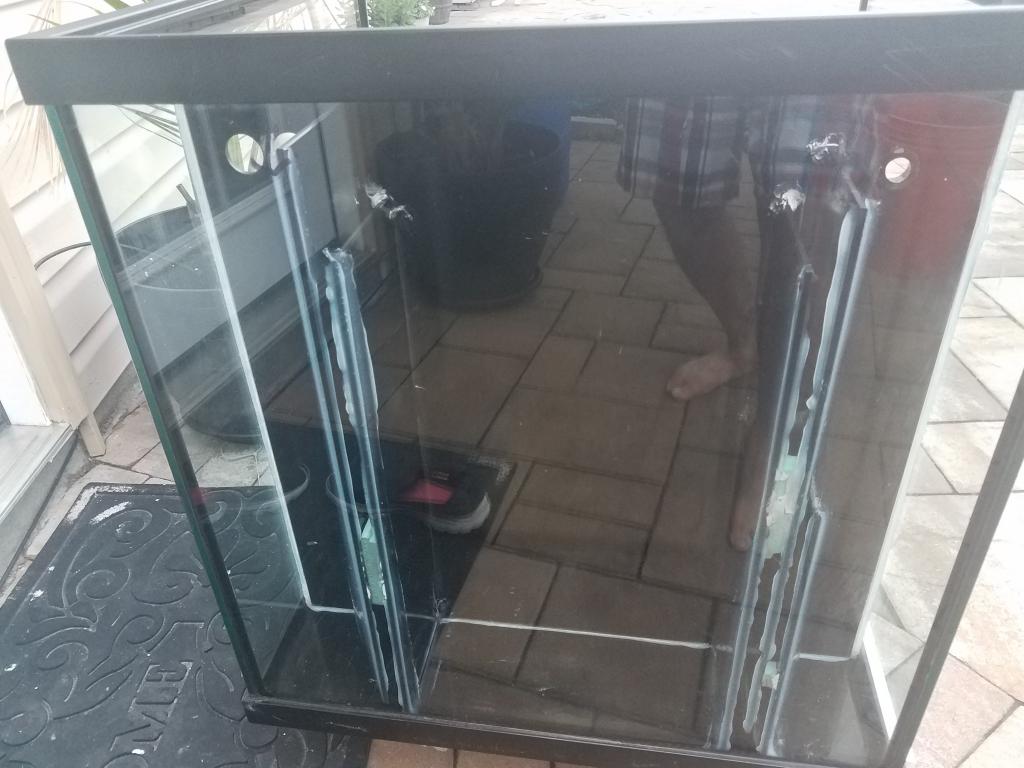
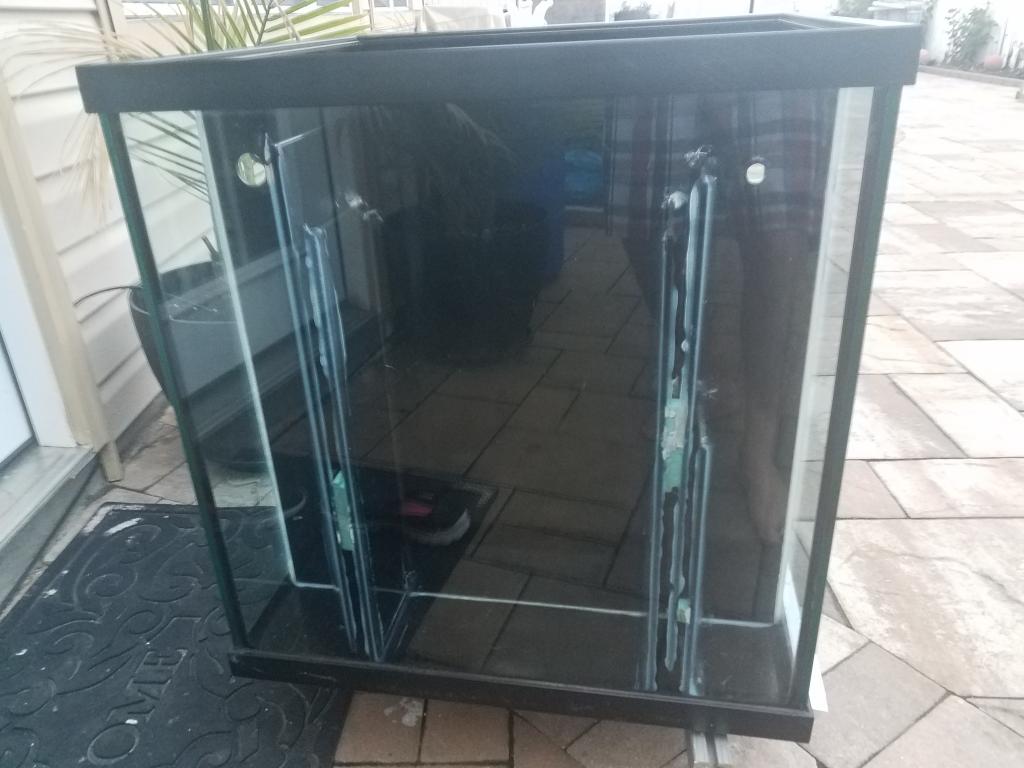
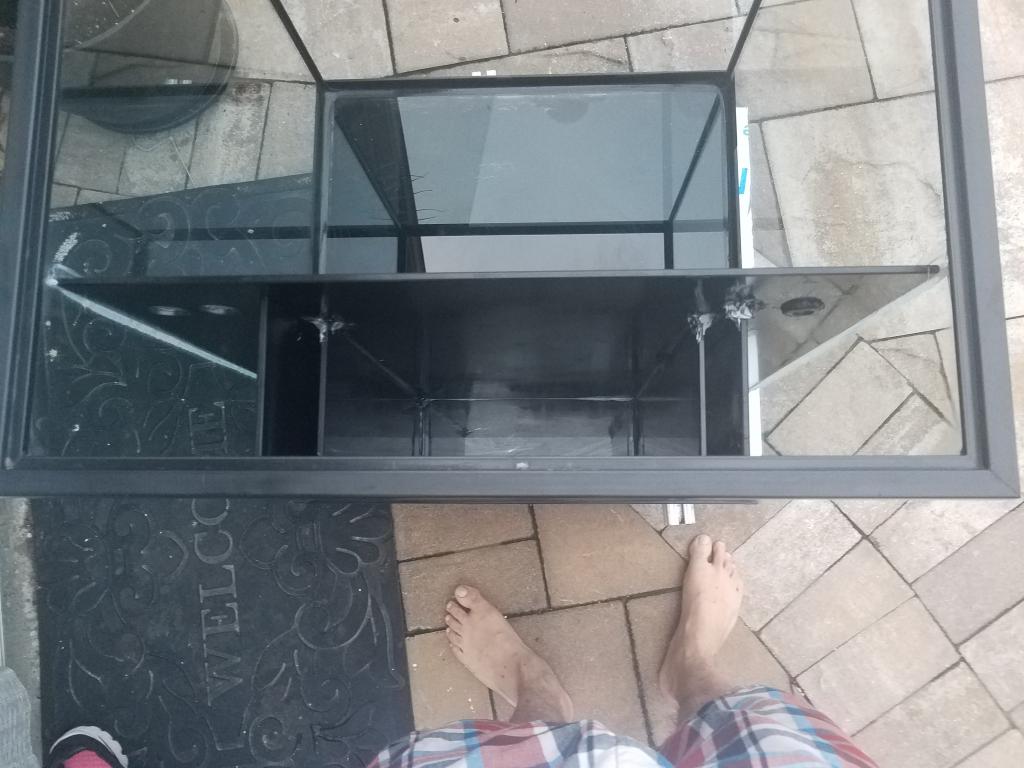
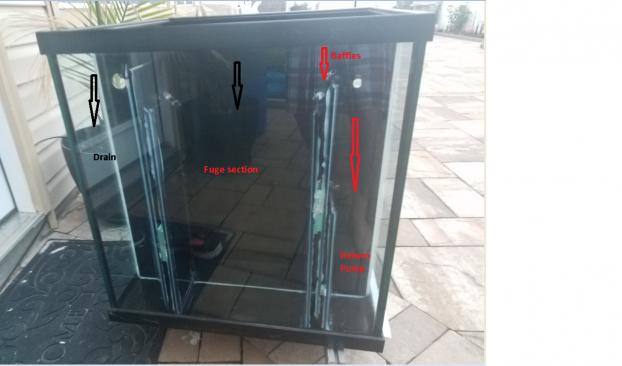
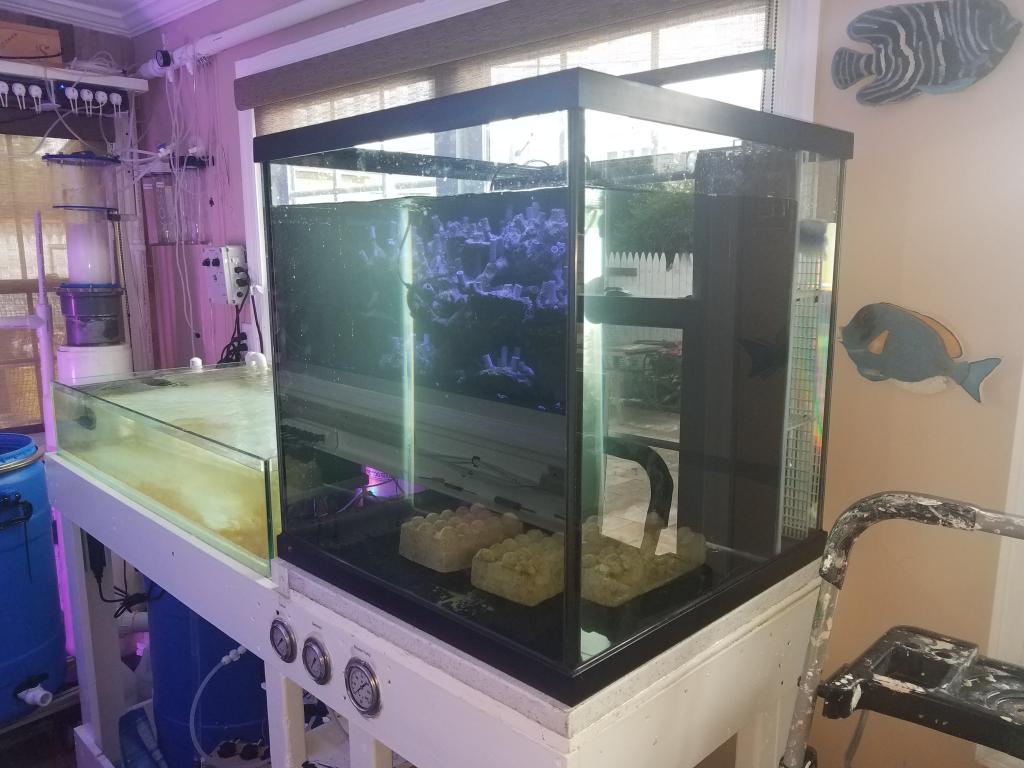
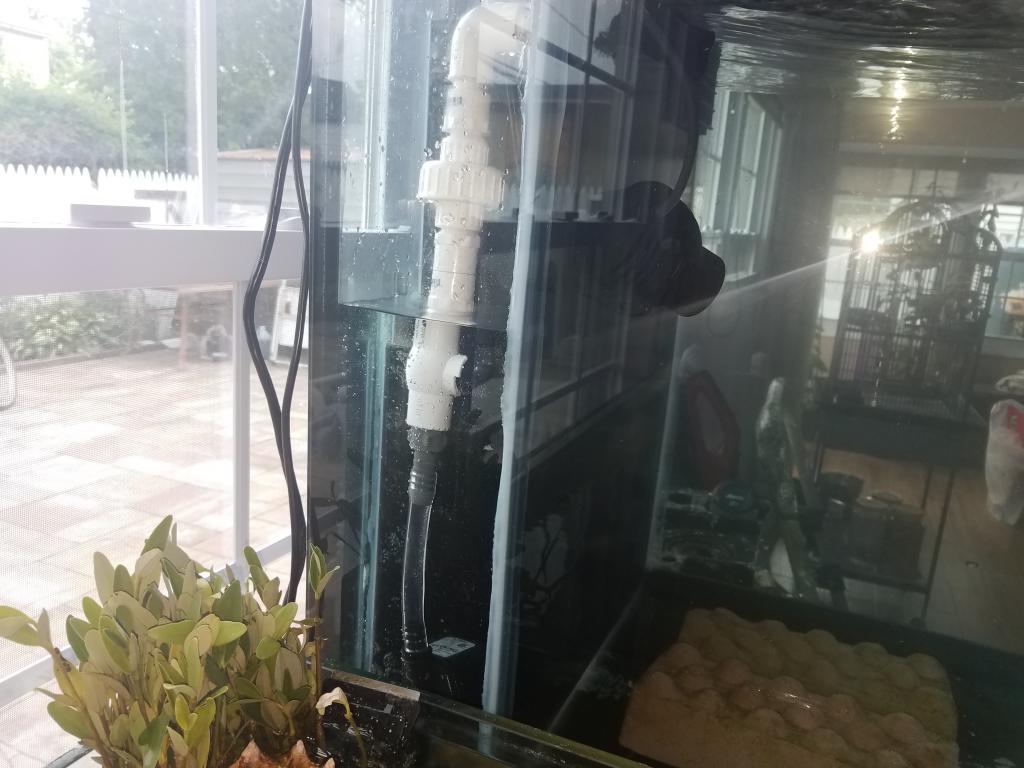
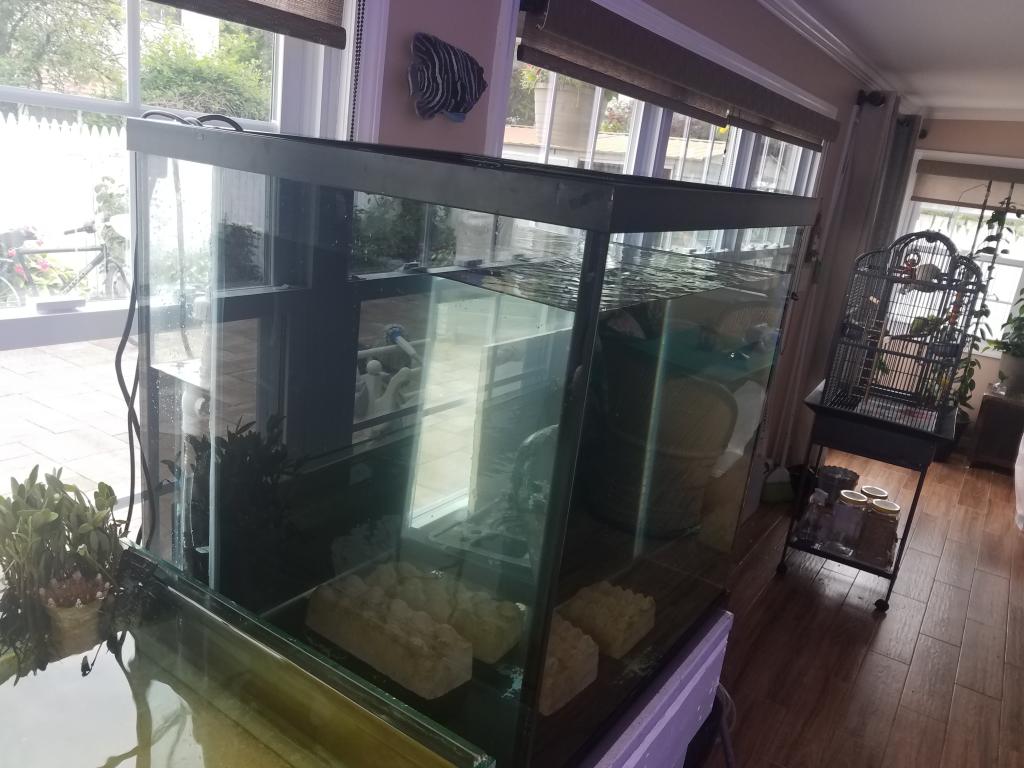
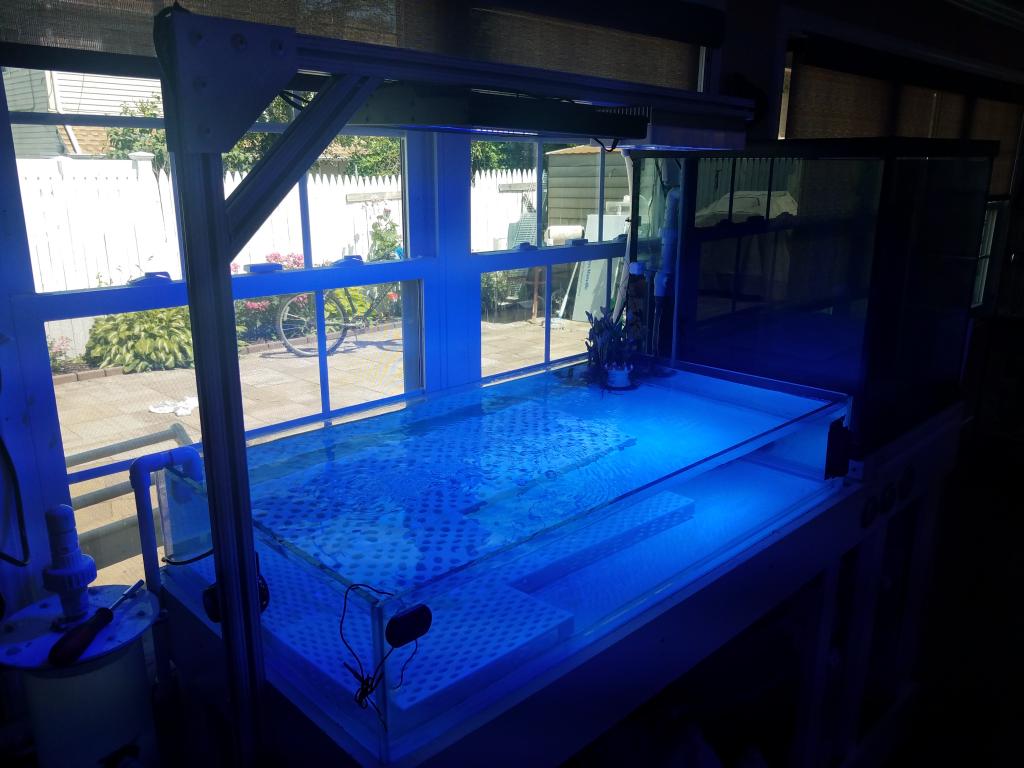
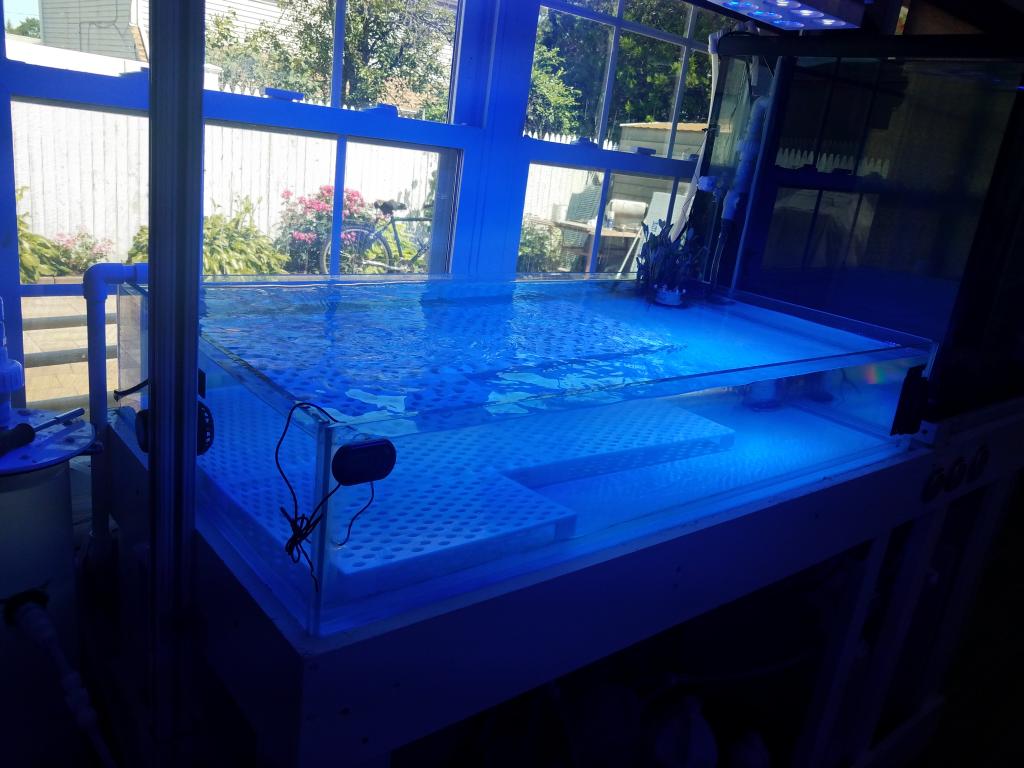
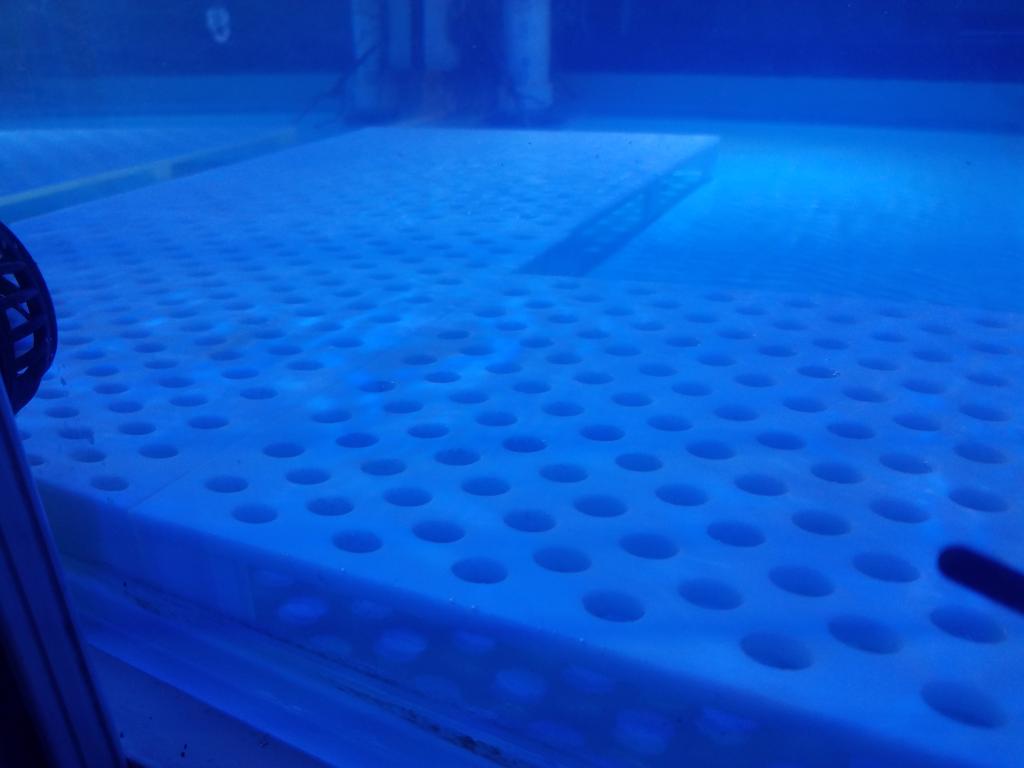
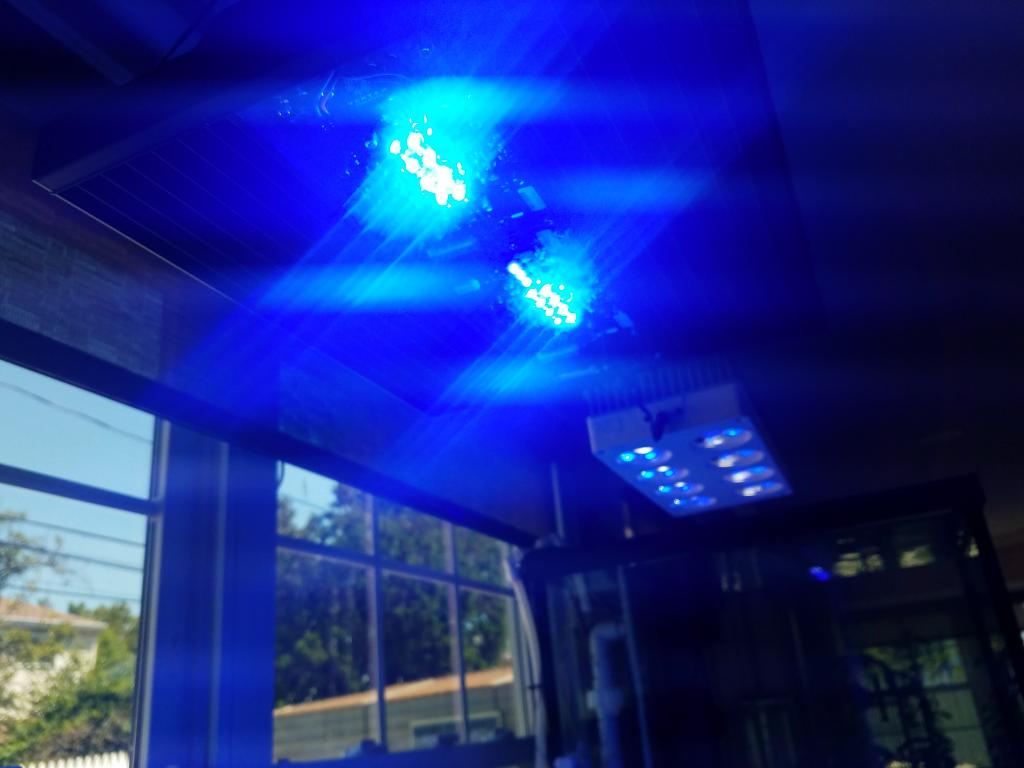
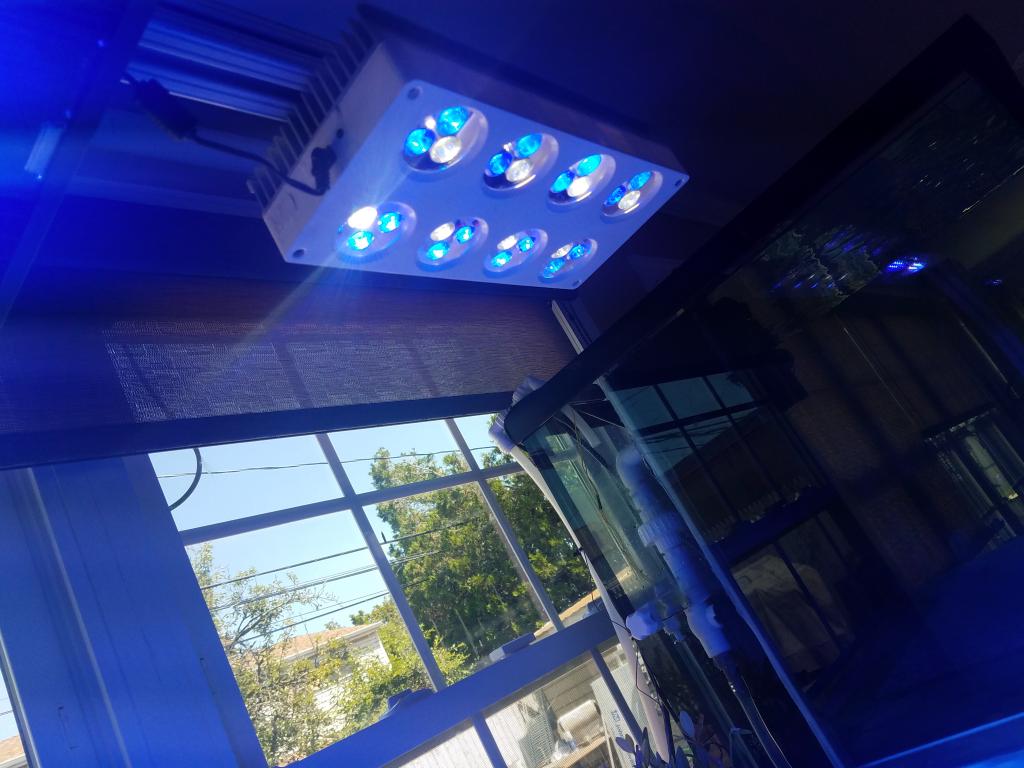
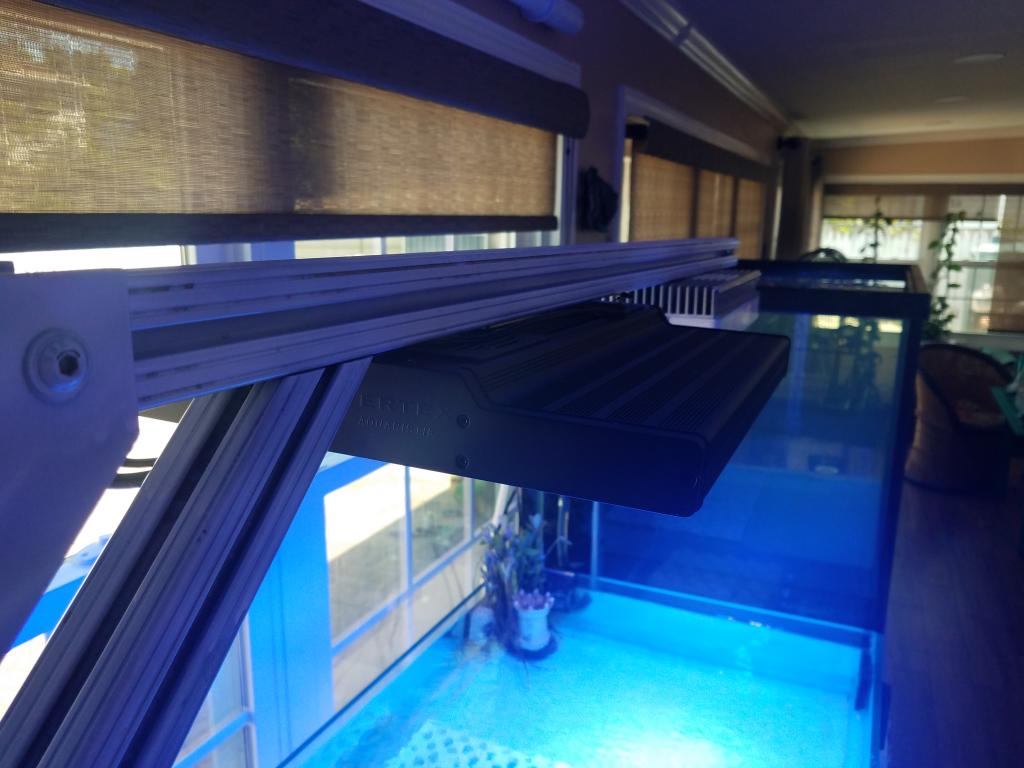
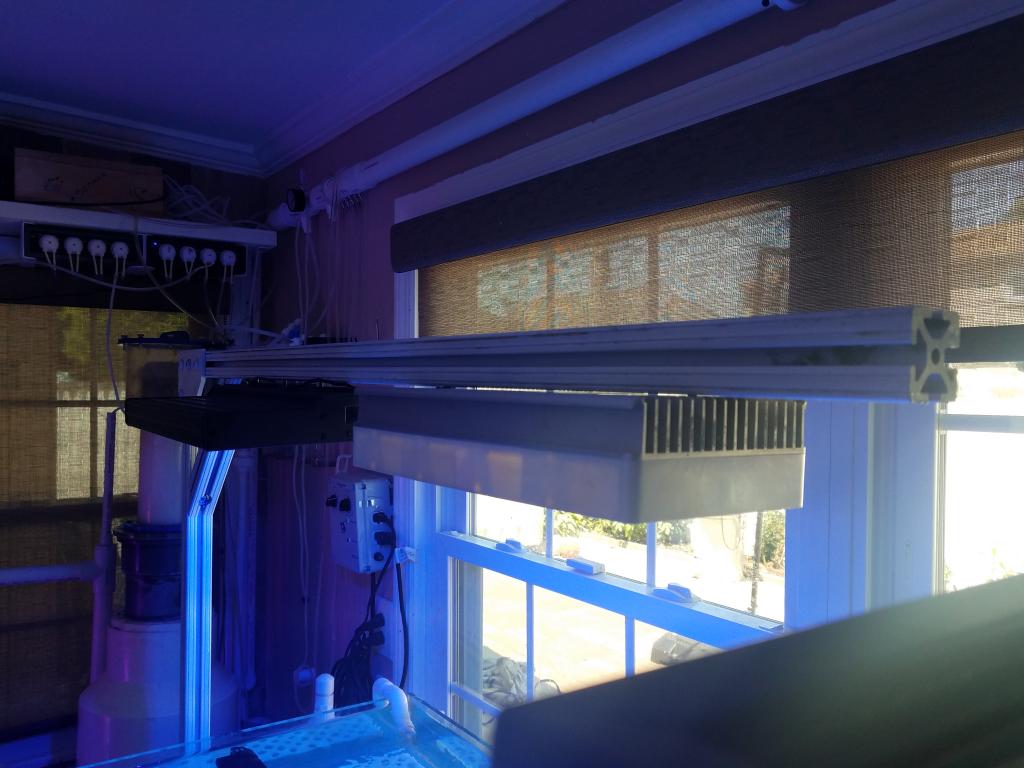
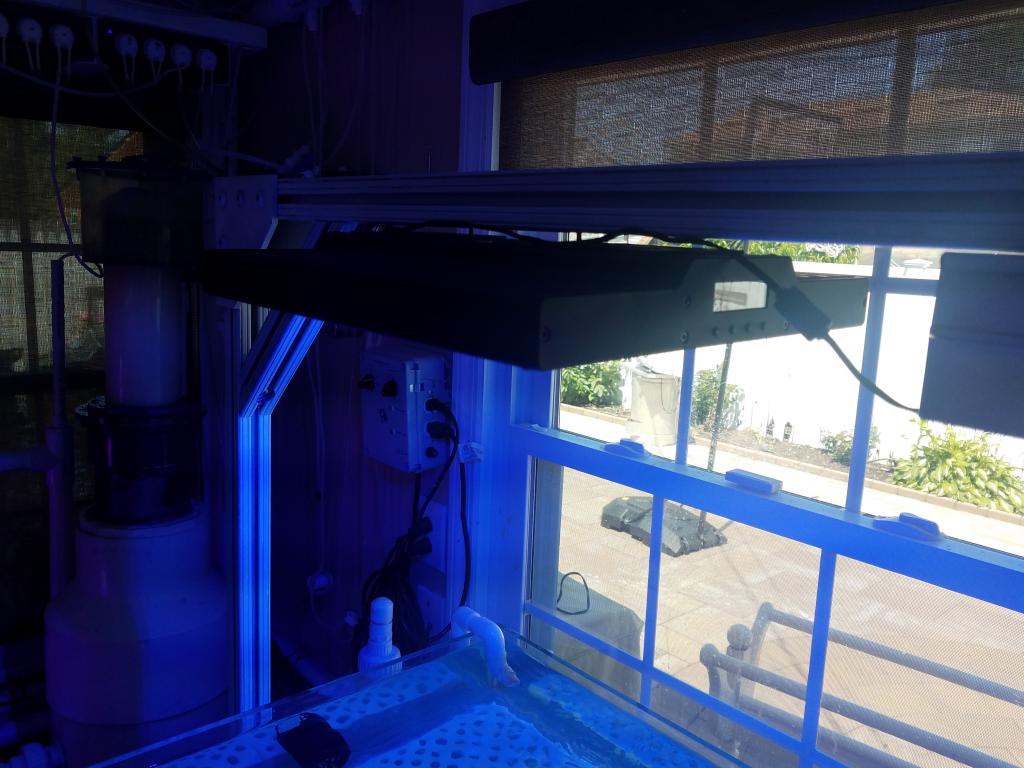
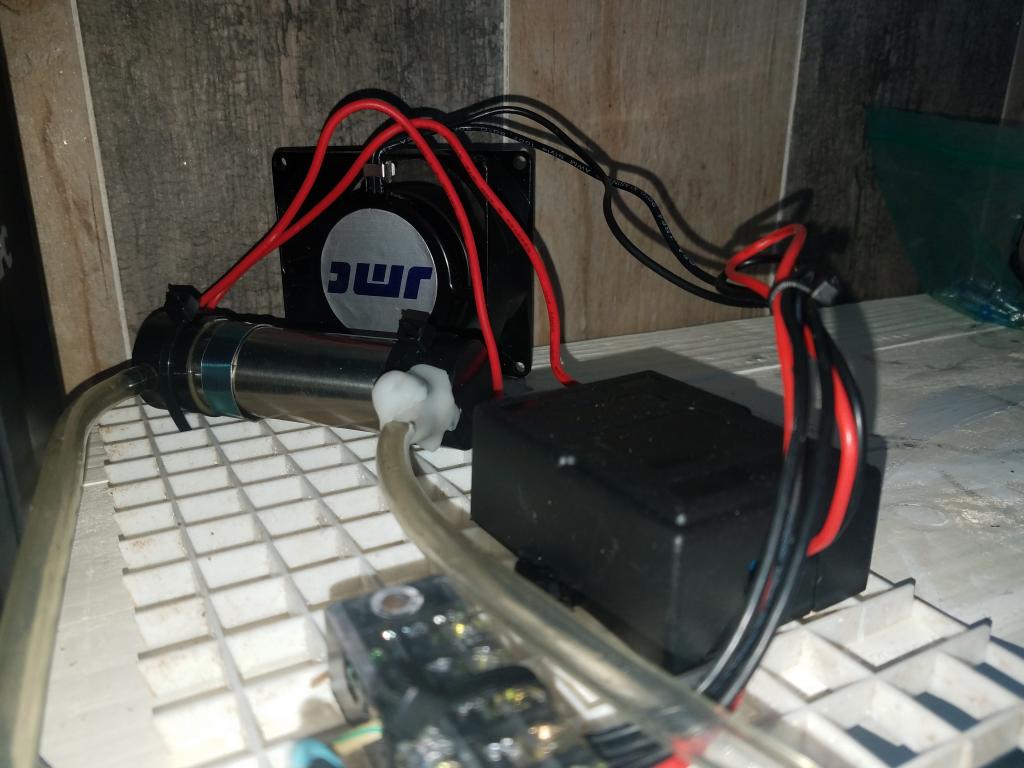
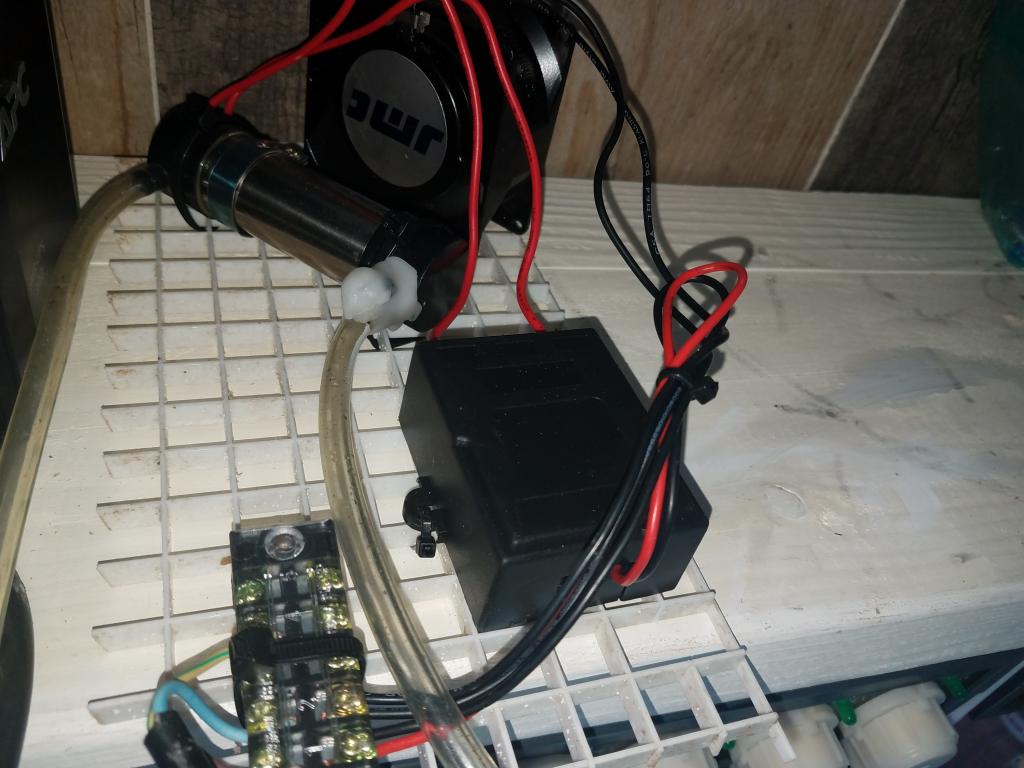
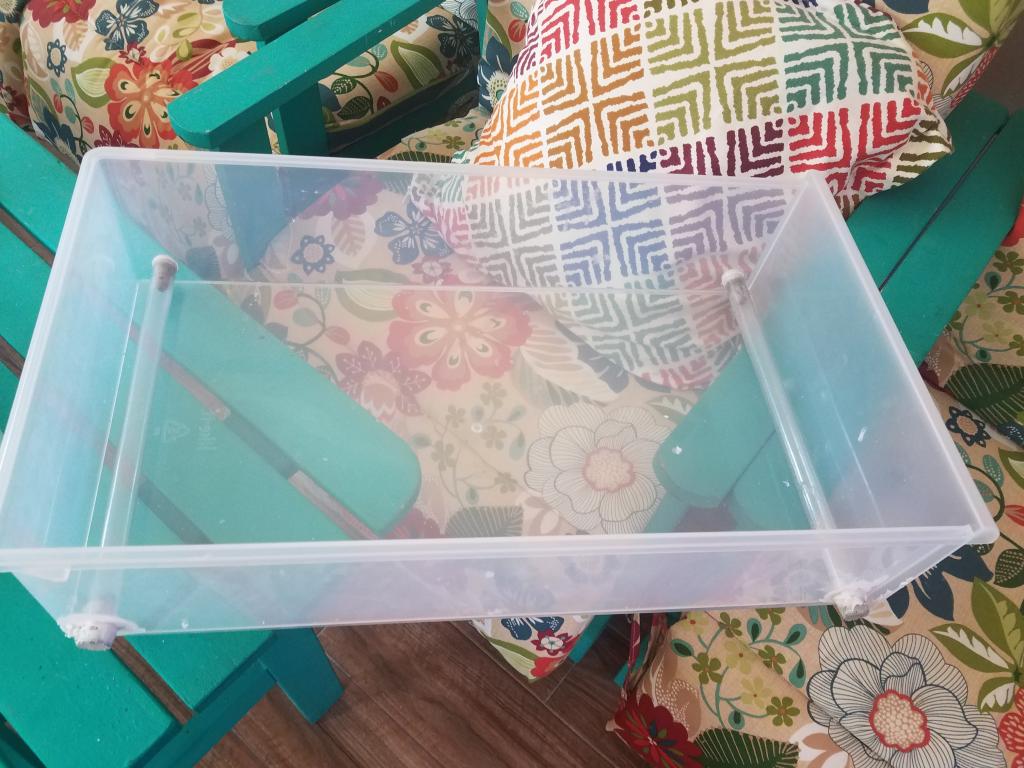
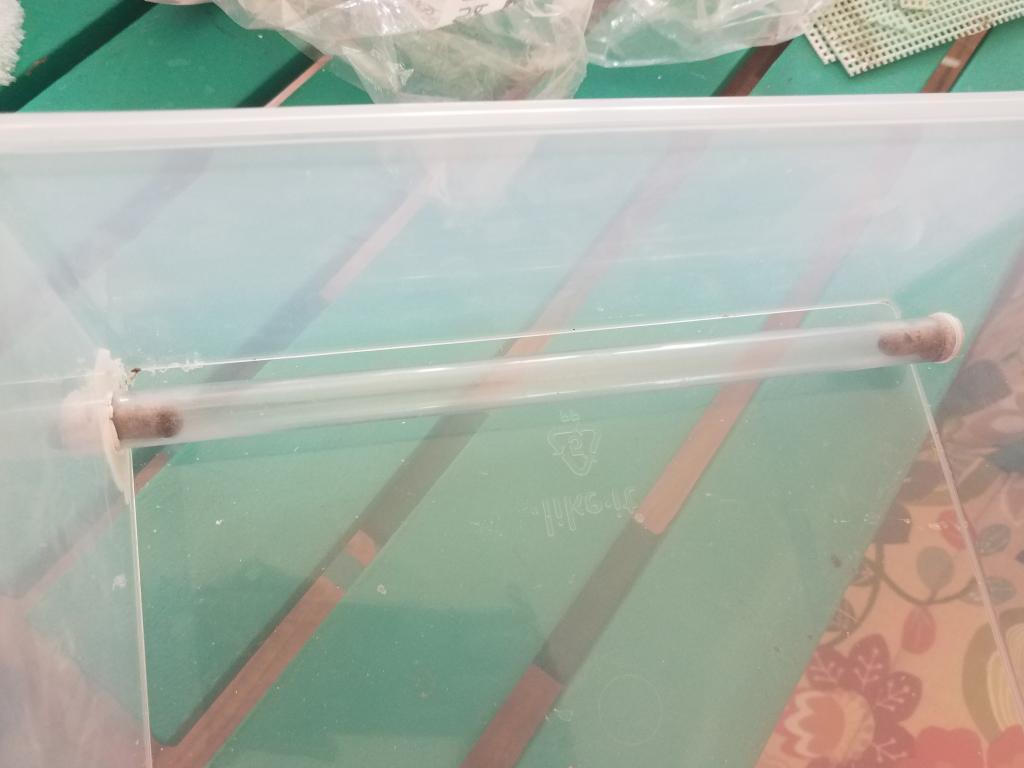
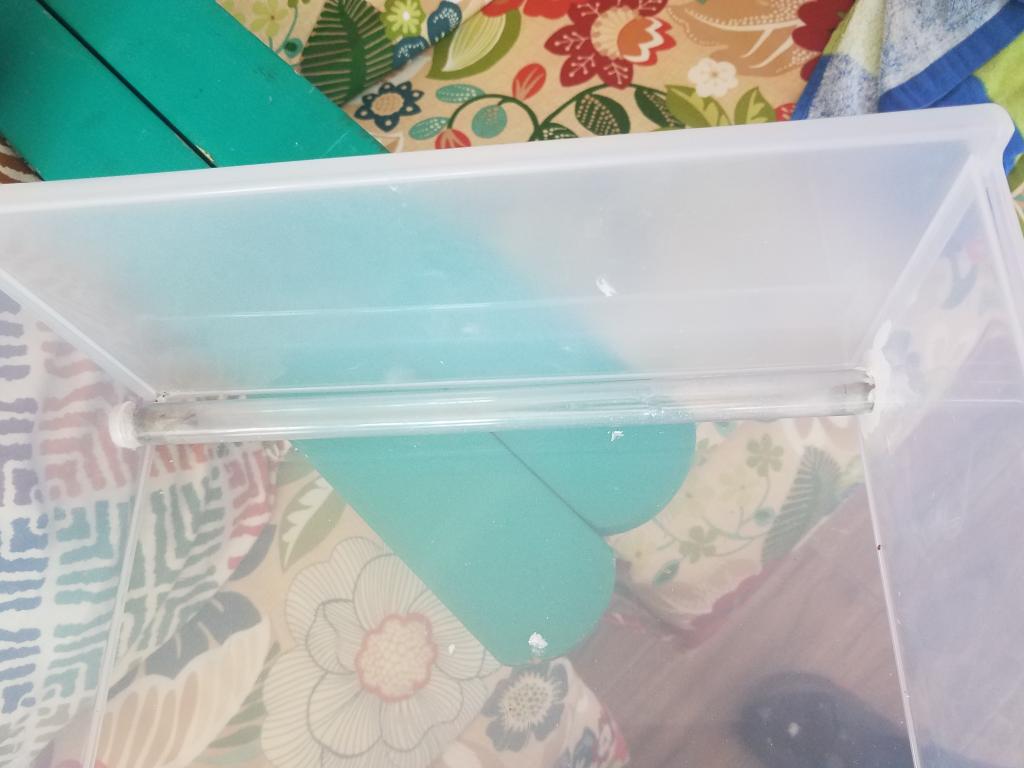
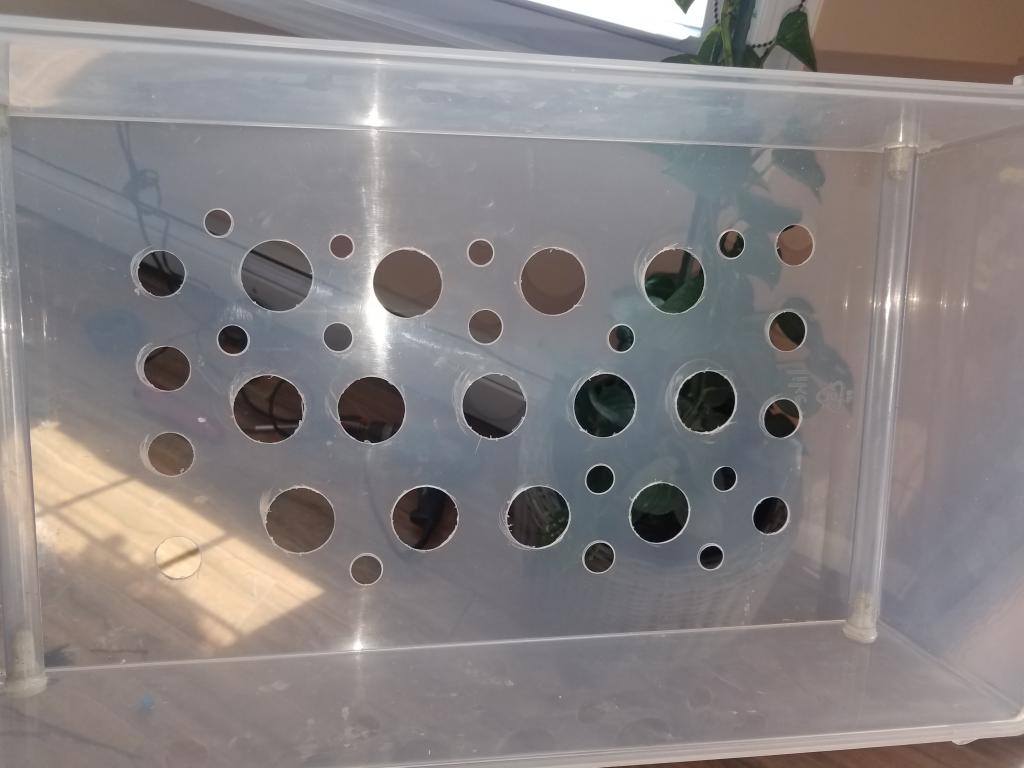
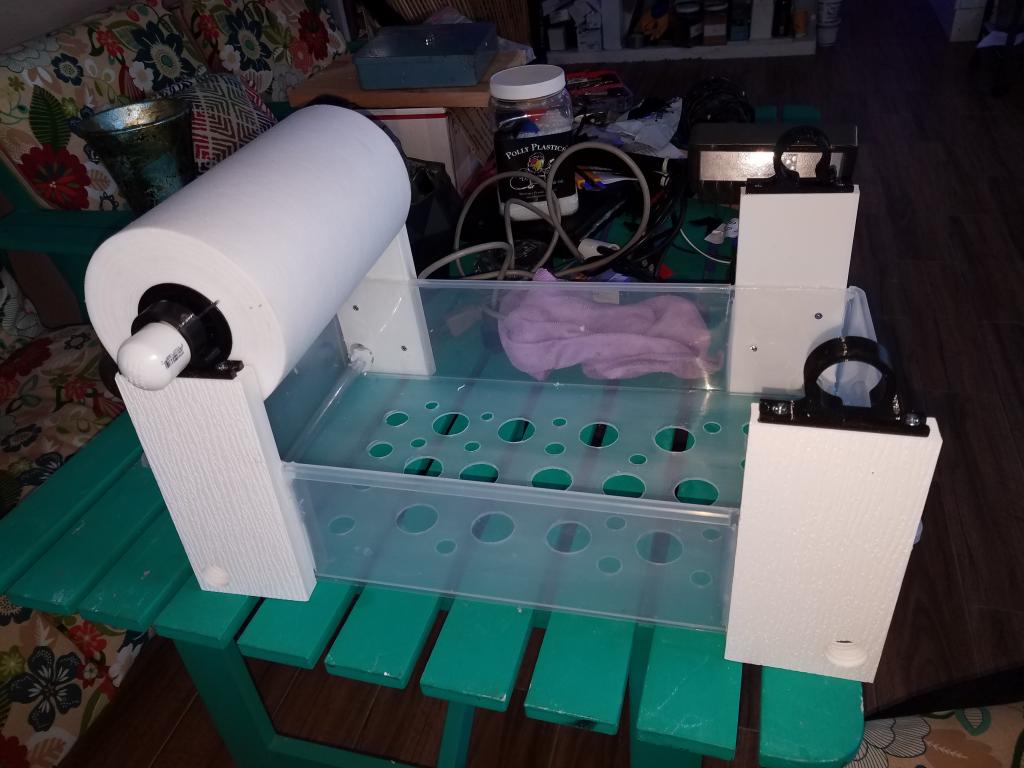
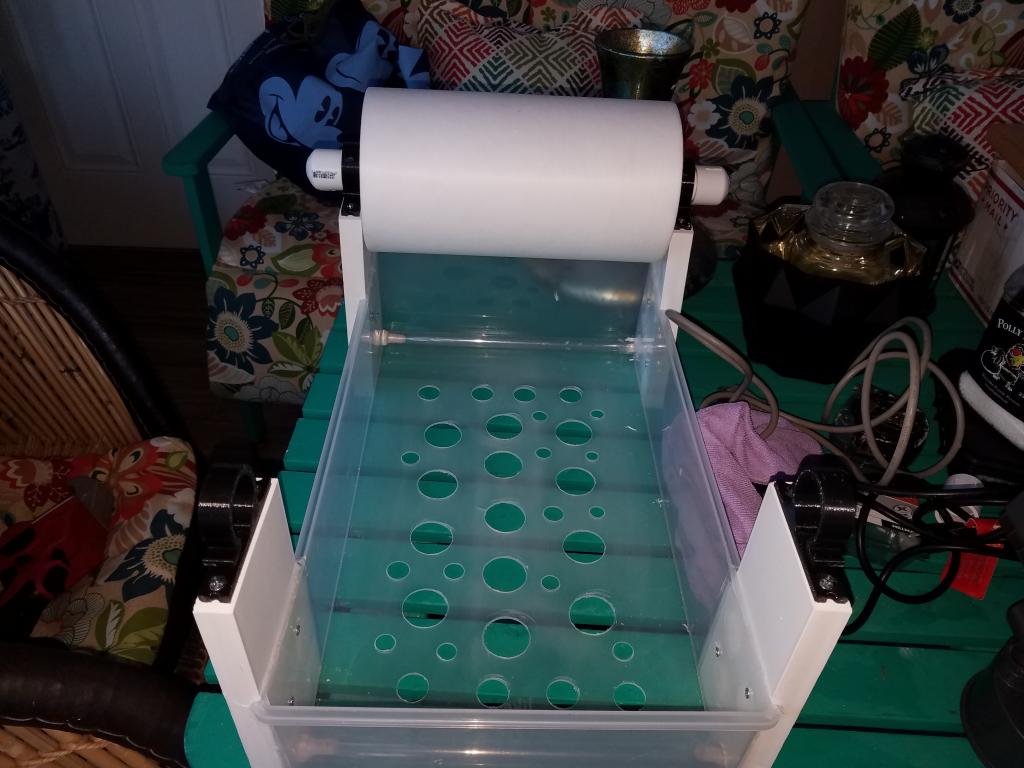
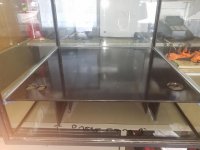
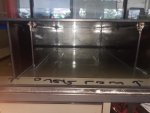
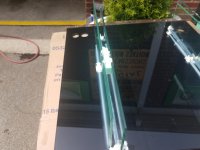
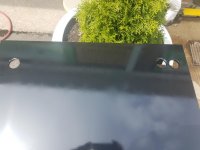
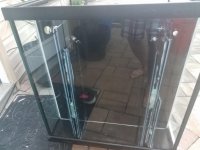
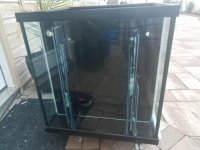
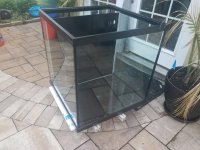
hello reefers, so I was looking for tank to be able to use for quarantine system and I wanted this tank to be stand alone system with its own filtration, heater, return pump etc, make long story short I wanted this tank to be AIO tank and tank dimensions can't before more than 24 wide x 24 deep and height is not an issue, so I started searching the for sale threads on local forums and I was able to find 60 gal cube non reef ready for very good price, I had that tank picked up and decided to convert this tank to AIO tank, I had pieces of glass cut out and designed the layout of the baffles and dividers and I came up with pretty universal design that will give me room for fuge or skimmer area and 1 section for return and 1 section for media, if I decide to add carbon or poly filter or gfo I will be able to use this section for that purpose, since I have repair shop I was able to do it all at my work and let it sit till it dries and I tell you it came out nice and I am very happy with final result, I have the heater and small pump that will run the system and I will add float switch and add separate pump to keep the water level steady since this tank will be sitting very close to ATO container, this tank will sit on white granite that is shown picture above, any live stock I buy from store will be kept in this tank and monitored and treat only if needed, this will be hospital tank, once I confirm that live stock is healthy and eating with no sign of stress then it will go to display tank,
 

Attachments

  • 20190612_124705.jpg
    20190612_124705.jpg
    71.1 KB · Views: 404
  • 20190612_124711.jpg
    20190612_124711.jpg
    69.9 KB · Views: 404
  • 20190612_111647.jpg
    20190612_111647.jpg
    67.5 KB · Views: 390
  • 20190612_111642.jpg
    20190612_111642.jpg
    79.8 KB · Views: 399
  • 20190612_111637.jpg
    20190612_111637.jpg
    95.7 KB · Views: 403
  • 20190612_111314.jpg
    20190612_111314.jpg
    77.8 KB · Views: 404
  • 20190613_201833.jpg
    20190613_201833.jpg
    78.2 KB · Views: 401
  • 20190613_201829.jpg
    20190613_201829.jpg
    73.6 KB · Views: 393
  • 20190613_201824.jpg
    20190613_201824.jpg
    82.9 KB · Views: 402
  • QTTank.jpg
    QTTank.jpg
    24 KB · Views: 397
  • 20190613_201817.jpg
    20190613_201817.jpg
    102 KB · Views: 420

ravi197699

Thruster
Vendor
Location
Hicksville
Rating - 100%
151   0   0
Hello reefers, Happy Monday!, so as you all know that I have been busy setting up stand alone QT tank to quarantine my live stock, so yesterday I bought simple plumbing parts to fire up the tank, Made 60 gallons of fresh water mixed salt and while water is mixing I got busy with plumbing which is very simple, I had Oceanic pump from bio cube that I am using as return pump, 1 ball valve (1/2") and that was it, I am using 200W heater that is sitting in middle section that is fully submerged and will stay submerged even if power goes out because that section holds water for fuge or filter media, I had brightwell bio bricks that were laying in my sump from 6 weeks, I filled 60 gallon tank with display tank water and put 2 bricks in the 60 gallons because these bricks are loaded with beneficial bacteria, I was checking prices for media basket/ rack for AIO tanks and prices were in rage of 60 to 80 bucks depending on brand and sizes, So I decided to make my own media basket/ rack with egg crate that I bought from Lowe;s, I cut out the sizes and slide it in the first section where water is draining into and it has 3 shelves, 1st shelve has filter pad which is working great and water clarity is 60% better than what I start with, second and third shelve will be used for carbon to remove medication and such, so option is there if I want water to run through media of any sort, it cost me 16 bucks + 30 min of my time, now water is staying low in the 60 gallon as your guys can see in the pictures, I drilled drain holes 2 inch lower from top and it is staying at that level, I am installed overflow weir box that will raise the water levels in the tank, It is getting 3d printed and I should have it this week, once I install this box it should look neat and much more appealing.. more picture to come when I order live stock...
 

Attachments

  • 20190616_140640.jpg
    20190616_140640.jpg
    90.9 KB · Views: 346
  • 20190616_140646.jpg
    20190616_140646.jpg
    71.5 KB · Views: 342
  • 20190616_140652.jpg
    20190616_140652.jpg
    86.1 KB · Views: 351
  • 20190616_140656.jpg
    20190616_140656.jpg
    95.2 KB · Views: 354

ravi197699

Thruster
Vendor
Location
Hicksville
Rating - 100%
151   0   0
Hello reefers, Happy Monday!, I had aluminum t slot 10 series laying around from when broke my 350 gallon down, I used 2 of the pieces and 2 brackets, all the hardware and material was laying around so it was not bad at all, it did not took long to put it together as you all know it is very easy to assemble things with this material, it is simple design 2 long pieces put together in an "L" shape, and I bought hardware from Lowes to be able to slide the lights into the T slots, Lights I am using on this frag tank were bought pre-owned sometime back, I am using 2 different brand fixtures as you can see, 1st one is made by vertex and it has UV module installed on this, 2nd one is Aqua Illuminations Sol blue, GOD know how old is this fixture but it is working fine and I will keep it on till it goes out completely, I like the punch from AI better than Vertex, Vertex fixture is more in spread and even light and AI has bright spot right under the light but it does cover the sides as well, I might be able to out corals that need more punch right under and LPS and softies under the vertex, Vertex is fully automated and I was able to program the light easily so it follows the sun rise and sunset, AI is controlled via apex which is not bad at all, Cleaned up the frag tank and I put three frag racks that I bought new from another reefer, Now I need to check the water parameters of my tank 1 more time to make sure that my tank is ready for corals. more pictures and updates to come, work is a lot less that what I started, Just going to do some maintenance on the tank going forward and making some of the tweaks on things that I can make better,
 

Attachments

  • 20190623_144832.jpg
    20190623_144832.jpg
    84.4 KB · Views: 341
  • 20190623_144834.jpg
    20190623_144834.jpg
    88.9 KB · Views: 337
  • 20190623_144840.jpg
    20190623_144840.jpg
    41.1 KB · Views: 347
  • 20190623_144842.jpg
    20190623_144842.jpg
    52.7 KB · Views: 306
  • 20190623_144845.jpg
    20190623_144845.jpg
    82.1 KB · Views: 318
  • 20190623_144847.jpg
    20190623_144847.jpg
    73.2 KB · Views: 332
  • 20190623_144854.jpg
    20190623_144854.jpg
    79.8 KB · Views: 320
  • 20190623_144858.jpg
    20190623_144858.jpg
    88 KB · Views: 345
  • 20190623_181942.jpg
    20190623_181942.jpg
    72.3 KB · Views: 332

ravi197699

Thruster
Vendor
Location
Hicksville
Rating - 100%
151   0   0
Hello reefers, sorry for the delay on the updates of the tank, I have been busy on couple of diy project for this tank, I have been noticing that I need to change filter socks more frequently and I don't like that at all, I have been busy blowing rock with jebao pump to blow off the detritus and other stuff from pores of the rocks and filter sock gets clogged quickly. So I had to items in my mind that I wanted to build to have crystal clear water in my tank. ozone reactor and DIY automatic roller fleece filter, I bought diy 500 mg ozone generator from ebay and put together with cooling fan to keep it cool while it is on and I see my orp is raised and my skimmer is doing well as well here are the pictures of the ozone generator it is very simple and very minimal work needs to be done to run it, it comes on at night for few hours, air goes though it to go in skimmer directly and drain of the collection cup goes outside to drain, no ozone is leaked inside the house, skimmer is completely air tight. second project is diy roller fleece filter sock, it is simple design where 1 side is roller mat and other side is pvc pipe with motor and float switch in the tray, I bought this plastic tray from the container store and it is good size, measurements are 12" wide x 20" long x 4" high, I have 2 clear pvc guides that will guide the fleece and it will be rolled as it gets clogged. water will be draining from the base of the tray where I have drilled multiple holes and float switch will be monitor the water level, if water level rises then float switch will trigger the motor to turn and new fleece will be pulled and clogged fleece will be rolled on pvc, size of the roller fleece is 10" wide and it is 40 micron and it is 300 feet of paper, I will see how long it will last. my 2 main drains will drain in the tray and my skimmer drain will be drained in this tray as well. All the water will be filtered. here are the pictures of the progress, I am planning to finish this tray by this weekend and try to install this by removing the filter stock holder, I can't keep up with the demand of clean filter socks, I want to take advantage of automation and less work maintaining and more time enjoying..
 

Attachments

  • 20190707_102709.jpg
    20190707_102709.jpg
    83.4 KB · Views: 277
  • 20190707_102713.jpg
    20190707_102713.jpg
    95.3 KB · Views: 269
  • 20190707_102737.jpg
    20190707_102737.jpg
    86.8 KB · Views: 278
  • 20190704_105530.jpg
    20190704_105530.jpg
    111.6 KB · Views: 277
  • 20190704_105533.jpg
    20190704_105533.jpg
    102.5 KB · Views: 283
  • 20190704_105535.jpg
    20190704_105535.jpg
    47.6 KB · Views: 288
  • 20190704_105537.jpg
    20190704_105537.jpg
    60.5 KB · Views: 272
  • 20190707_103558.jpg
    20190707_103558.jpg
    60.7 KB · Views: 276
  • 20190707_191335.jpg
    20190707_191335.jpg
    82.1 KB · Views: 279
  • 20190707_191331.jpg
    20190707_191331.jpg
    85.2 KB · Views: 271

ravi197699

Thruster
Vendor
Location
Hicksville
Rating - 100%
151   0   0
I have not installed the motor yet, that is pending for Saturday, once It is complete I will post pictures of it complete and then pictures of how it will sit in the sump working, This is simple design... professional roller mat filters are more compact and surface area is very little, this roller is 10" side and water will be draining and going through 20 inches of paper.


I will share info on where to get this paper fleece roll and this perticular 1 is 40 micron and next 1 is going to be 20 micron or lower, i want my tank water to be crystal clear or at least that will be the goal..
 

Sponsor Reefs

We're a FREE website, and we exist because of hobbyists like YOU who help us run this community.

Click here to sponsor $10:


Top