


You are using an out of date browser. It may not display this or other websites correctly.
You should upgrade or use an alternative browser.
You should upgrade or use an alternative browser.
What do you mean I'll want to upgrade right away?
- Thread starter LaurieC
- Start date


The Call I'd Been Waiting For
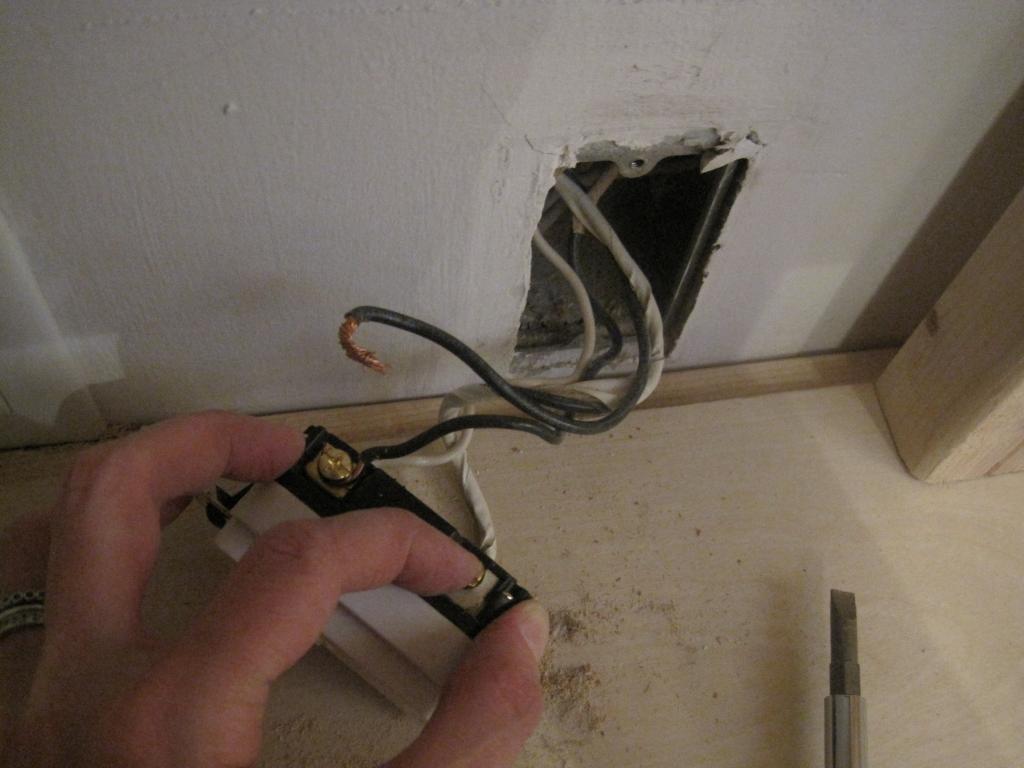
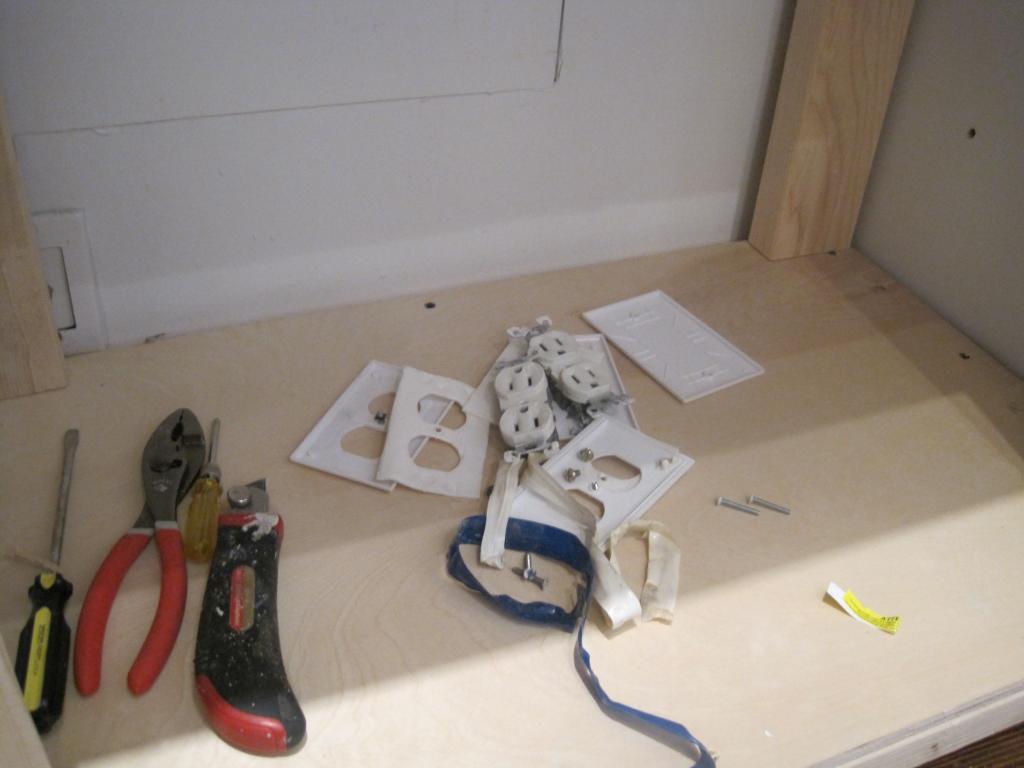
The week of Oct. 18 Russ and Jim called--everything was in and they'd deliver on Sat. In the meantime, I replaced the outlets around the tank area with GFCI outlets. Thank you NYCJoe for the tip! I got the outlets from Home Depot, turned off the power to the appropiate walls at the fuse box and held my breath when I pulled out the first wire!
The week of Oct. 18 Russ and Jim called--everything was in and they'd deliver on Sat. In the meantime, I replaced the outlets around the tank area with GFCI outlets. Thank you NYCJoe for the tip! I got the outlets from Home Depot, turned off the power to the appropiate walls at the fuse box and held my breath when I pulled out the first wire!
Attachments

- Location
- Union Square, NY
This is a GREAT tank log!
This is a GREAT tank log!
Agreed, this is what I try doing but get too involved with the build and forget the pics.
Christmas in October!
My husband took one look at what I had planed for the fish tank and decided that the weekend everything arrived, he was getting out of Dodge. He took off to AC to play cards.
Jim arrived bright and early with the packages.
90G AGA tank with overflow 48 x 18 x 24
Sunlight Supply Maristar 48" MH/T5 Combo and mounting bracket
2 Sun System Galaxy Select-A-Watt 250w/400w electronic ballasts
2 Phoenix 250w DE 14k Metal Halide Bulb
2 D & D Giesmann Pure Actinic+ 48" T5 Bulb
Super Reef Octopus XP2000 internal skimmer
Marineland Submersible Euro Utility Pump 5500
Two Little Fishies PhosBan Reactor
MiniJet 404
ESV Carbon
Vortech Battery Backup
Refractometer
ESV Salt System
Neptune Systems Ph Probe
100 Micron Filter Socks 7"
ViaAqua Titanium Submersible Heater 300 watt
ViaAqua Titanium Submersible Heater 200 watt
Box of live sand
Attachments
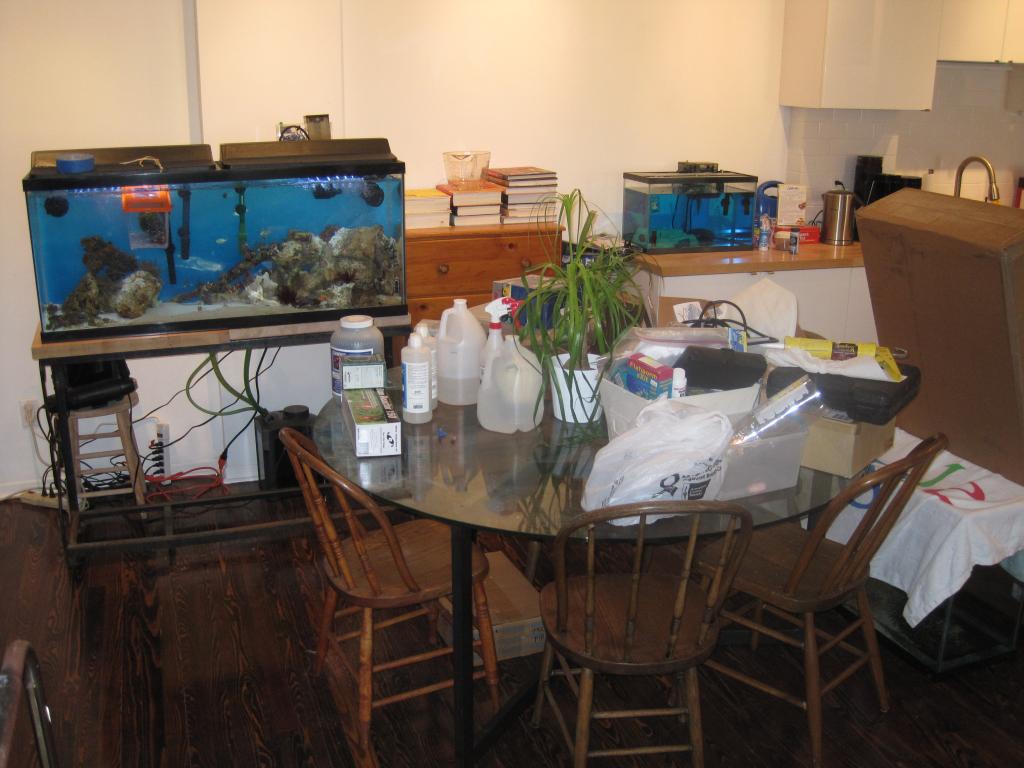
Do You See the Problem I See?
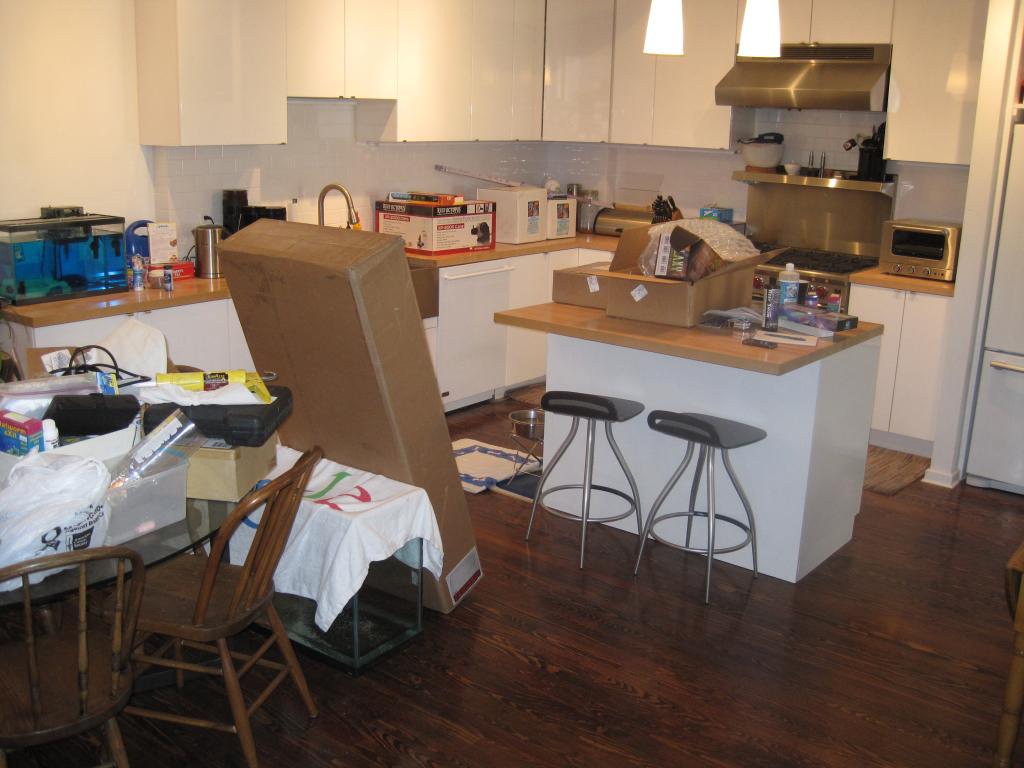
Oh joy, I had a blast unpacking and checking everything out. I felt like a little kid Christmas morning. So much fun. Oh, what a beautiful tank. How cool, it's so much bigger than my 55G. More room for corals and LR and for fish to swim around. It is so clean and shiny. And I can't wait to set up the Maristar lights. No more T8's. Wait a minute...what were the dimensions of the area for the tank??? Doesn't look like much room for the lights or for room getting in and out of the tank. Even if I can squeeze the lights in there over the tank, how am I going to get a big piece of live rock in the tank??? Uh-oh!!! Good thing hubby is in AC.
Oh joy, I had a blast unpacking and checking everything out. I felt like a little kid Christmas morning. So much fun. Oh, what a beautiful tank. How cool, it's so much bigger than my 55G. More room for corals and LR and for fish to swim around. It is so clean and shiny. And I can't wait to set up the Maristar lights. No more T8's. Wait a minute...what were the dimensions of the area for the tank??? Doesn't look like much room for the lights or for room getting in and out of the tank. Even if I can squeeze the lights in there over the tank, how am I going to get a big piece of live rock in the tank??? Uh-oh!!! Good thing hubby is in AC.
Attachments

Keep Calm
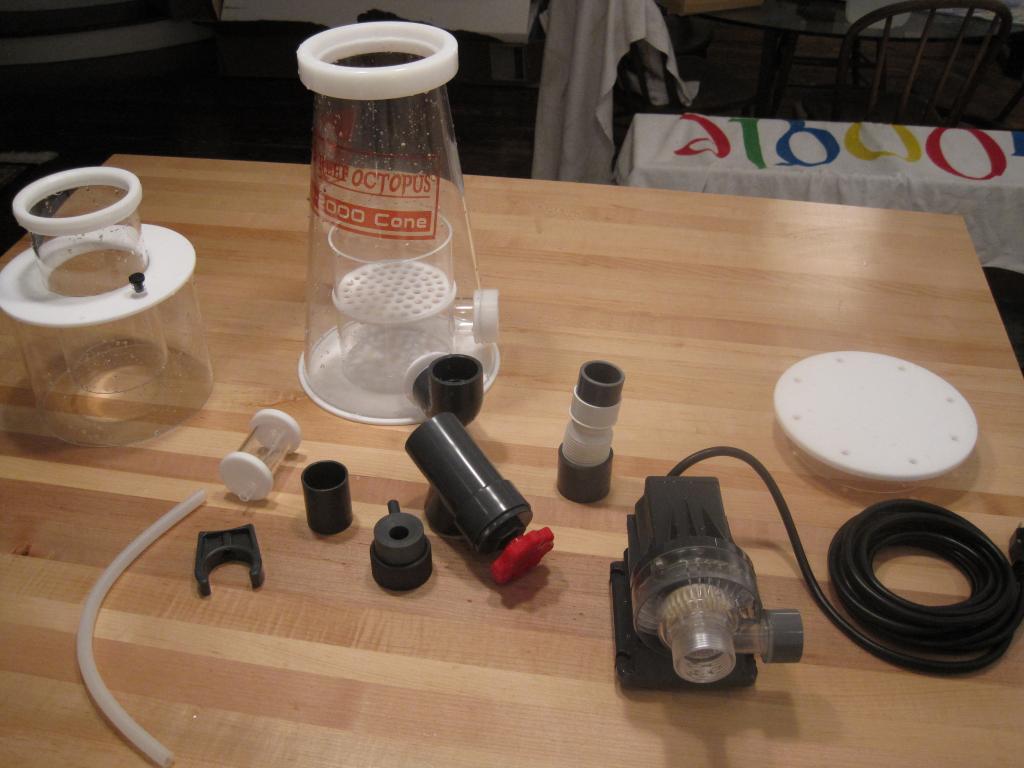
Hummm what to do??? I decide to put together the skimmer while I think about the tank area-light fiasco. The SRO 2000i is a monster compared to my old HOB skimmer.
Hummm what to do??? I decide to put together the skimmer while I think about the tank area-light fiasco. The SRO 2000i is a monster compared to my old HOB skimmer.
Attachments


Still Thinking
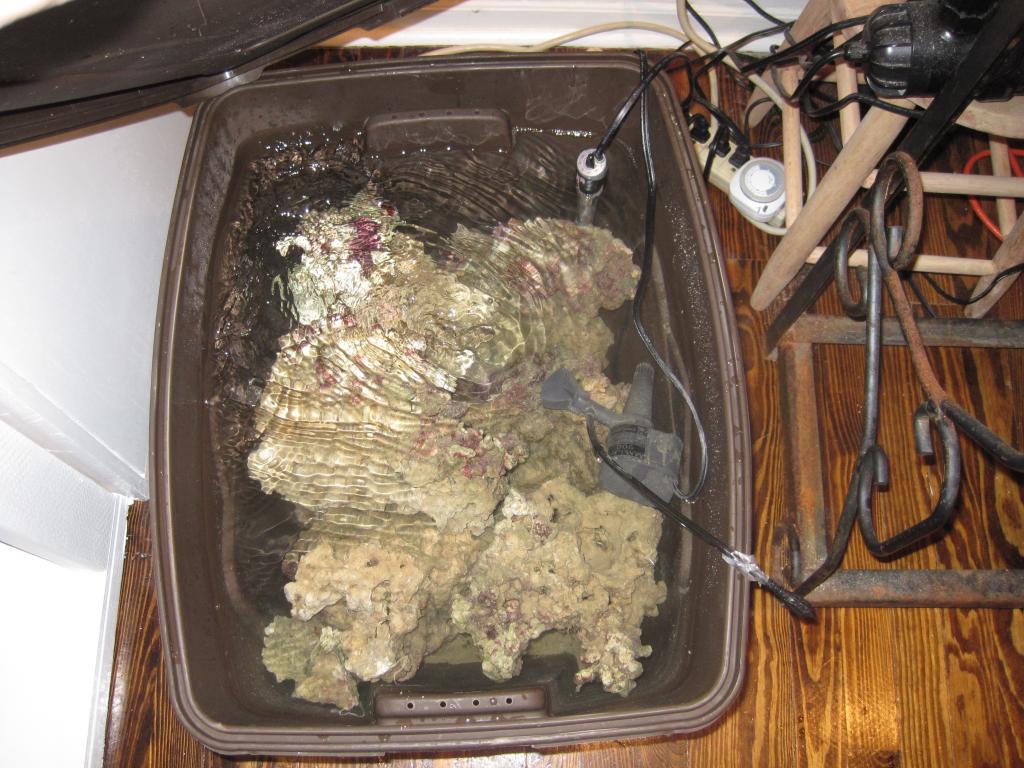
I got 40lbs additional live rock from the MR marketplace to bring me up to 100lbs. live rock for the new tank. Thank you PolandSpring! Sat. afternoon, I drove way out of Manhattan to pick up the live rock. This gave me time to figure out if I needed to call a lawyer to represent me in the divorce or what to do about my spacial goof-up.
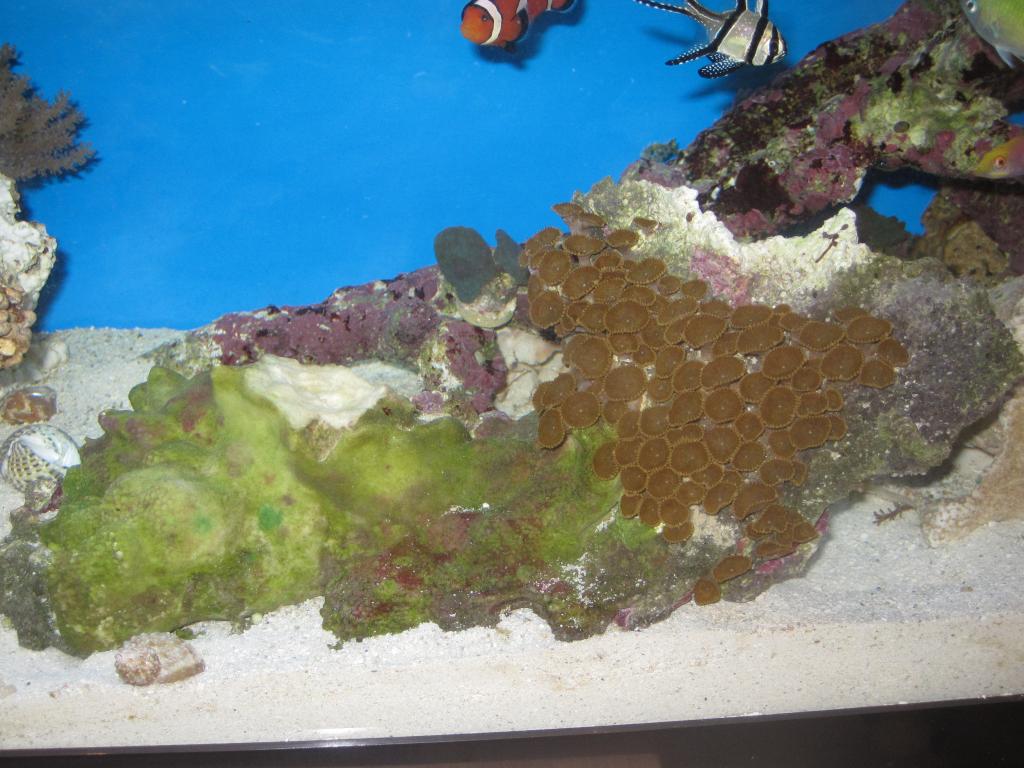
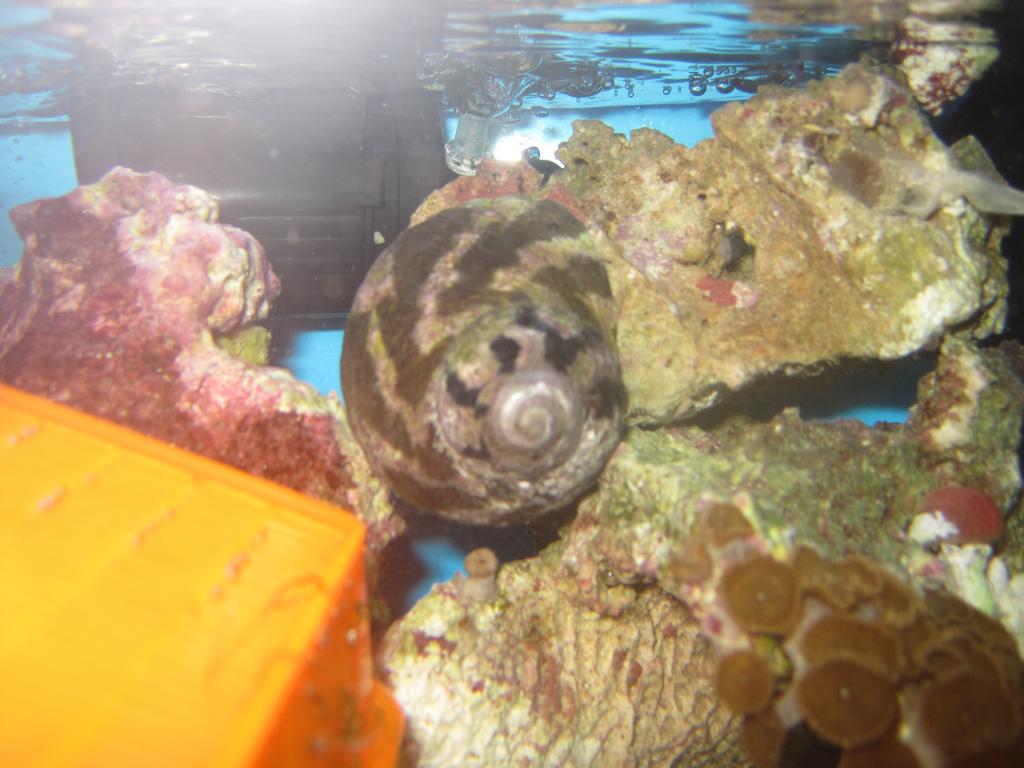
The new live rock was beautiful. Coralline covered, some polyps and frags. Even came with a monster Turbo snail. I'll have to keep an eye on him that he doesn't start plowing things over, but for now I'm loving him.
I got 40lbs additional live rock from the MR marketplace to bring me up to 100lbs. live rock for the new tank. Thank you PolandSpring! Sat. afternoon, I drove way out of Manhattan to pick up the live rock. This gave me time to figure out if I needed to call a lawyer to represent me in the divorce or what to do about my spacial goof-up.
The new live rock was beautiful. Coralline covered, some polyps and frags. Even came with a monster Turbo snail. I'll have to keep an eye on him that he doesn't start plowing things over, but for now I'm loving him.
Attachments
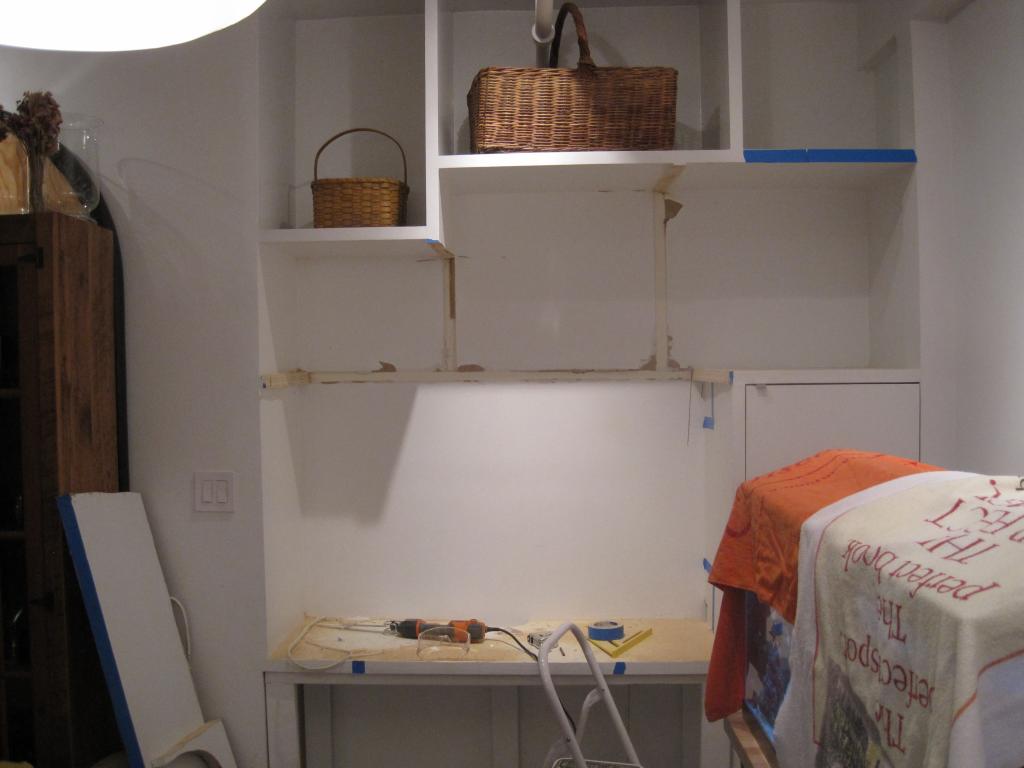
Those Shelves Are Just Going to Have to Come Down!
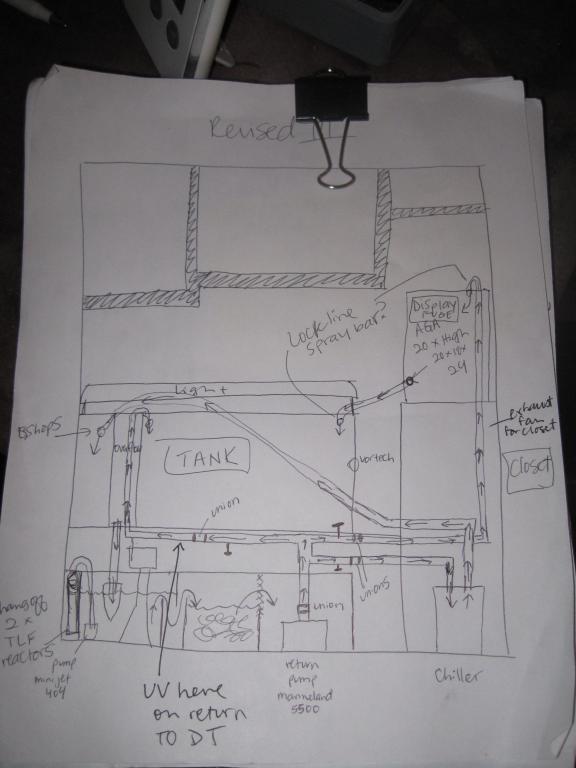
I had to face it, there was nothing else to do but to take the shelves down. But how? I got out some tape so I could think about the shelves and came up with a new plan...
I had to face it, there was nothing else to do but to take the shelves down. But how? I got out some tape so I could think about the shelves and came up with a new plan...
Attachments


Drill a Hole and Use a Jig Saw
Sunday, I went to Home Depot, they suggested a hole saw drill bit and jig saw. The plan: drill a hole in each corner and then cut a line with the jig saw. Made sense to me. Went home set everything up, put on the safty goggles and powered up. First the hole saw drill bit didn't make a dent in the wood. Well it made a 1/8" indent. I scrapped that and started to cut the shelves with the jig saw. I got one cut in, a nut flew off and the blade bent. Ok, I think it's time to stop. I'll just paint the back of the tank for now.
I turned the tank on its side so the back of the tank was up. I put some white vinegar in a spray bottle and sprayed the surface down and wipped it up with newspaper. Tip: newspaper cleans glass better than any other wipe or towel, but be sure to keep using crisp, dry sheets. Don't just wipe away with wet newspaper. While it was air drying, I placed painters tape all around the edges to catch any drips. Then I used a 9" roller with a "smooth" roller felt to apply the paint in thin coats. The roller was almost dry as I applied each coat. I did this three times--each time I looked from the underside of the tank to make sure the paint coverage was even. I used a foam brush for the edges near the black frame. I used Behr High Gloss Pure Black paint.
Attachments


Back to Home Depot
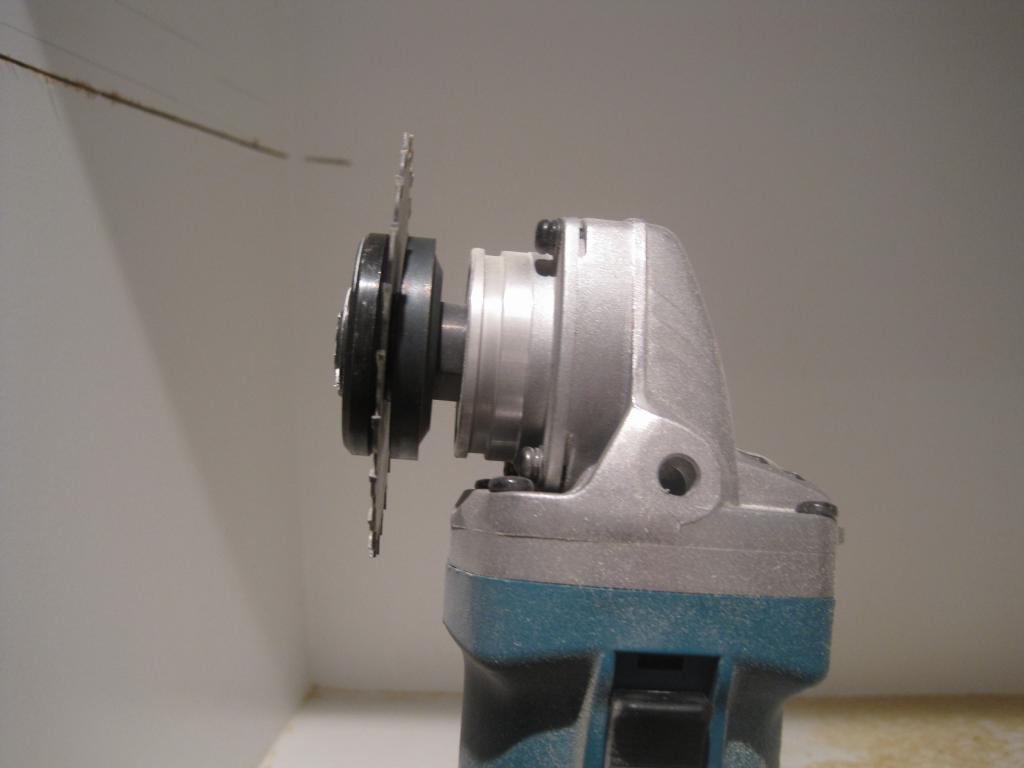
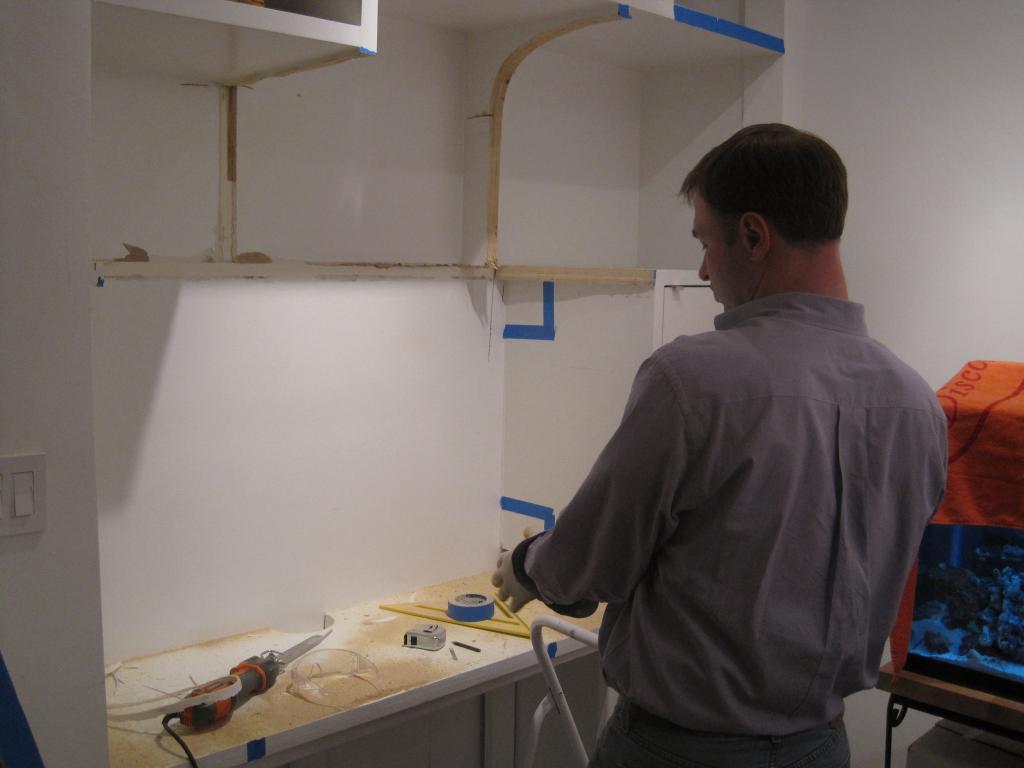
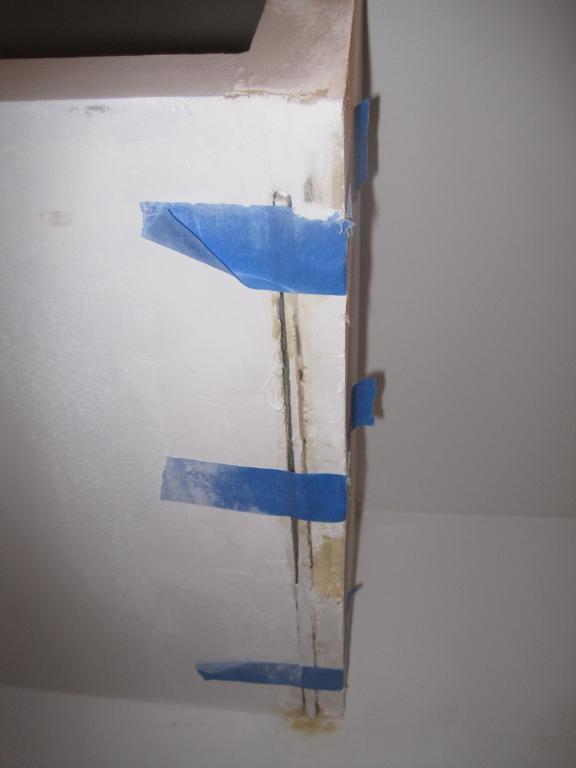
On Monday, I went back to Home Depot and gave them what-for for sending me off with a power tool that blew up in my hand. I left with plan B: a grinder with blade attachment. This is NOT for the faint of heart and I do not suggest trying this at home. To get close to the wall with the blade meant using the tool with the guard removed and making one cut from the underside of the shelf and another from the top side of the shelf. That's an open, spinning saw blade about an inch from your hand...
On Monday, I went back to Home Depot and gave them what-for for sending me off with a power tool that blew up in my hand. I left with plan B: a grinder with blade attachment. This is NOT for the faint of heart and I do not suggest trying this at home. To get close to the wall with the blade meant using the tool with the guard removed and making one cut from the underside of the shelf and another from the top side of the shelf. That's an open, spinning saw blade about an inch from your hand...
Attachments
Plan B Didn't Work...
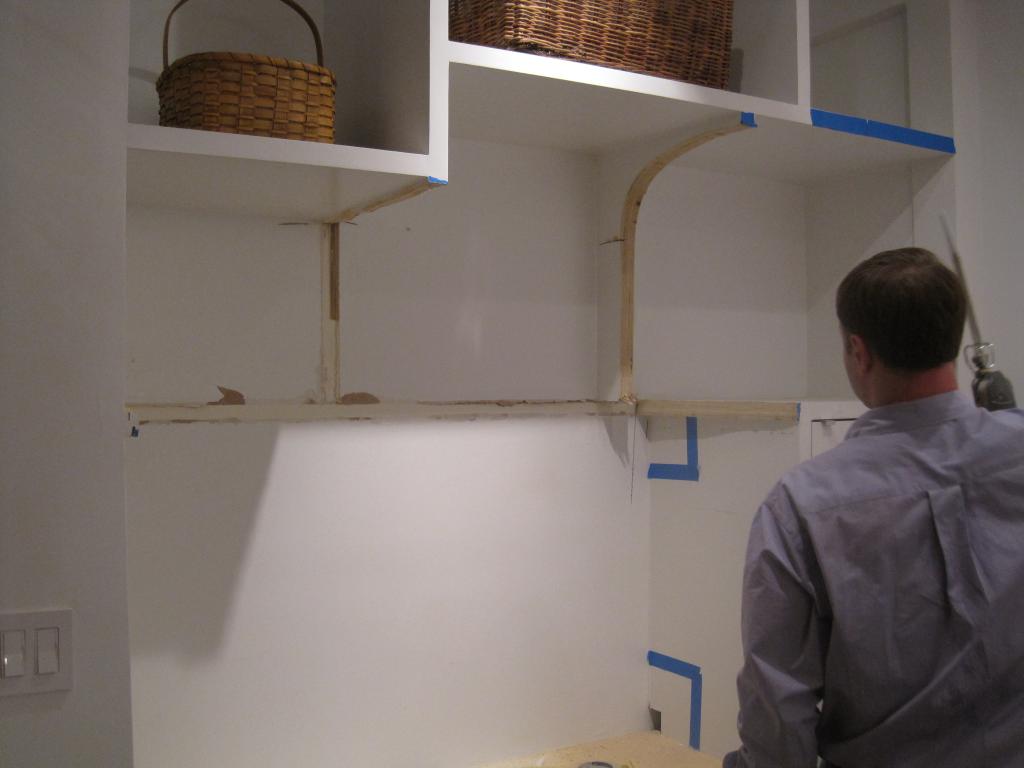
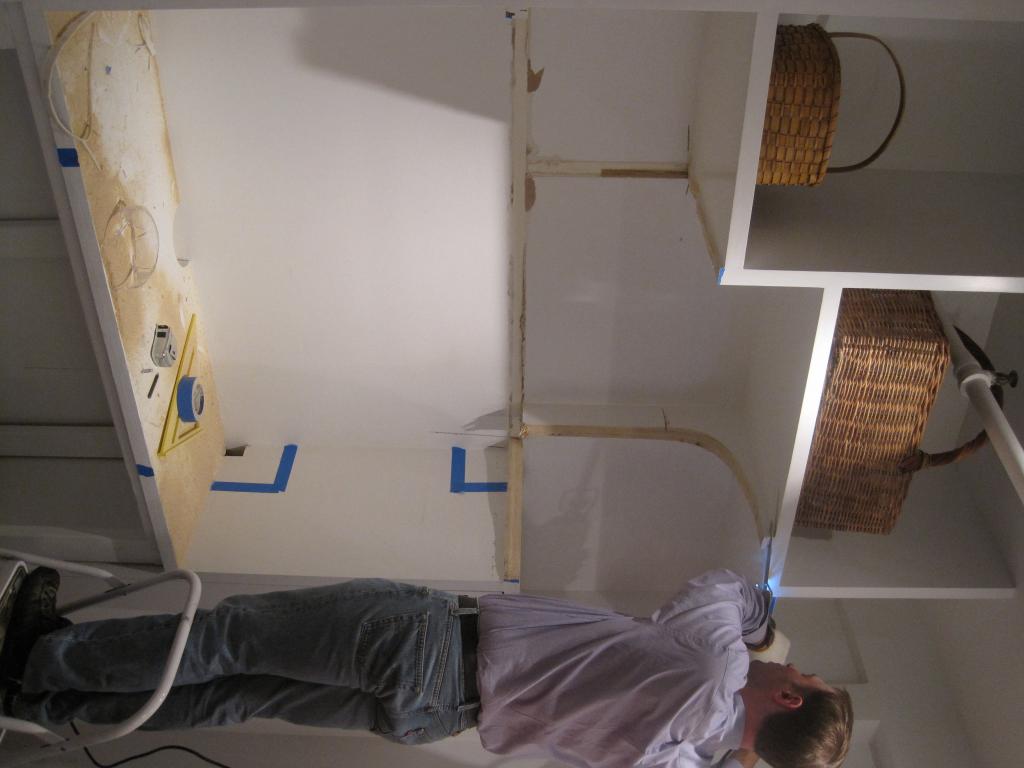
Tuesday: I'm beginning to hate the shelves. The grinder and blade cut through the wood, but even cutting from both sides of the shelf, a 1/4" piece of wood was left in the middle. I couldn't get it to cut all the way through the shelf. This meant I would have to get the sawzall. I was very afraid of the sawzall--it was huge, heavy and vibrated like crazy. It was time to swallow my pride and beg my husband for help.
Wed.: here's the pro at work. Hubby got the shelves down licky-split with the sawzall.
Attachments
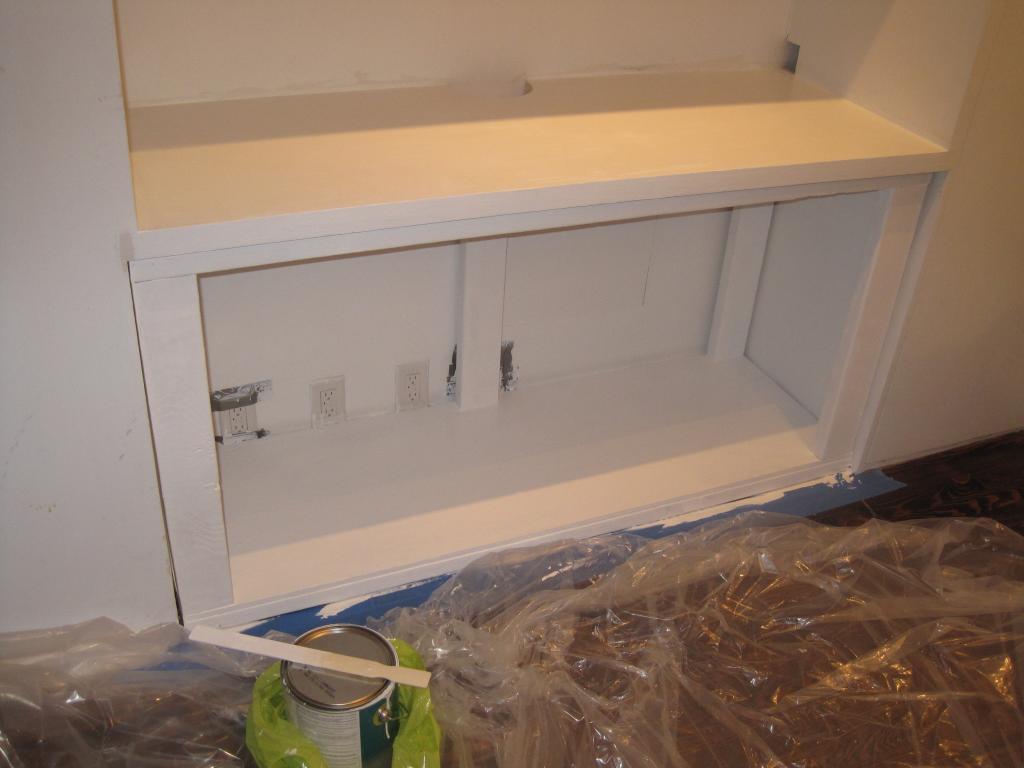
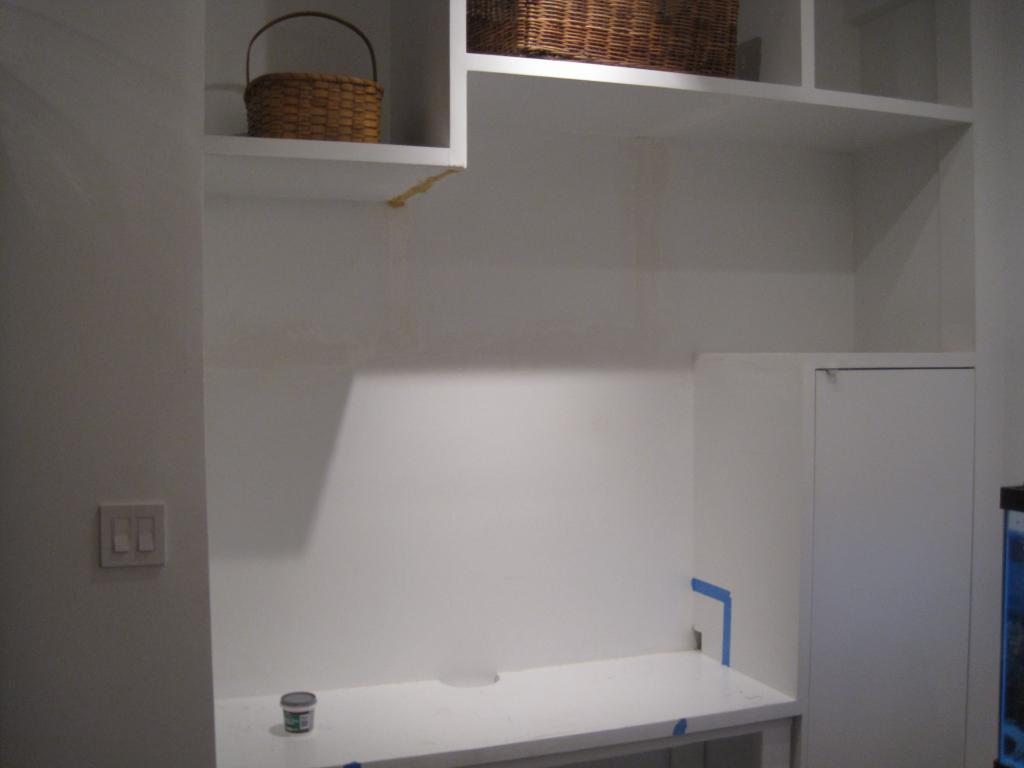
The Wall
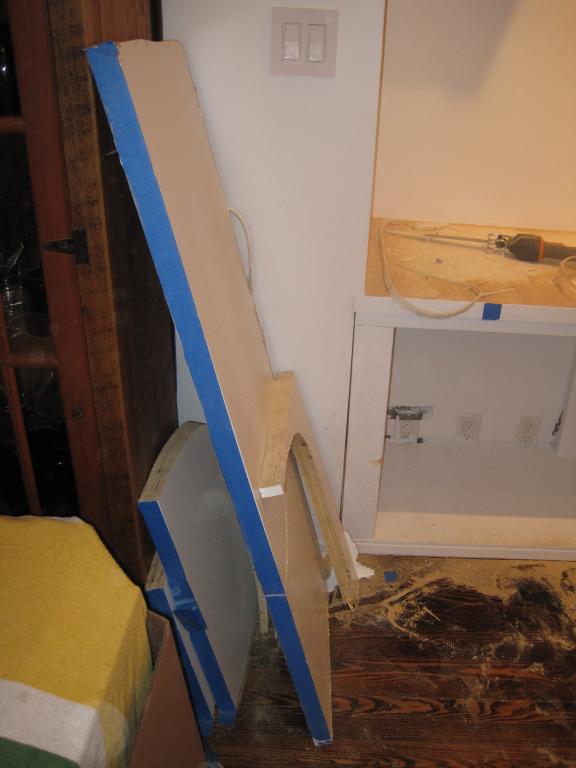
Sorry, for the long post-after-post as I had to get up to speed. I'm now to today, Saturday, Oct. 30th. I got up bright and early and went to Home Depot to get supplies. I'm on a first name basis with them now. lol! Today, I sanded, patched, spackled, sanded, spackled, sanded, primed the walls where once there were shelves. I am so happy to have those shelves down. Phew!!
Sorry, for the long post-after-post as I had to get up to speed. I'm now to today, Saturday, Oct. 30th. I got up bright and early and went to Home Depot to get supplies. I'm on a first name basis with them now. lol! Today, I sanded, patched, spackled, sanded, spackled, sanded, primed the walls where once there were shelves. I am so happy to have those shelves down. Phew!!
Attachments

Thanks Imbarrie, I have learned SO much since starting. People have been very generous with advice, time, help. MR has been the best. OH, by the way, on the center support beam--I didn't screw that one in so I could fit the sump in. The brace is fit really tight to the stand and I think I might not screw it in so I can remove it if I need to. This has been a much bigger project than I expected and I have a good bit ahead me still. And yet, when I see a post for a 200G or 400G tank for sale or trade, or an upgrade to a big tank. I think ohhhhhhhh, that would be great! What is wrong with me? Lol!
Sponsor Reefs
We're a FREE website, and we exist because of hobbyists like YOU who help us run this community.
Click here to sponsor $10:
