- Location
- Elizabeth, NJ
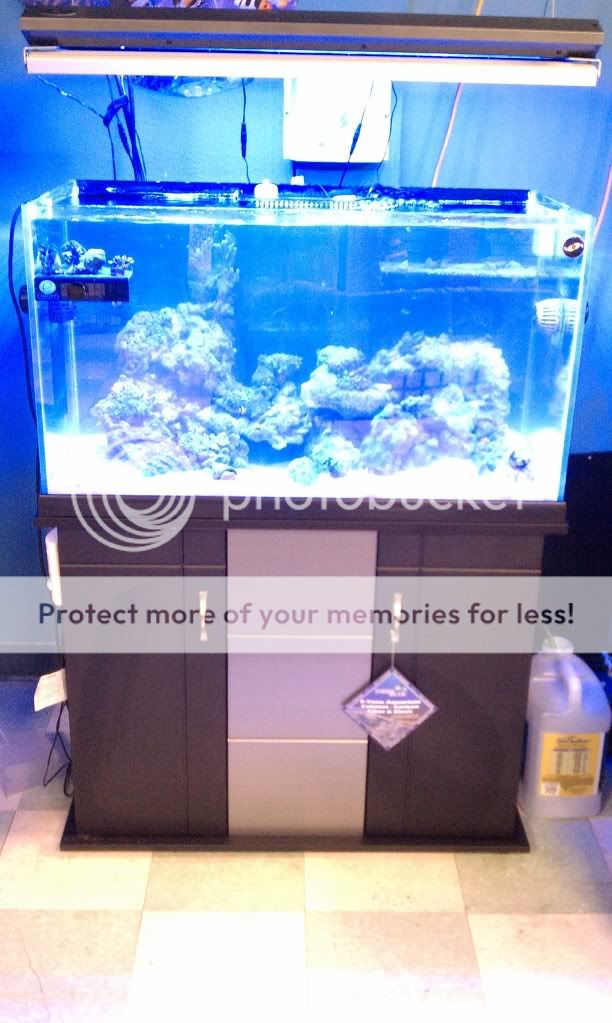
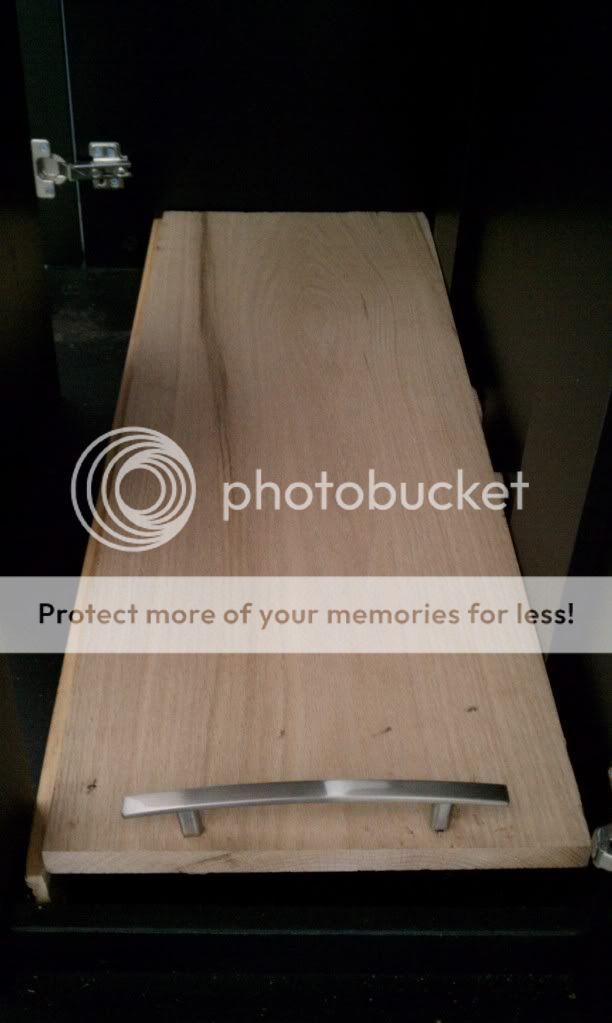
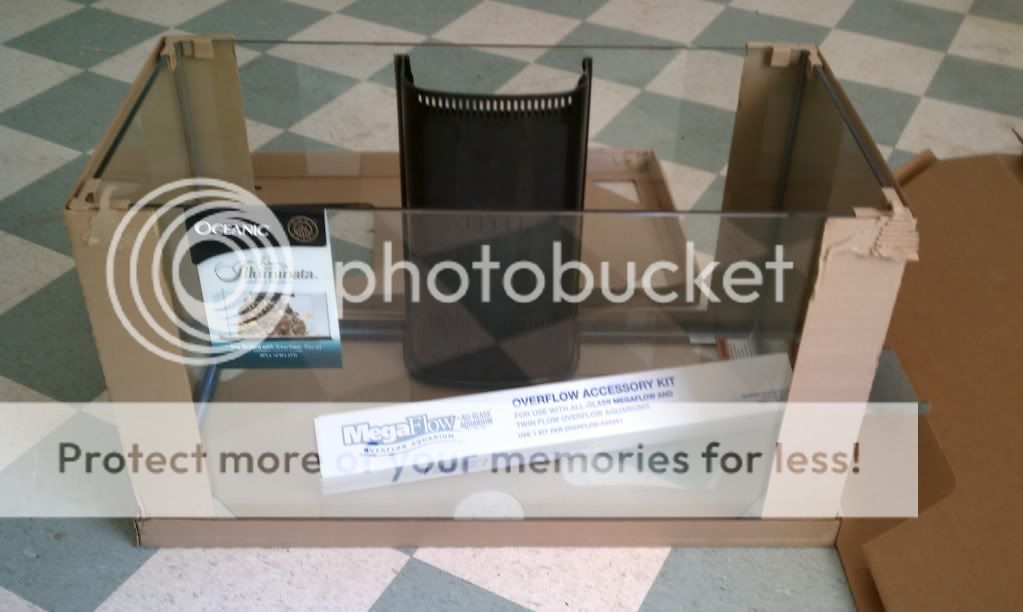
Tank and stand looks great. Sucks that the first sump couldn't fit inside the cabinet, it look really sweet. Can't wait to see how you put this thing together. Good luck buddy.


nice tank, keep pics coming once sump comes in
Tank and stand looks great. Sucks that the first sump couldn't fit inside the cabinet, it look really sweet. Can't wait to see how you put this thing together. Good luck buddy.


")
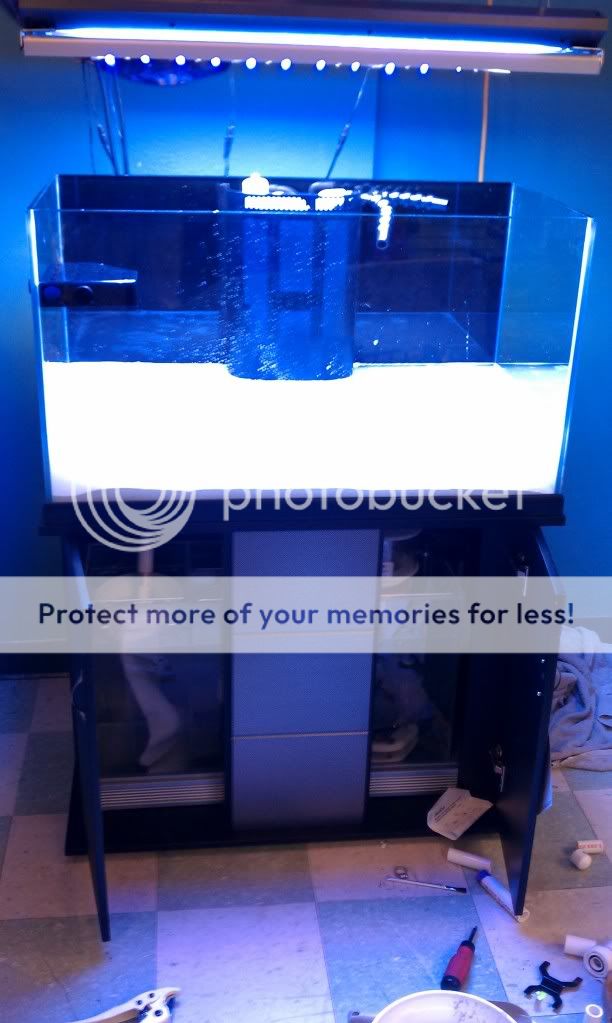
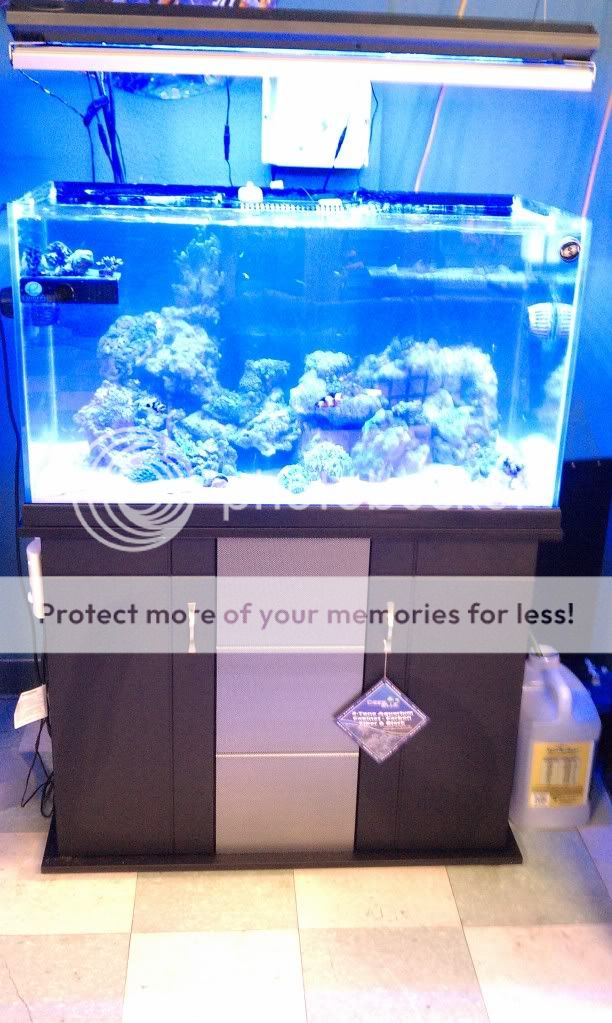
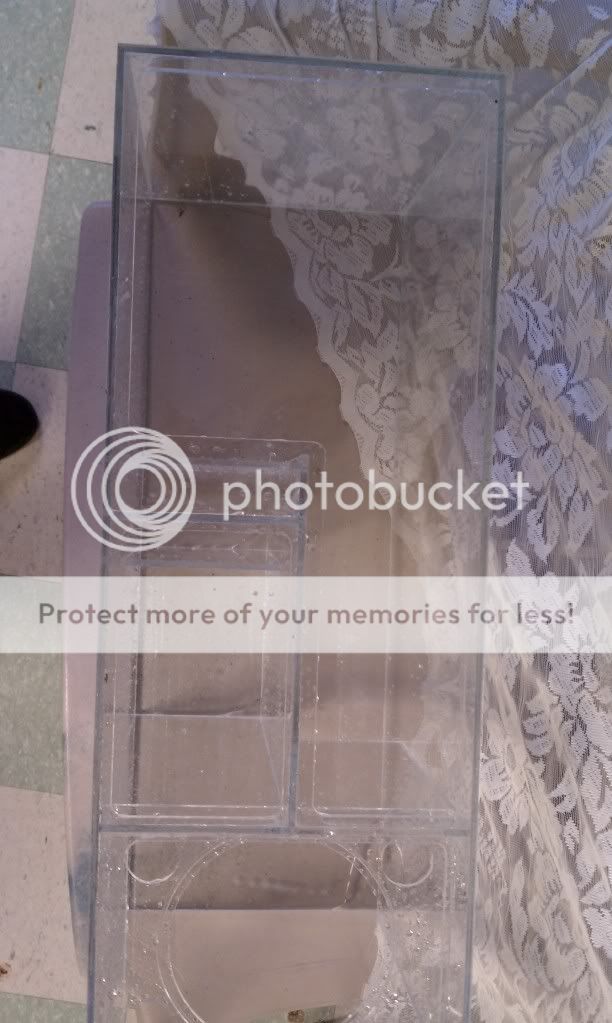
looking good buddy now my god wheres the water?
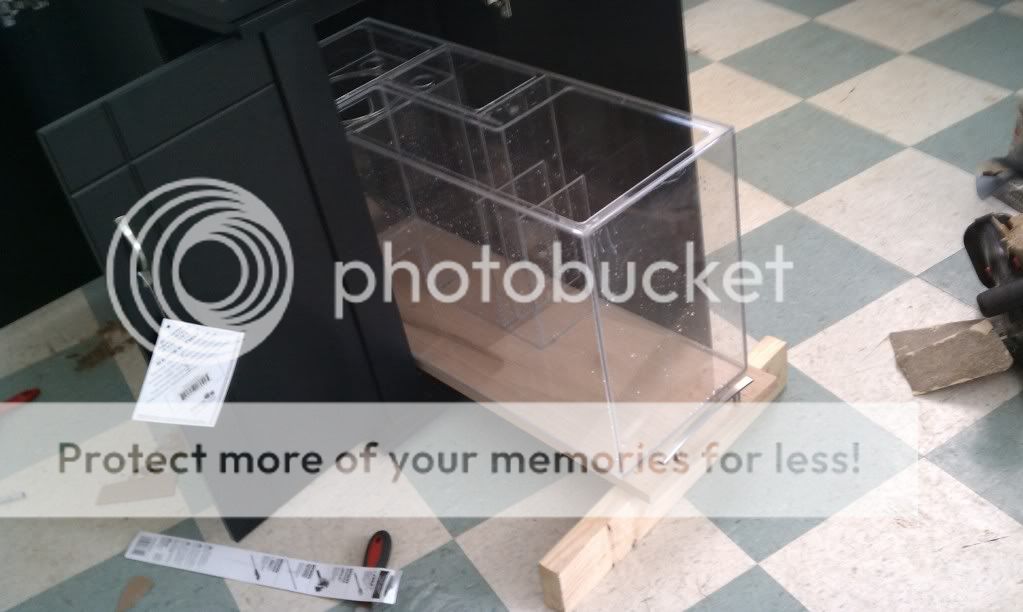
finally that looks great good luck with it one advise i'll give you remove the plastic legs from it the tank when filled is real shaky
Looks great...
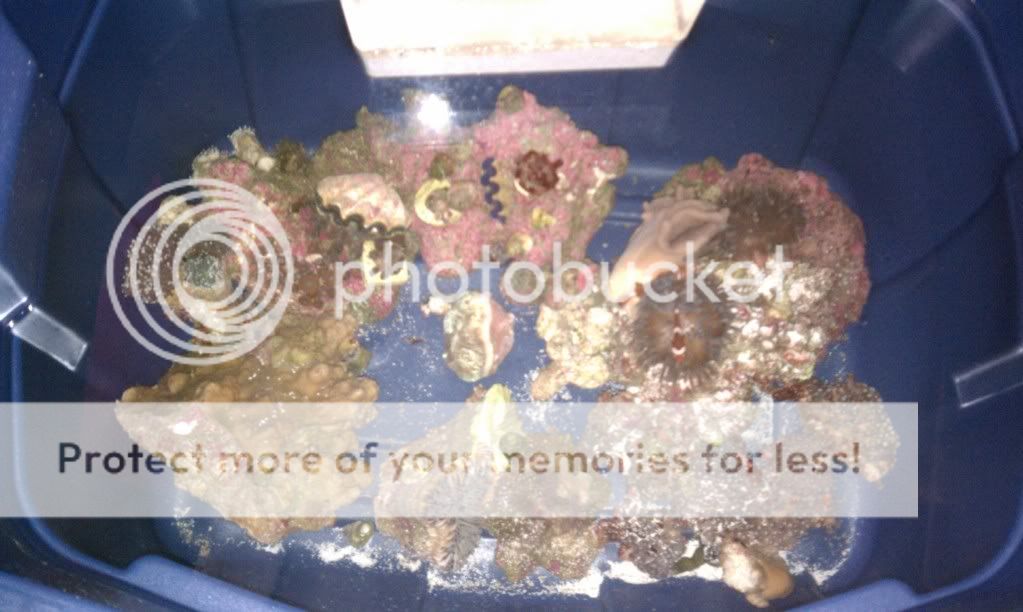
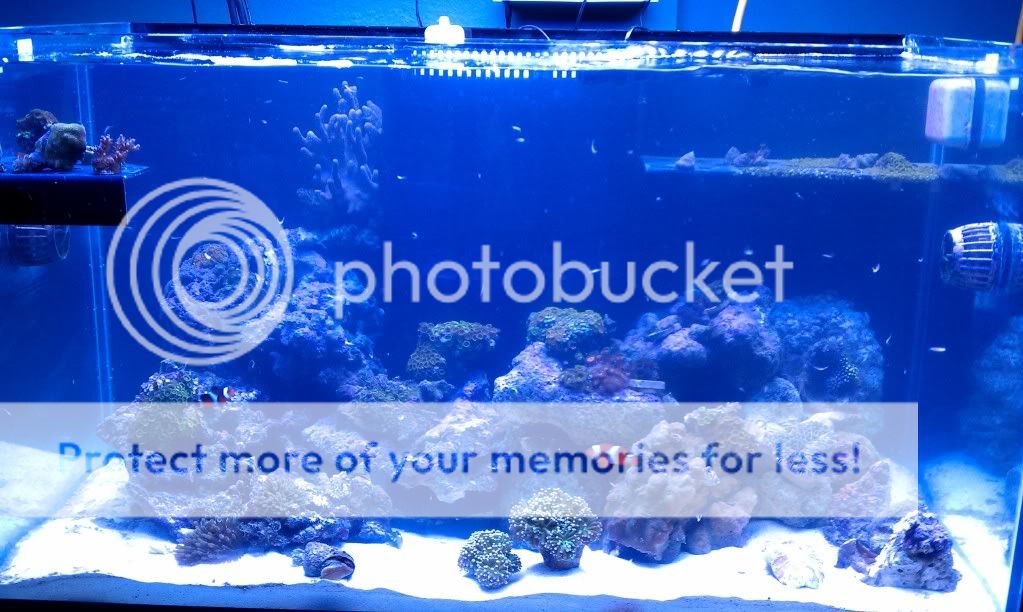
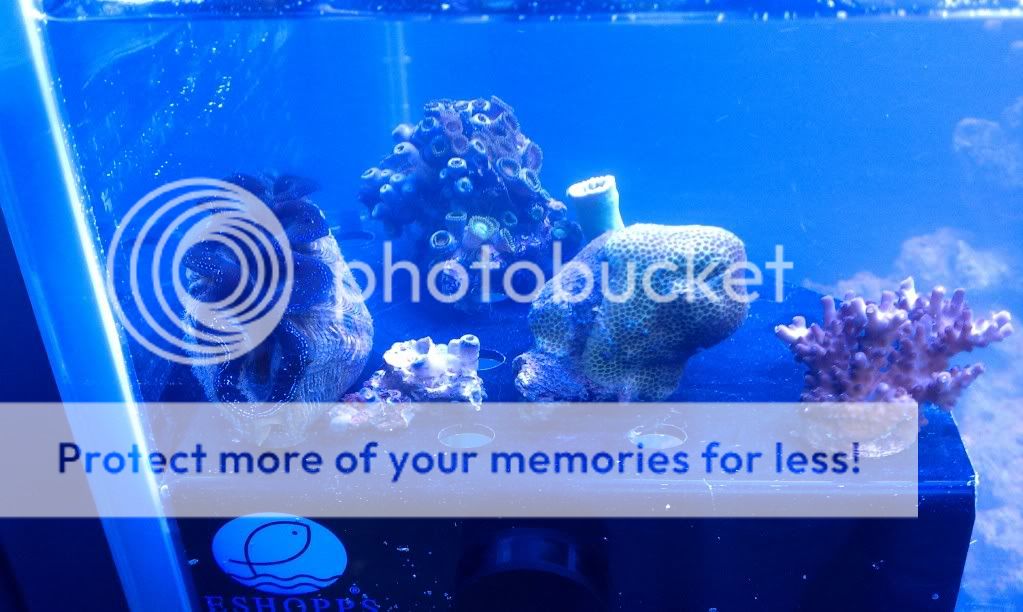
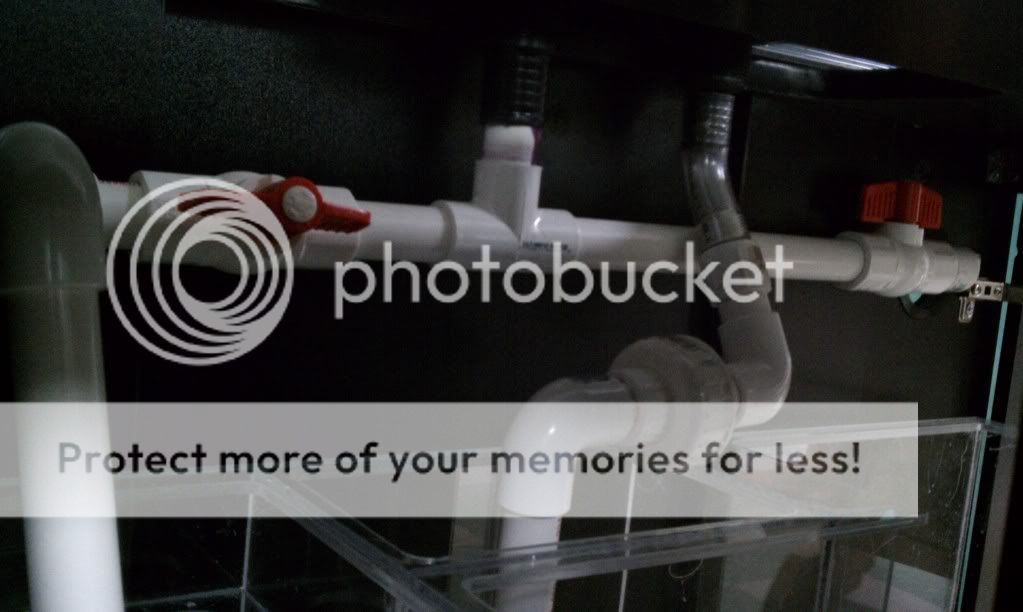
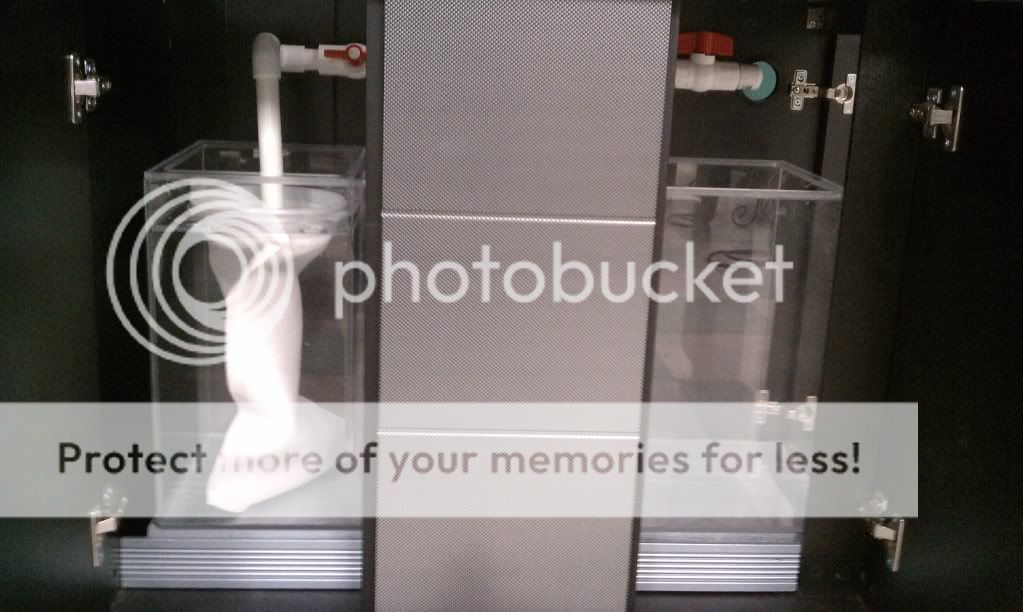
It was also a good idea going with a seven inch sock. I hated changing 4'' socks every 2-3 days.
Rigged my sump to work with a 7x16'' and love it. I now change that about every 6-7 day.
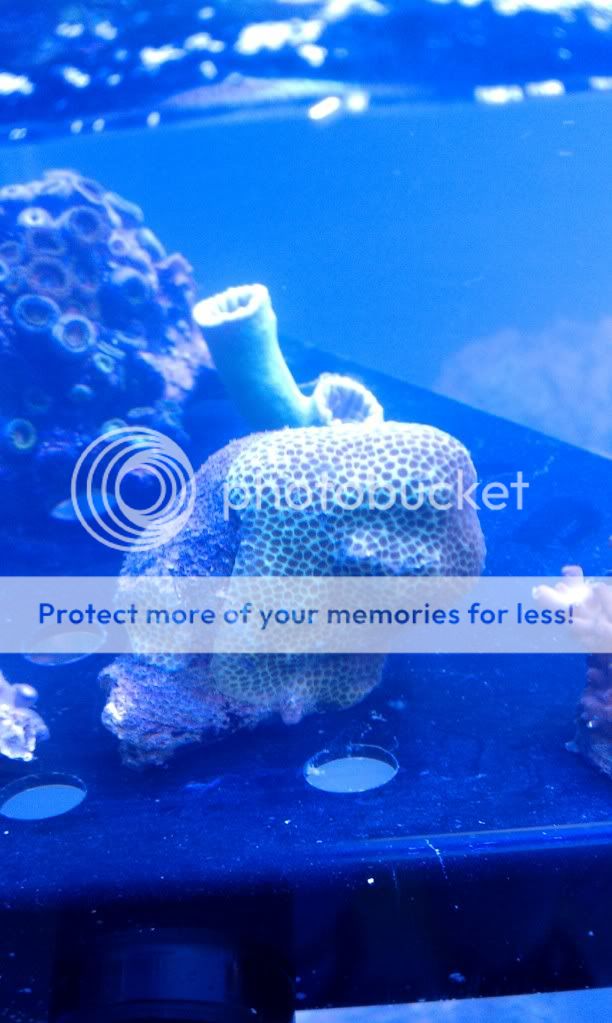
Thanks, tank will be filled with fish and coral tomorrow!
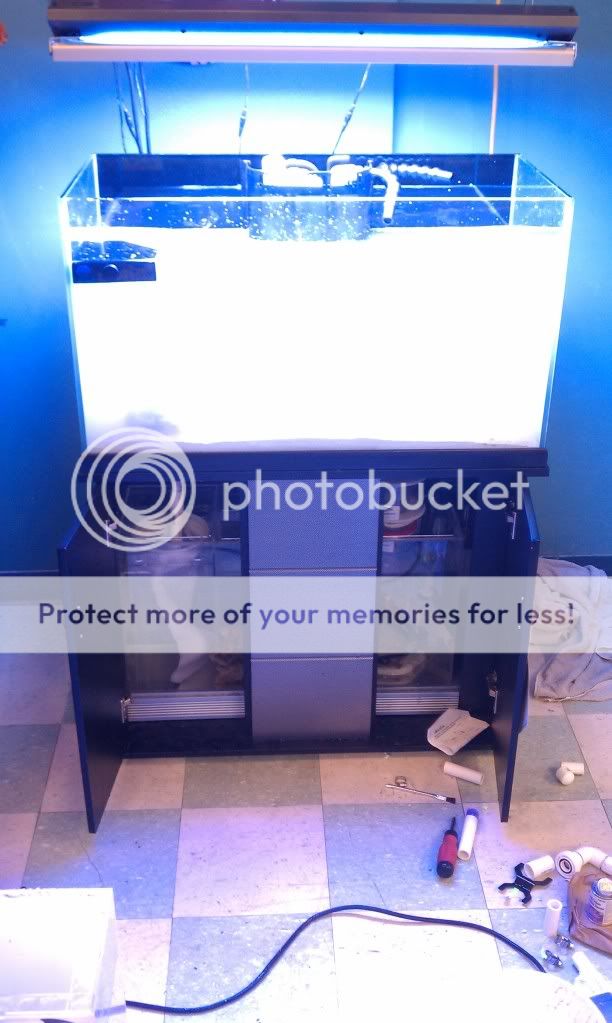
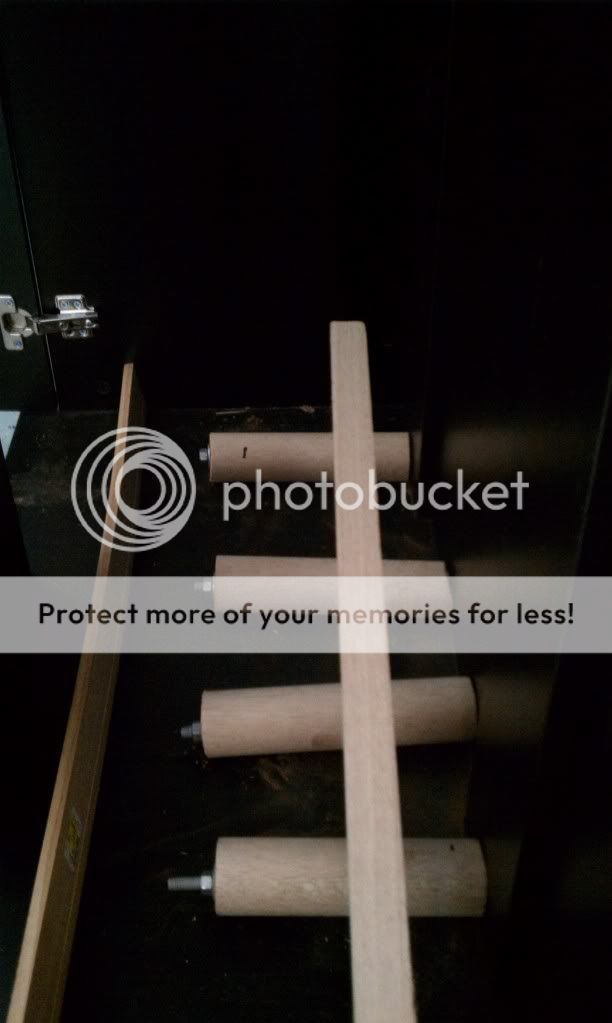
Ryan, looking good. Couple of things:
1 - Make sure you have enough room to rotate the water change ball valve. It looks like the ball valve should be rotated 90 degrees so that the red handle is facing front. The way it is it looks like the handle will hit the inside of the stand.
2 - Don't glue the vertical pvc going into the filter sock into place. It will be easier to remove the sock if that piece is removable.
Looks great. Can't wait to see water in it......but not as anxious as you I'm sure
Kudos and keep up the great work.
Russ
This has taken almost as long as mine to finish