- Location
- Wantagh, NY
Nice
Sent from my ADR6300 using Tapatalk
Sent from my ADR6300 using Tapatalk


Love the shower liner trick myself. :wink1:
Keep those pics coming.
") , it was well worth it IMHO.
, it was well worth it IMHO.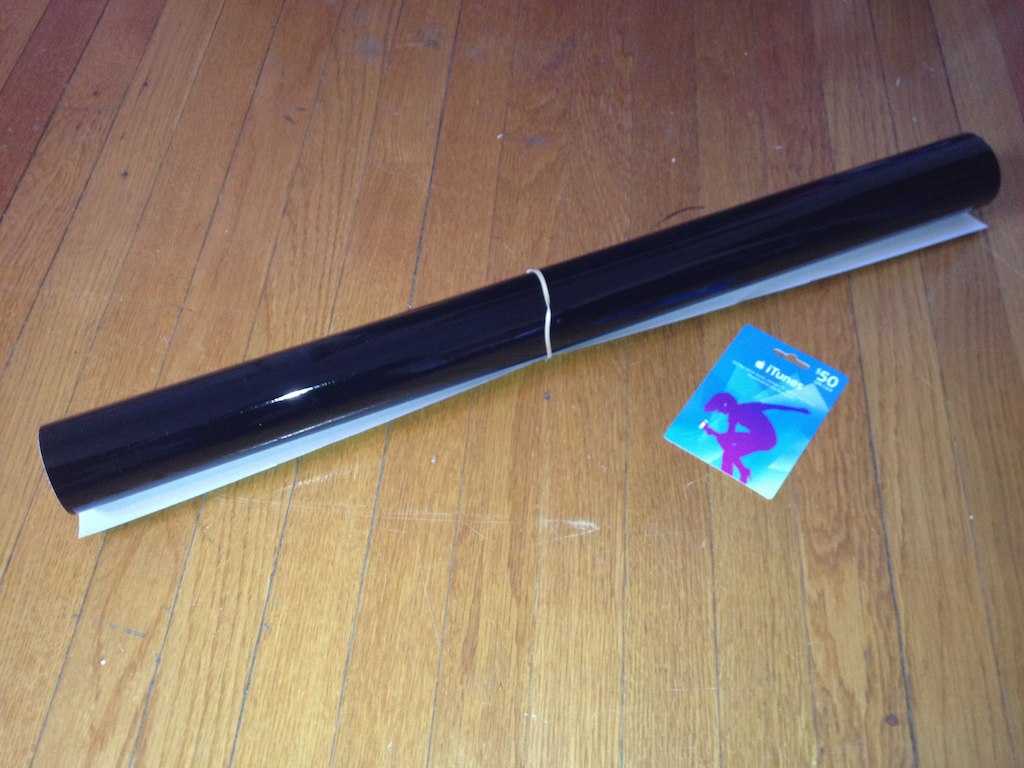
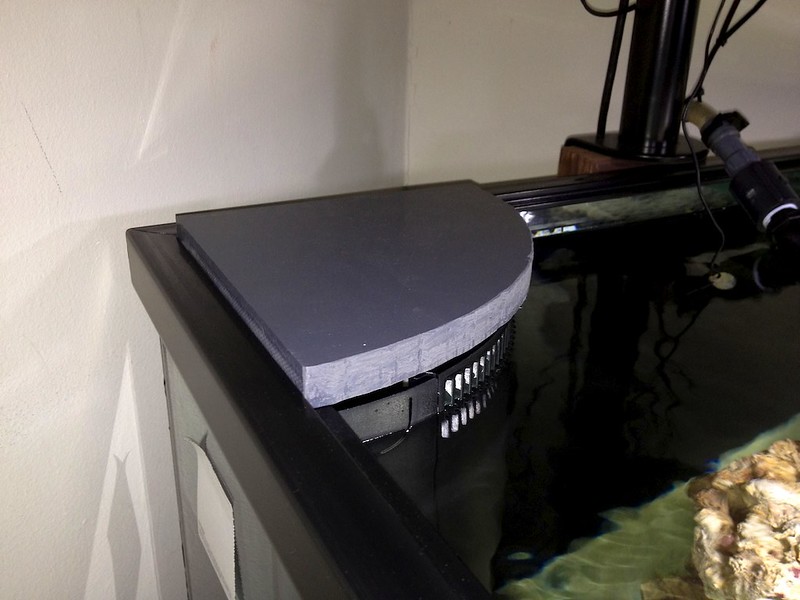
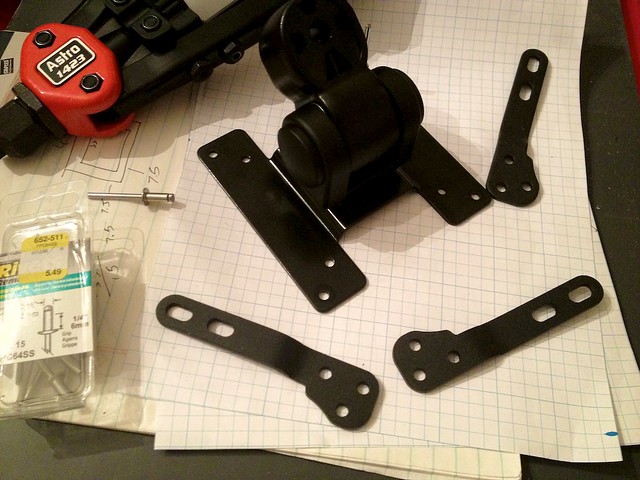
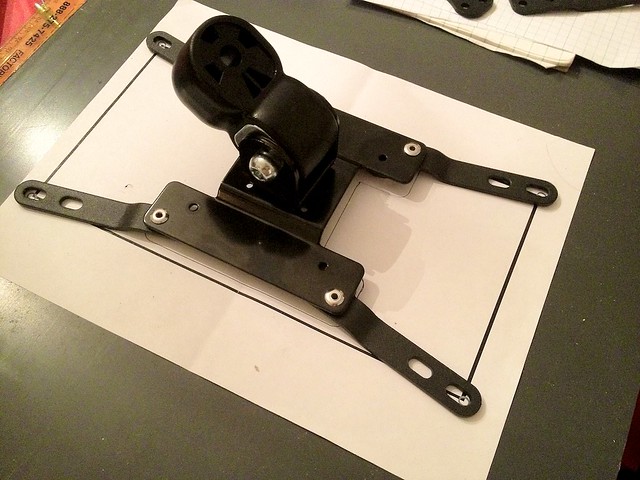
Yes more details on the swing arm and also how did you preform the shower liner to fit?
Steven
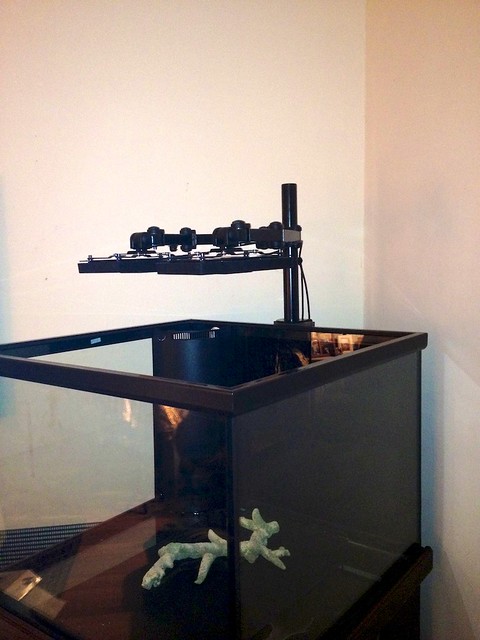
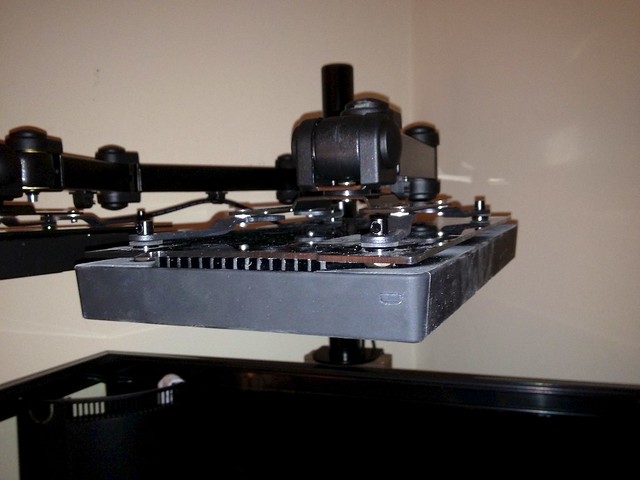
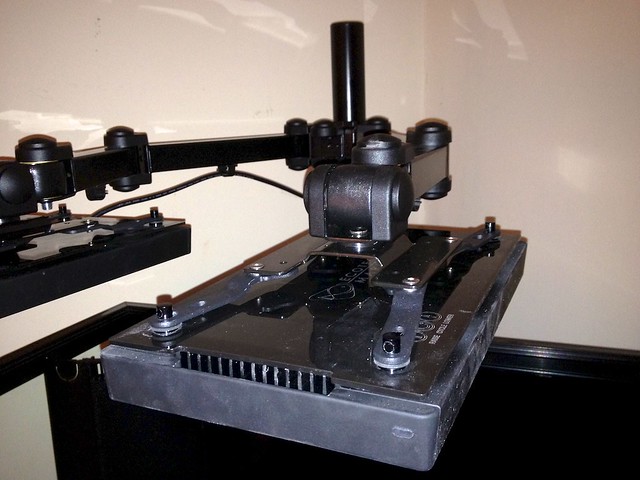
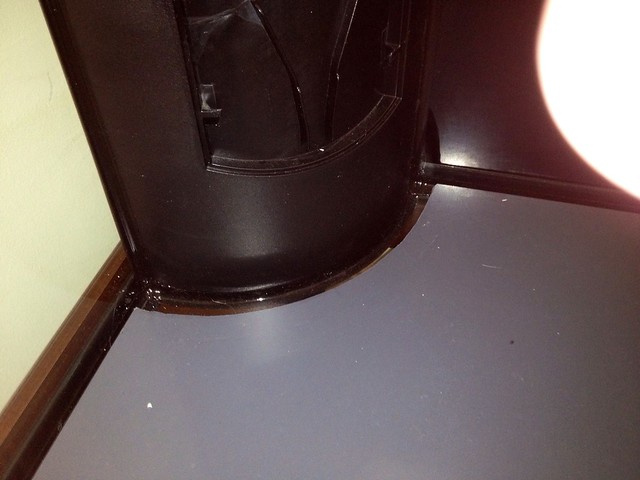
I plan on bolting a wooden post of sorts to the back of the stand and bolting the swingarm to the top of that. The arms terminate in a VESA mount which I'm simply going to attach small extenders to reach the 4 bolt holes of the Radions.
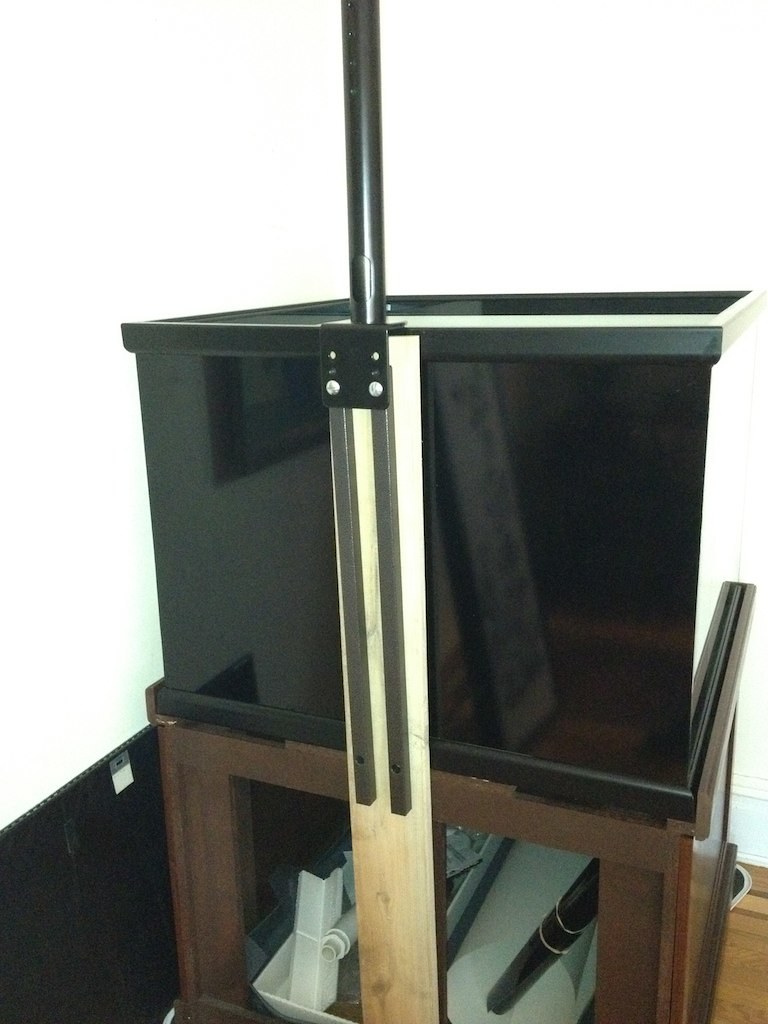
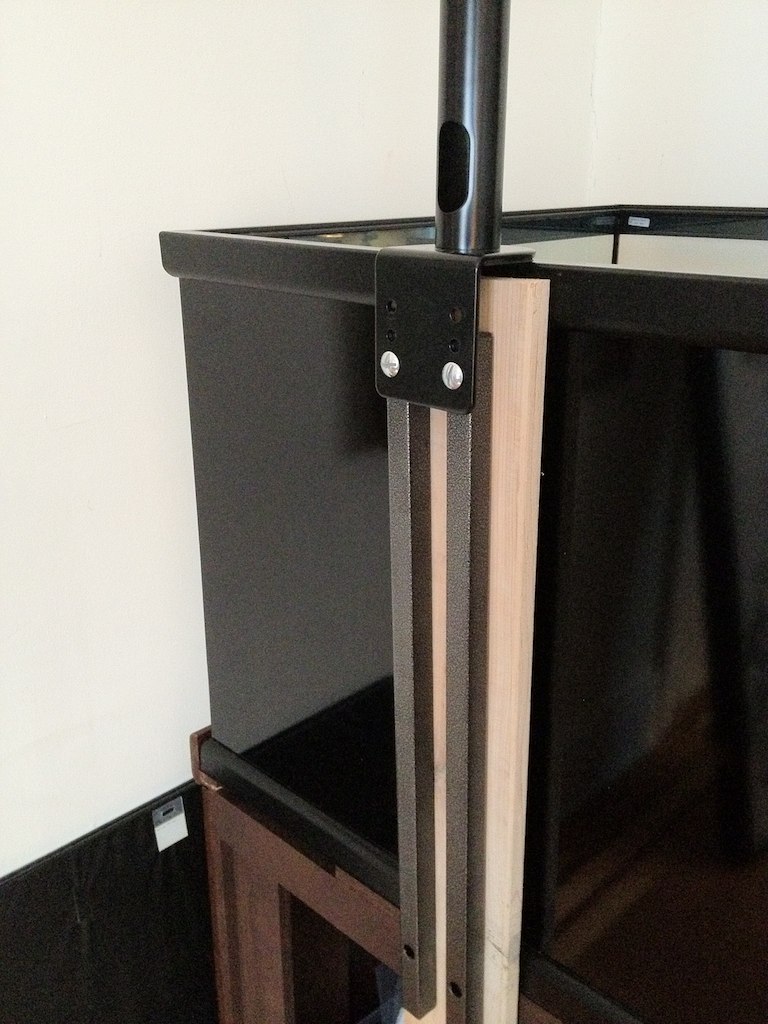
Thanks. Sorry or the slow progress but this is probably going to be a little while before I get it up and running. Here are some updates on the light mounting:nice job..
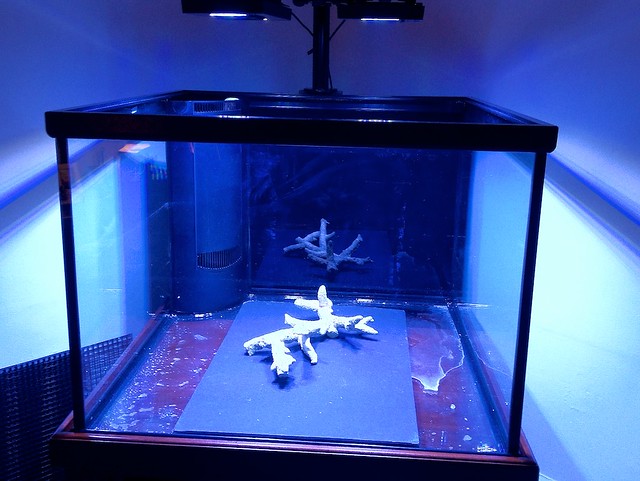
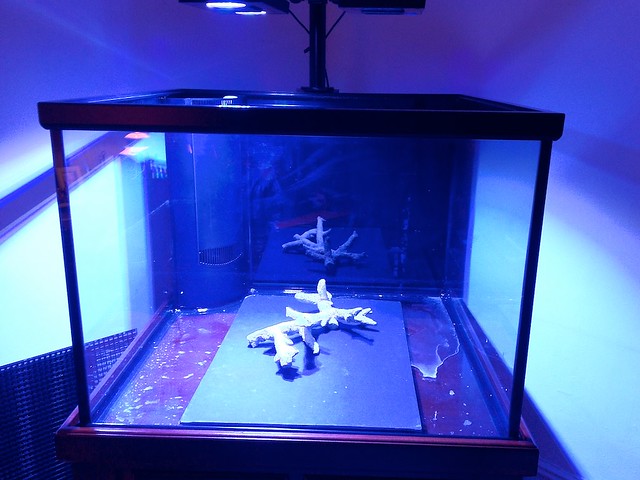
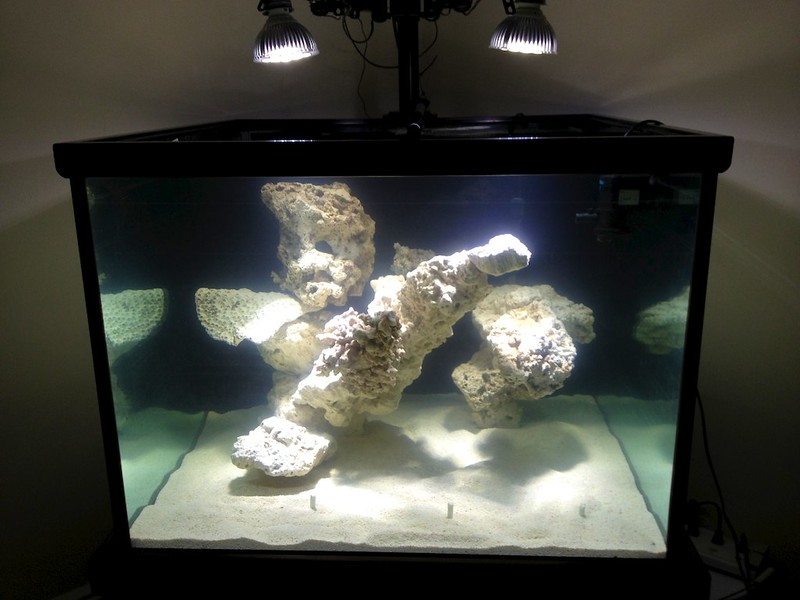
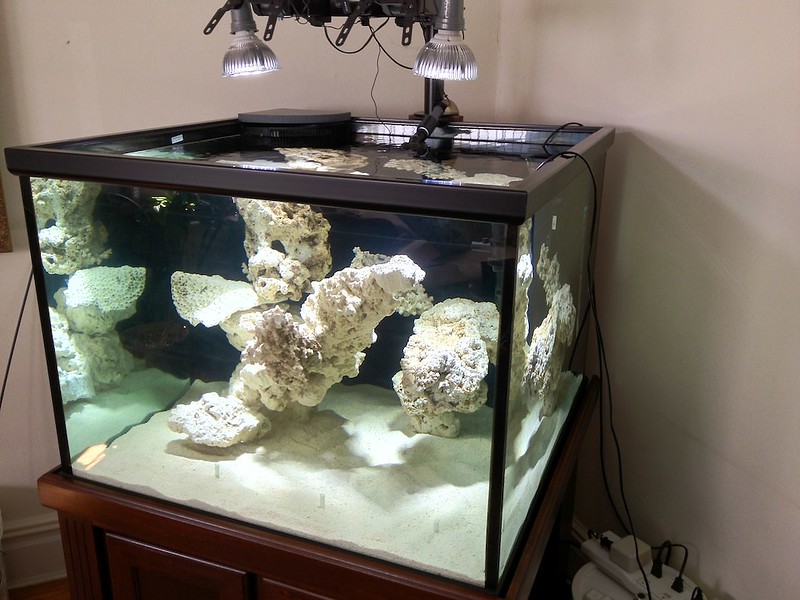
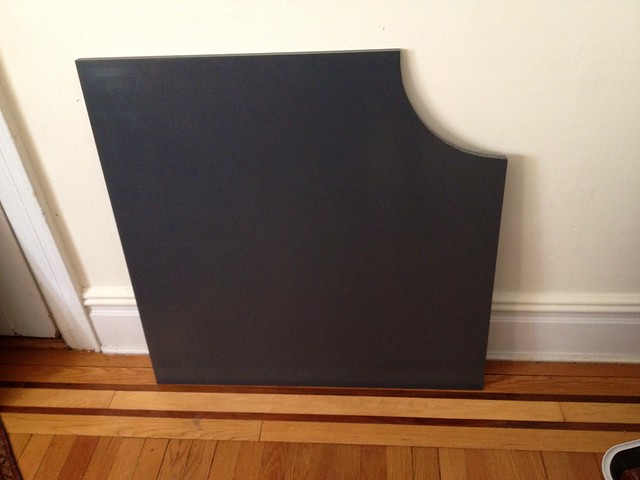
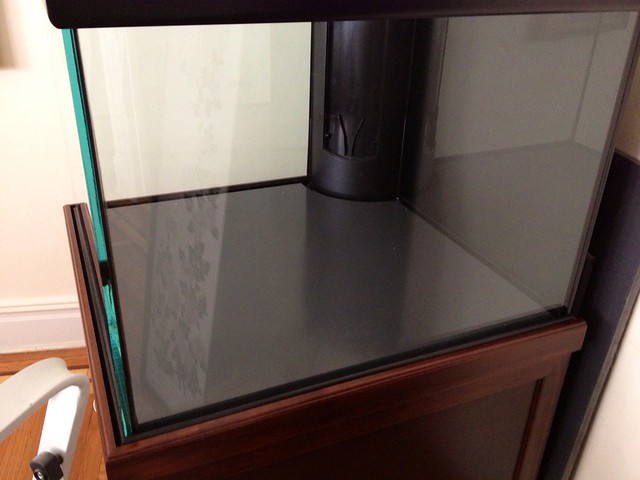
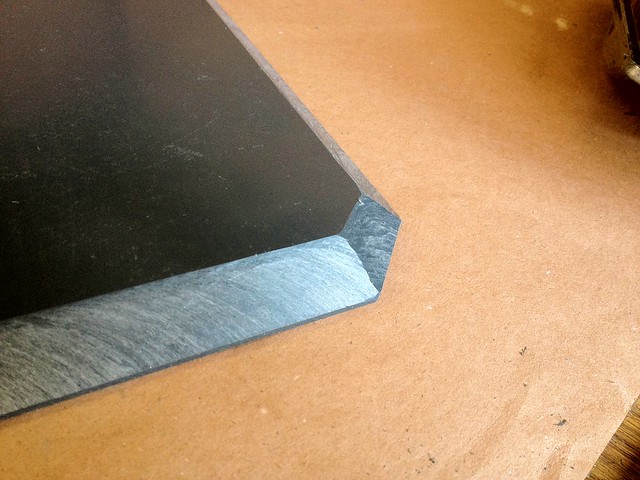
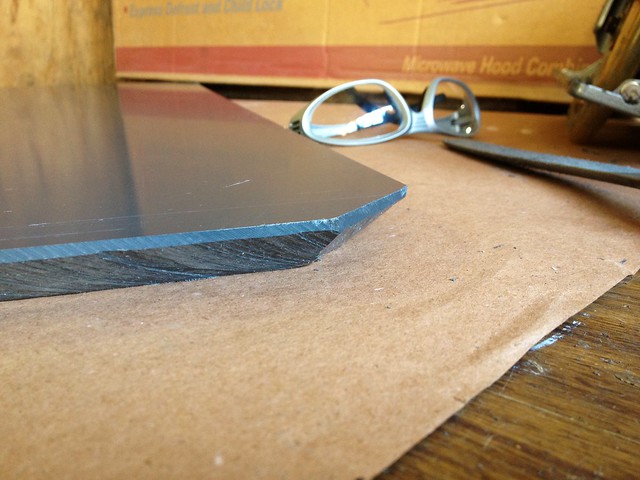
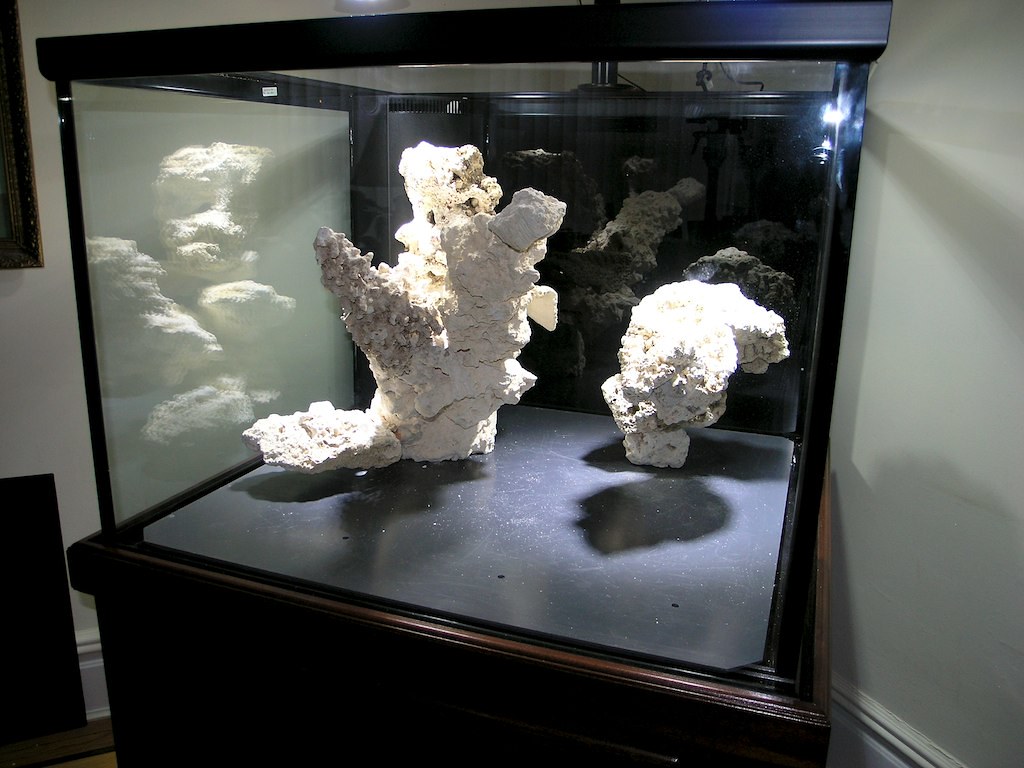
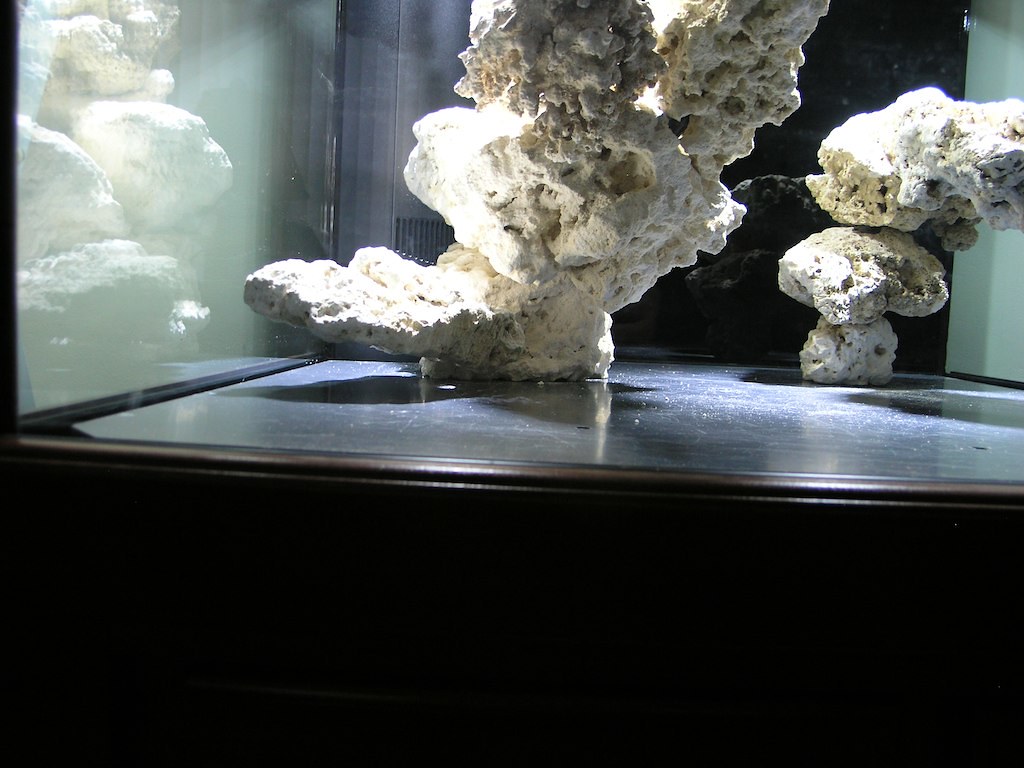
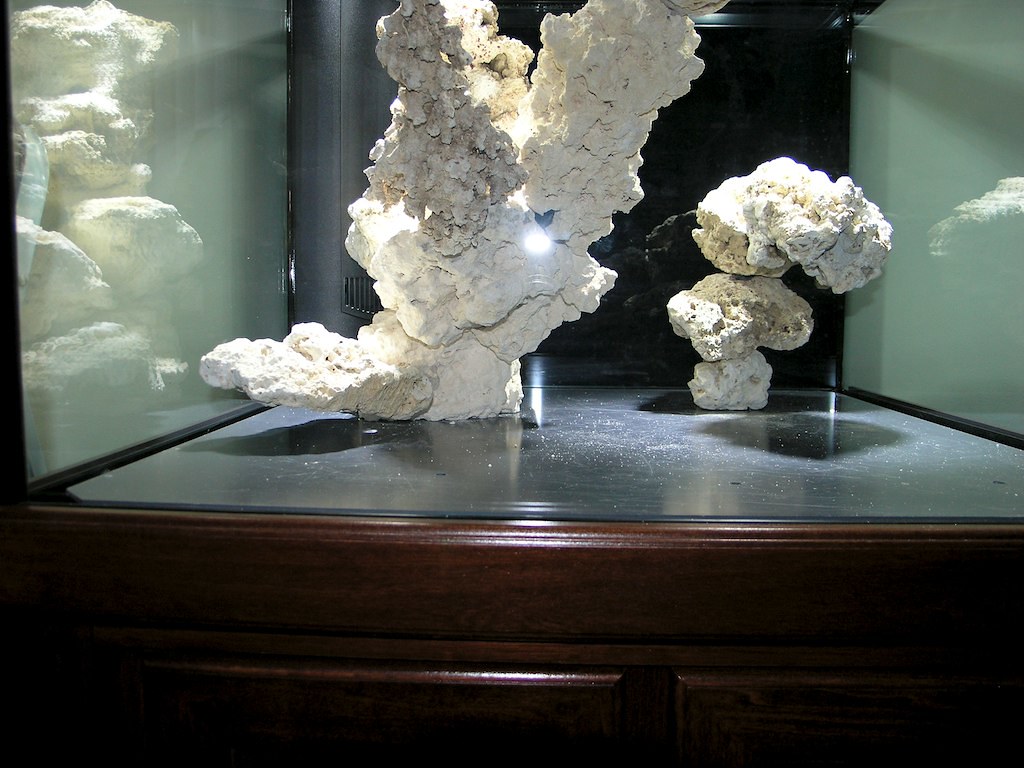
Yeah I decided to do things the really hard way and have a large PVC sheet under the sand on which I'm going to drill holes and mount PVC rod/pipe so I can have as little rock in contact with the bottom as possible. I'm thinking of stump like base rock with arms coming off it in a tree-like structure. I like the idea of almost all the bottom an open sand bed and very little area for any kind of detritus.nice another 150 in the building i see a few more 150 been put up keep up the good work i only disagree on one aspect of ur build i dont believe in pvc/rod/glue/ect i am a stack till 4 on the am to get the aquascaping u like kinda guy but ill have wait to see what u come up with cant wait to see it filled tho

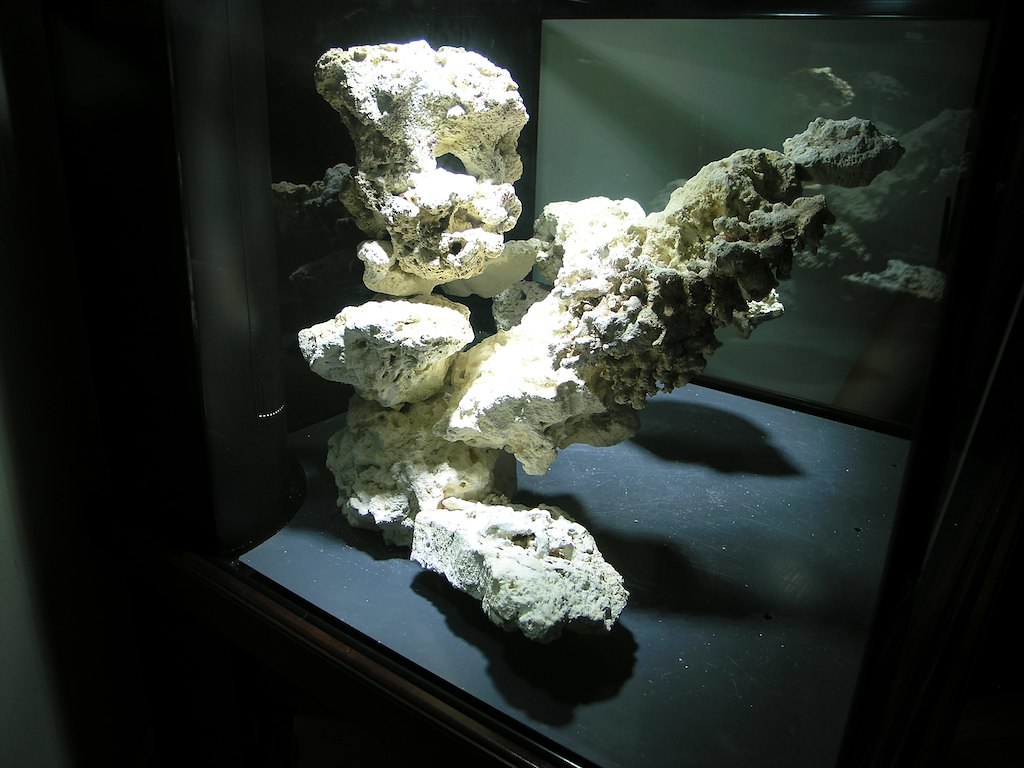

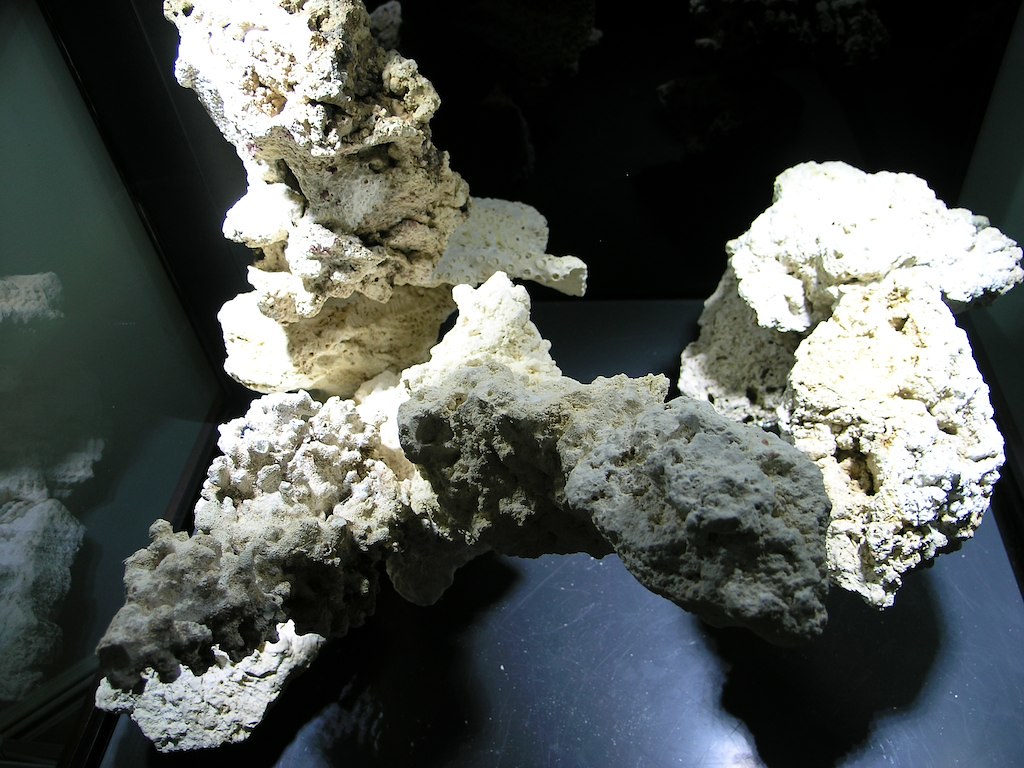
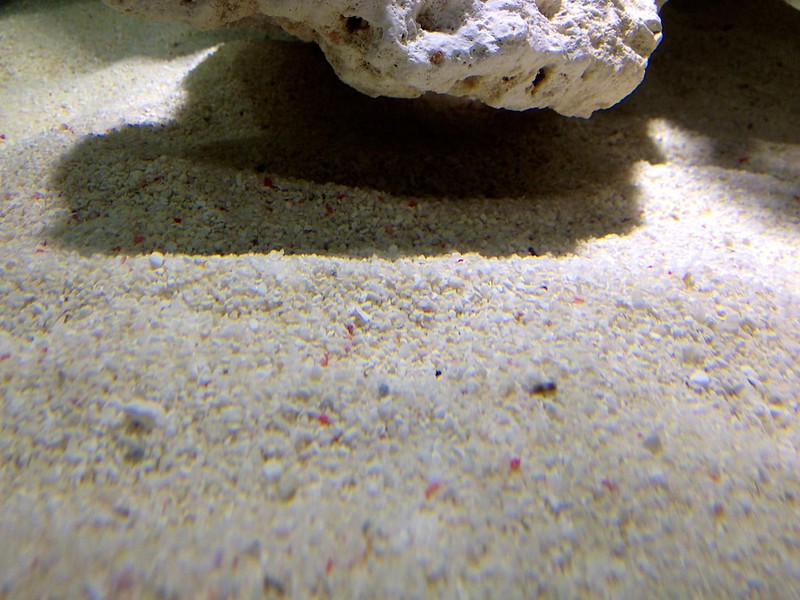
i love the rockwork, and the whole progress of the build. I am about to pull the trigger on the deep blue 60gal cube and might want to try something similar with my aquascape. any suggestions or tips? will anything harmfull ever get under that pvc sheet?
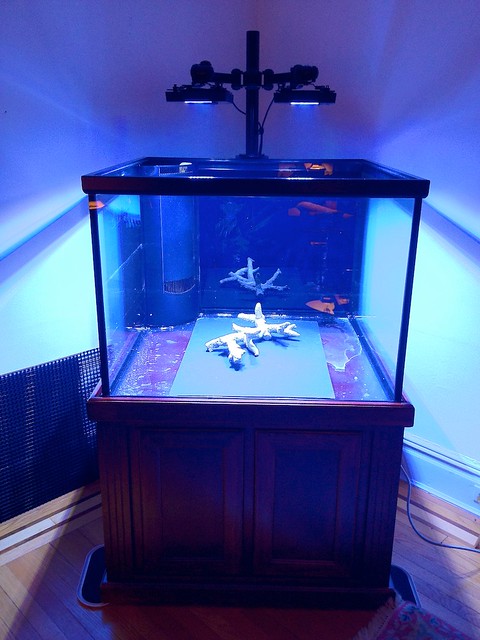
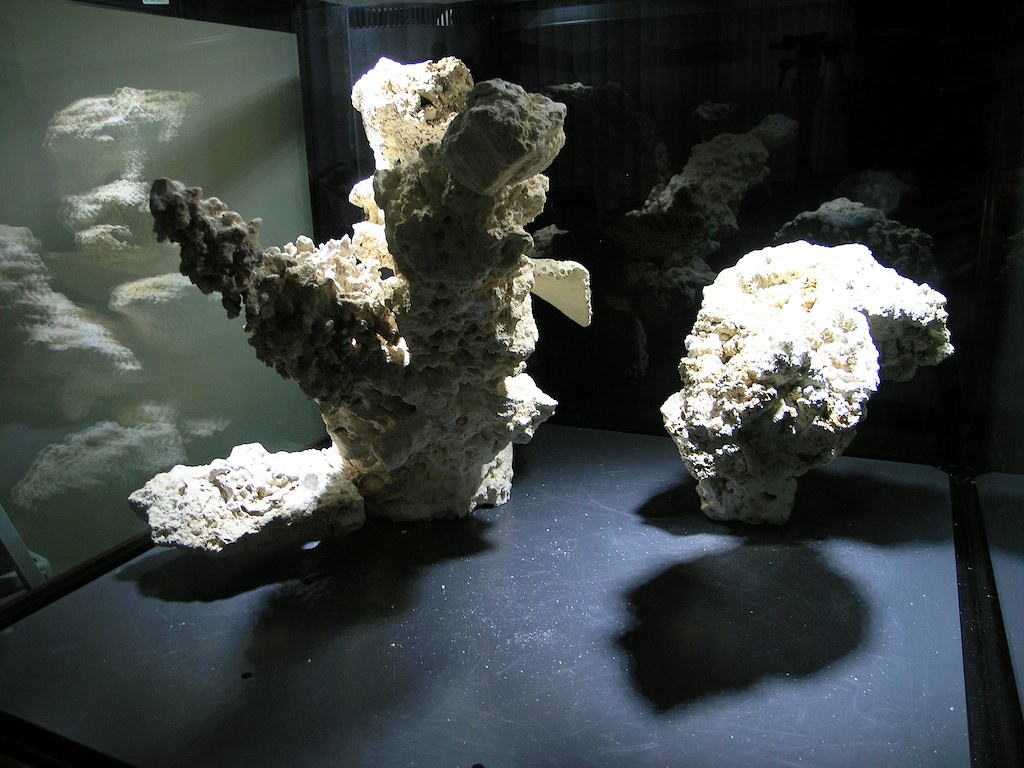
Finally I got the water and sand in: