PalmTree

Senior Member
Location
CT
Rating - 100%
23   0   0
I've always wanted to put one of these threads up but I've found myself to be quite the procrastinator. Part of my problem is that I feel like I'm so new to the hobby and that there is so much more that I can learn. As some of you know I recently moved and had to lug my 180 with me. It was a painstaking task with its share of obstacles. I'm sure there are many that know exactly what I'm talking about. Six months later and I have to say it was well worth the effort and I have so many people on MR to thank for it. I've seriously meet, what I believe, are some of the finest human beings on earth. I'm honored to share my slice of the ocean with all of you!

Tank:
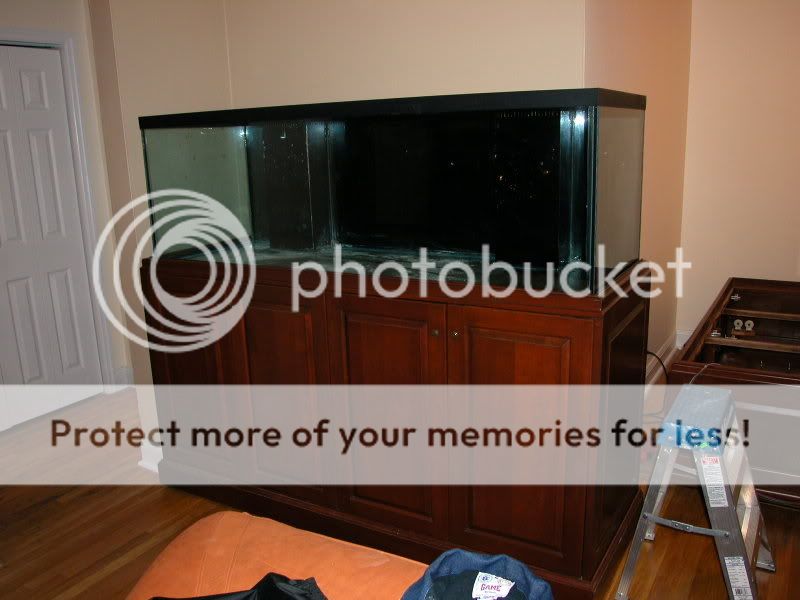
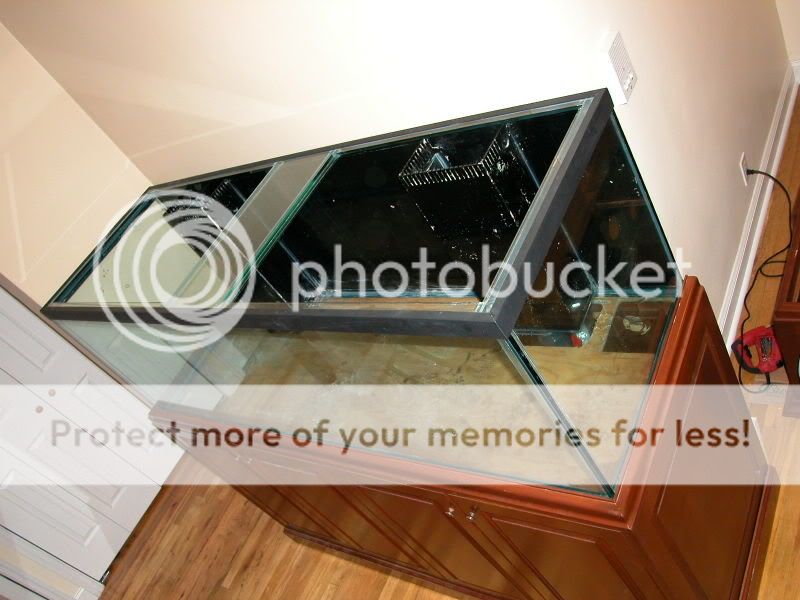
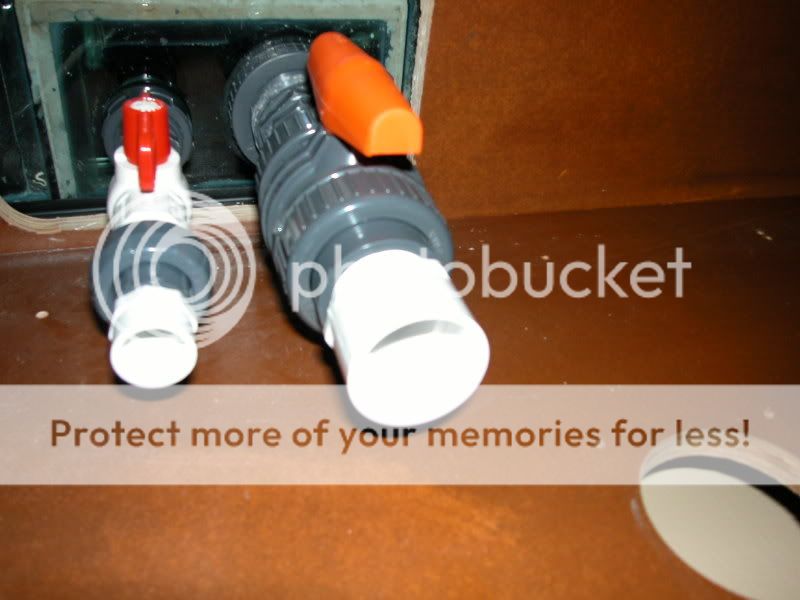
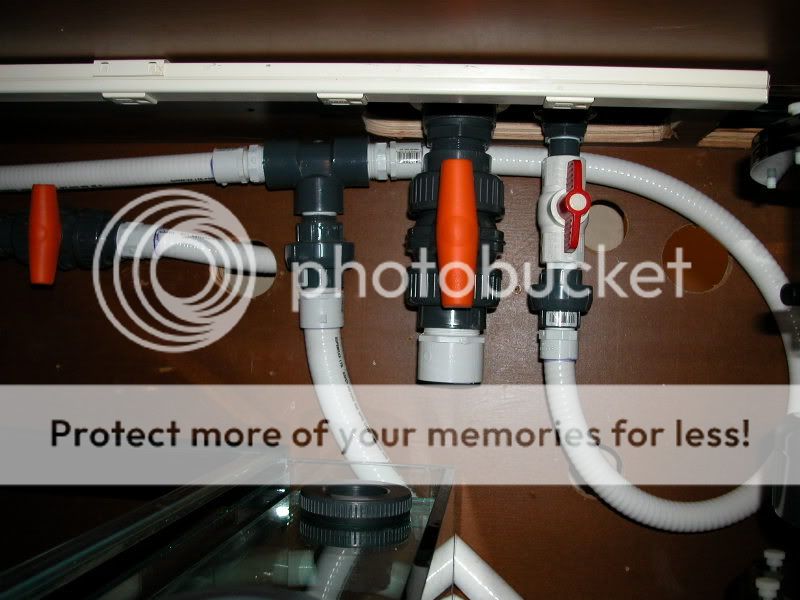
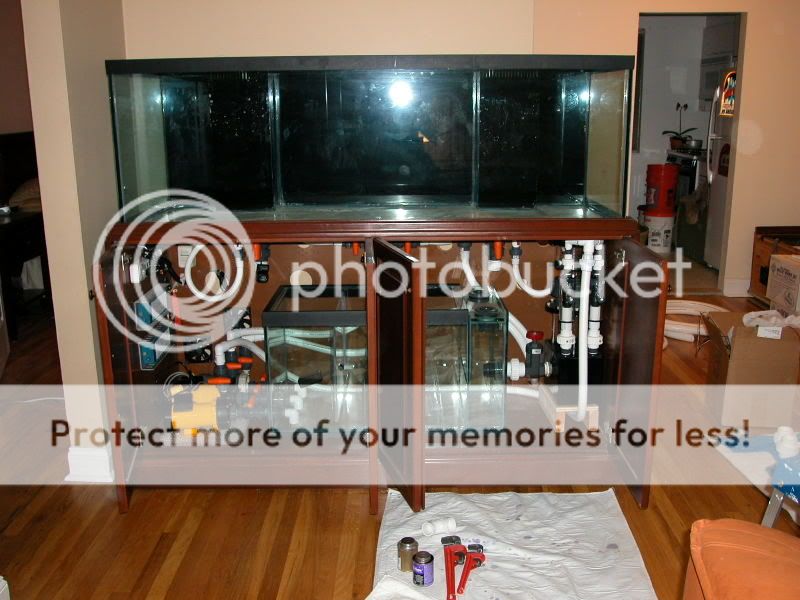
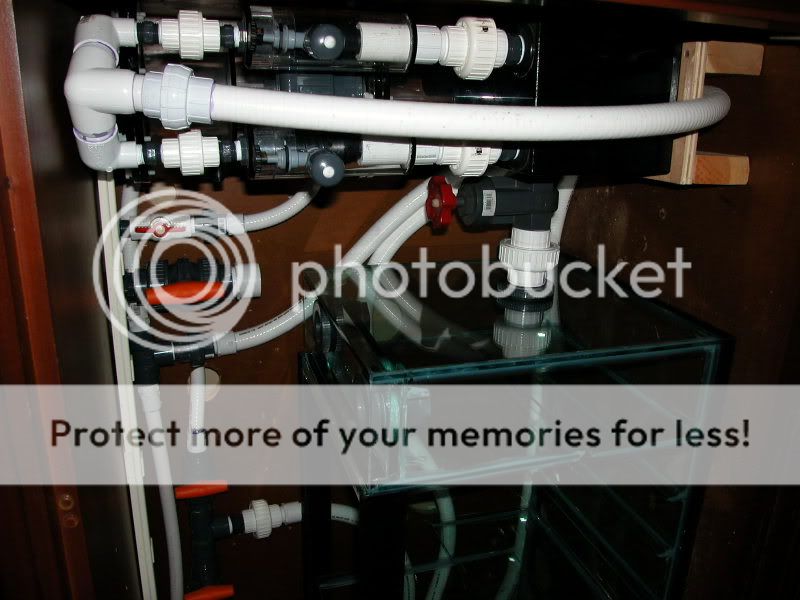
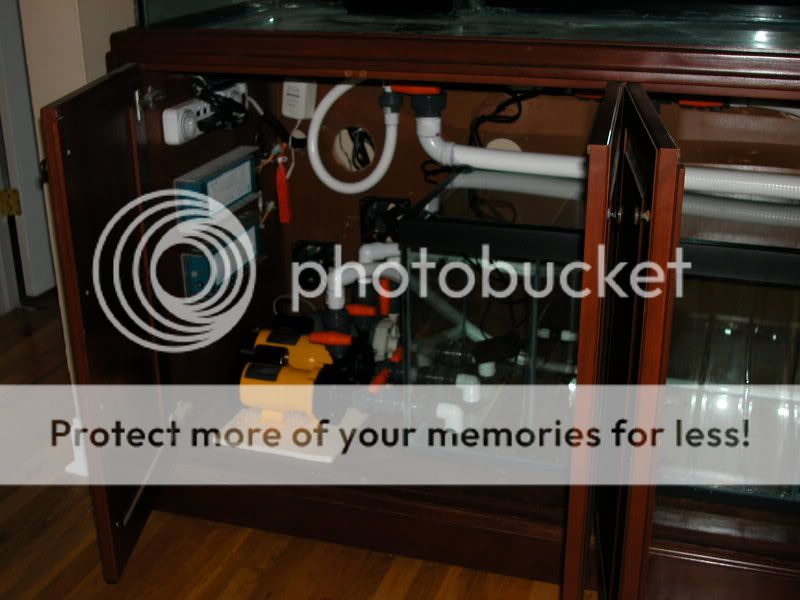
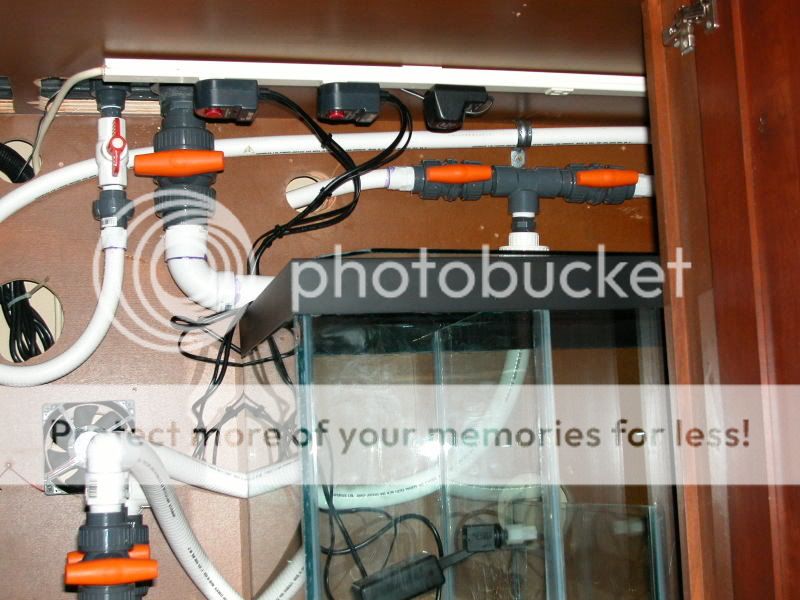
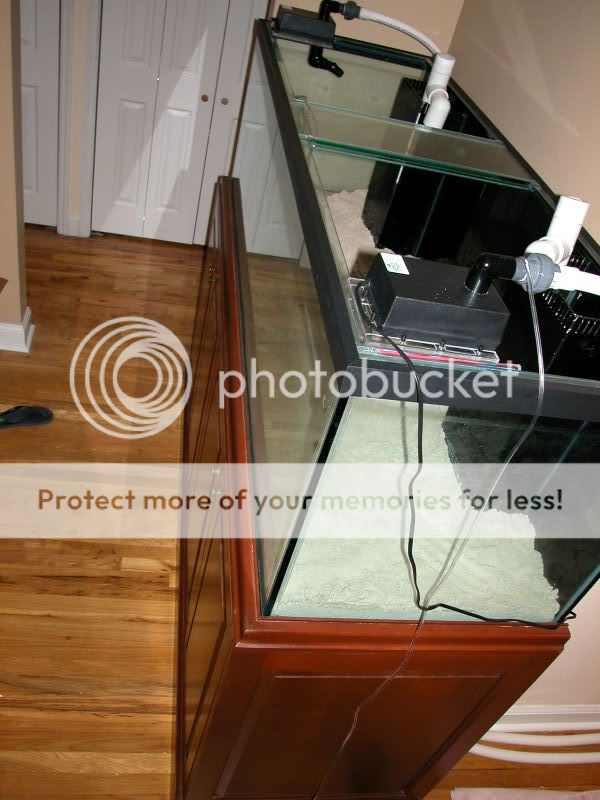
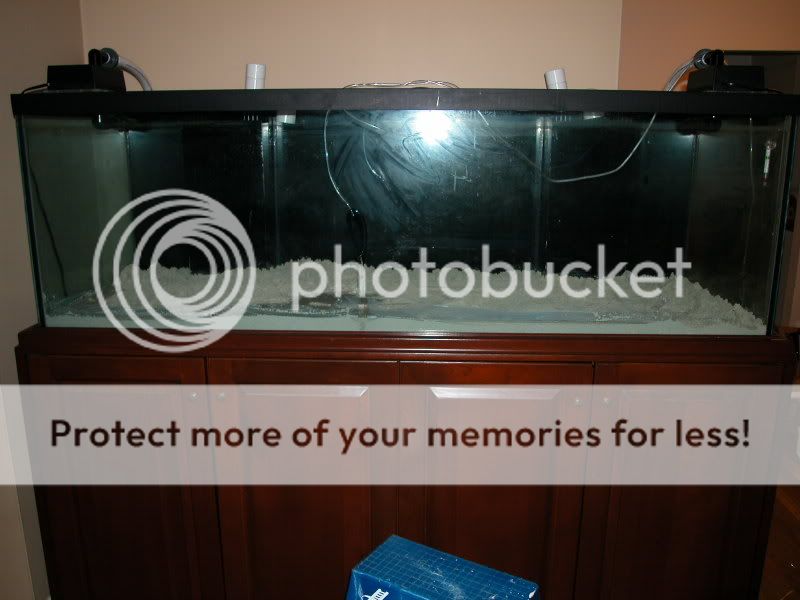
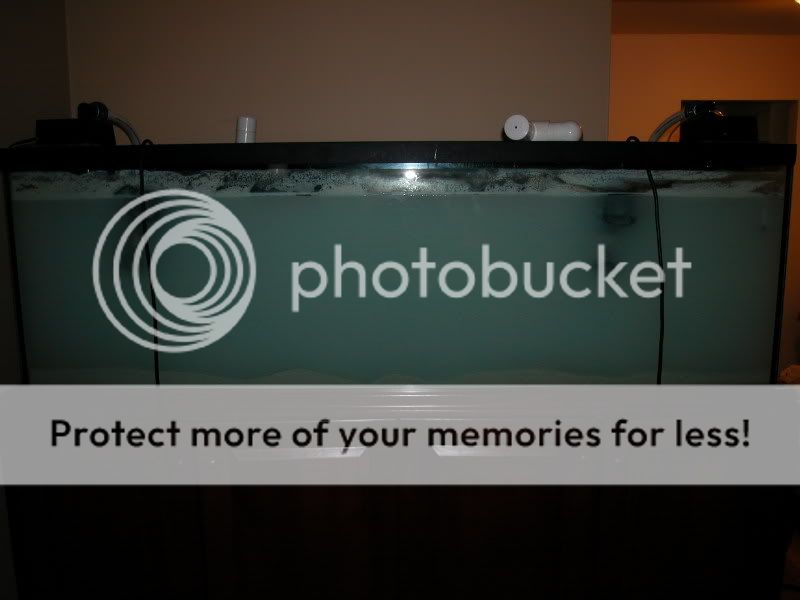
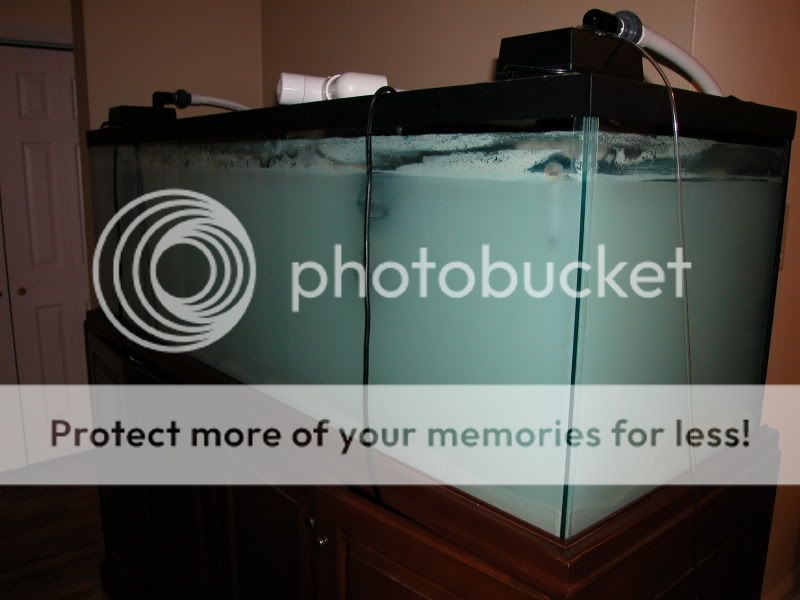
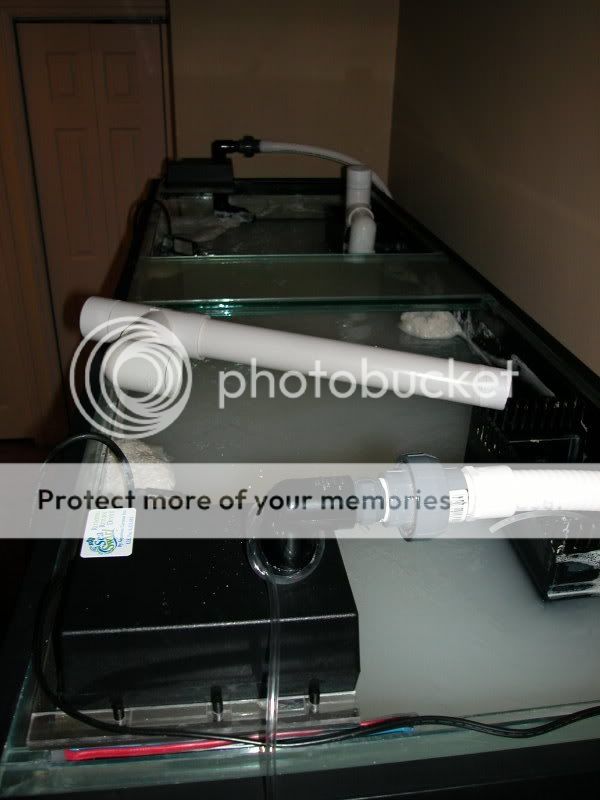
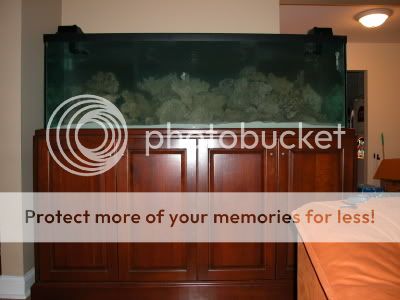
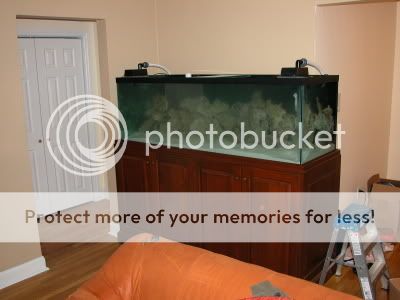
180 Custom R/R w/ dual built in over flows 1 1/2" drains X 2 and 1" returns X2
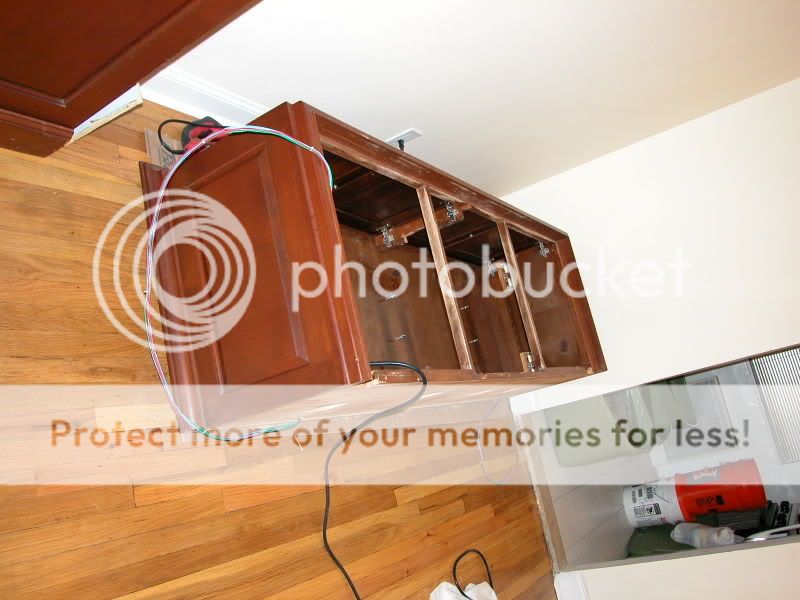
Stand:
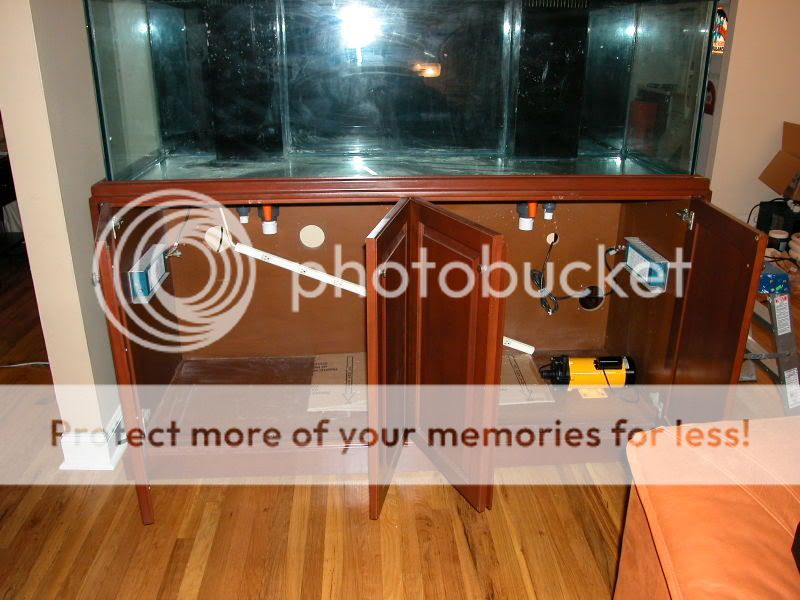
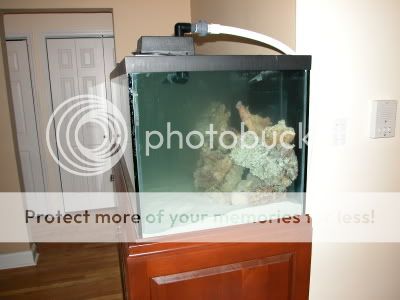
Custom Cherry Wood stand and canopy purchased used from a member on RC
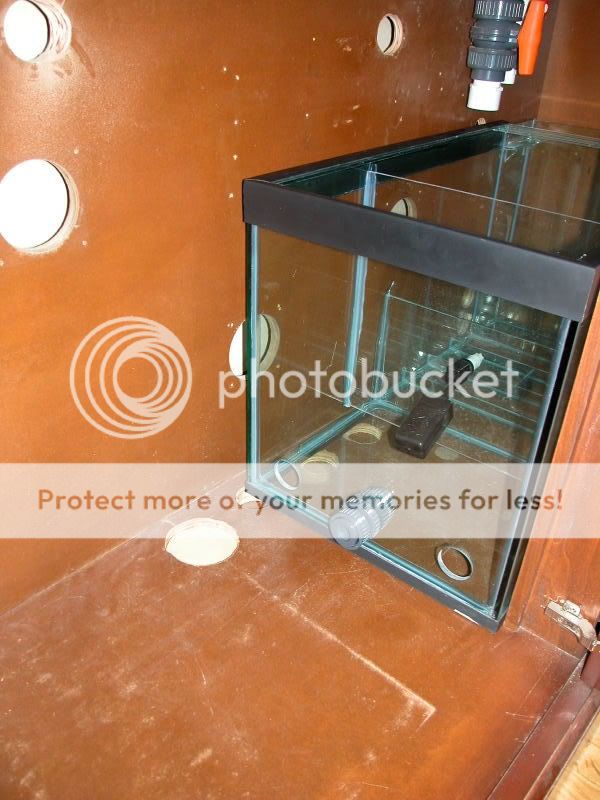
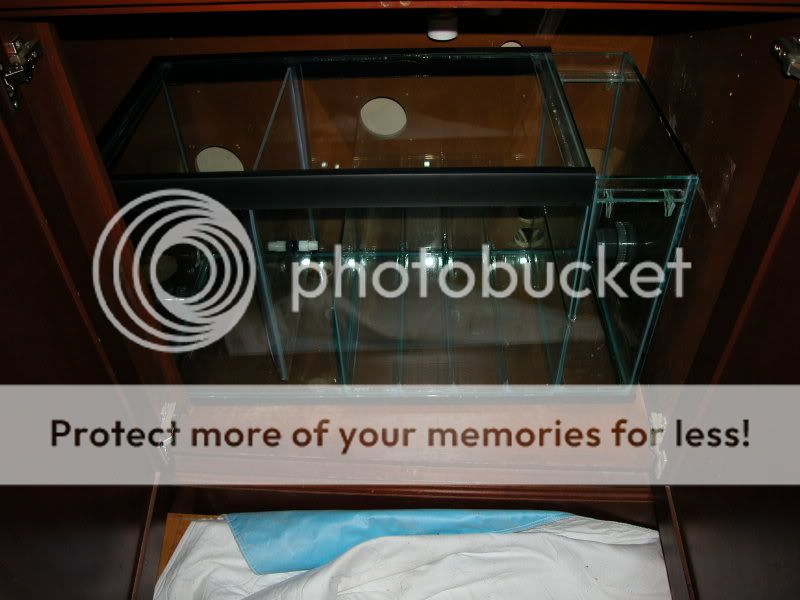
Sump:
Custom Refugium Sump w/o regugium at this time (money pit for later upgrade :splitspin )

Circulation:
BlueLine 70 2000 gph
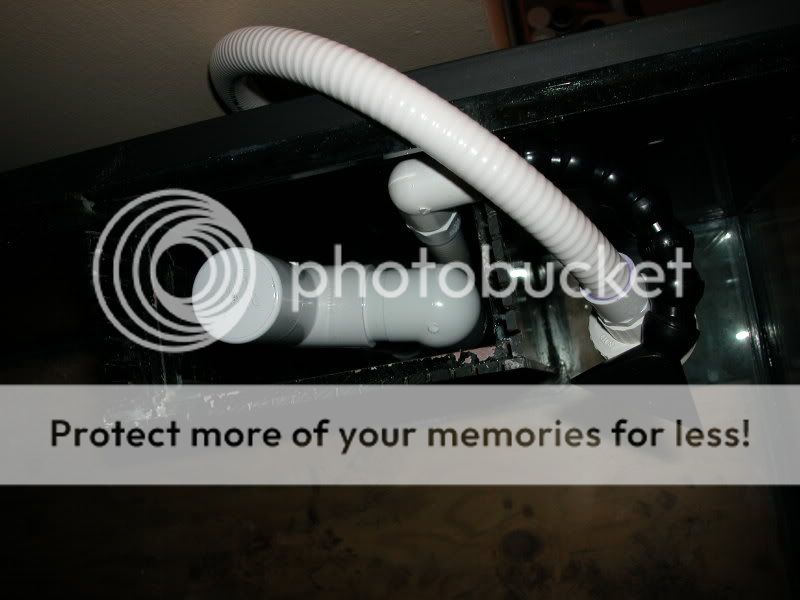
Plumbling:
Combination of 1" and 1 1/2" Spa Flex PVC and probably a small fortune in PVC fittings from HD :headache:

Lighting:
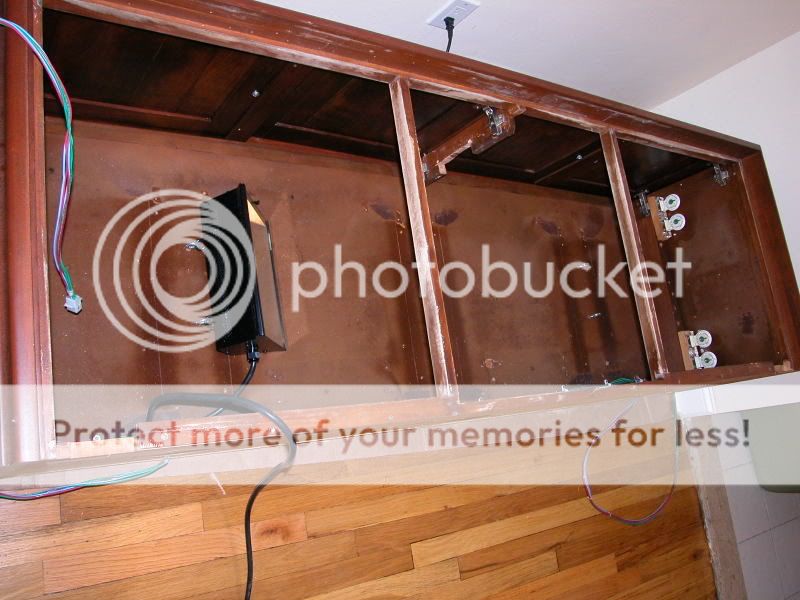
3 250 Watt HQI (10K XM DE bulbs) w/ Reef Optics III reflctors powered by 1 BlueWave single magnetic Ballast and 1 Dual BlueWave magnetic Ballast
4 6ft Actinic Blue VHOS powered by 2 Icecap Electronic Ballast

Skimmer:
MRC 2 w/ quick disconnect (which I have yet to use!) powered by a BlueLine 40 pressure rated pump and an MRC WC2 to collect all the skimmate

Chiller:
JBJ Commercial 1/2 HP 110 Volt AC Chiller with digital controller

Controller:
ReefKeeper 2 reef controller w/ optional expansion socket and PH probe

Misc:
2 3/4" Seaswirls
4 4" Computer Fans mounted in canopy as well as stand

Pictures on the way!:wink1:
 

PalmTree

Senior Member
Location
CT
Rating - 100%
23   0   0
DSCN2431.jpg

DSCN2440.jpg


Do you have any idea how difficult it is to get 4 people togtheir in one place? Well I found out the hard way. In order to move the tank it took me 2 trys to get it into the truck and another 2 trs to get it out of the truck. Moving the tank alone took 8 days. People kept bailing on me and I really did not want to chance doing the move with 2 or 3 people. The thing weighed a ton!! I drove to work with a glass tank in the back of my truck for 8 days. Imagine all the gas I wasted! :headache: Here you can see the stand and tank are at its final resting place. (I hope!!!)
 

PalmTree

Senior Member
Location
CT
Rating - 100%
23   0   0
DSCN2450.jpg

DSCN2449.jpg


Here is a picture of the canopy. What you see is the back unfinished side. When I purchased the set from an RC member, it came with the VHO sockets and ballast already installed. I figured I would give it a shot and if I did not like it I caould always change them out to something else. I am currently using 4 Ultra Actinic Bulbs and I love it. It produces a very rich deep blue color and brings out the greens, purples, and reds in some of my zoos and SPS that I would not see with the MH. So far I really like the quality of light the VHOs give off.
 

PalmTree

Senior Member
Location
CT
Rating - 100%
23   0   0
DSCN2497.jpg

DSCN2496.jpg


I had the sump made at World Class Aquarium in Brooklyn. To be honest I wasn't exactly sure what I wanted so I kind of went with what they were telling be. I had the top drilled for 2 - 1 1/2" bulkheads to secure the dual drains. the other end is drilled for a total of 3 - 1" bulkheads to feed my pumps. I ended up using only 2 out of the three because the third pump would have caused my tank to overflow. The only change I would make now is the addition of a few baffles to thin out the micro bubles that escape into the main system. I had the sump built refugium ready so I can always add it in at a later time. Very pleased so far with this set up. It does however occupy most of the space inside the stand.
 

PalmTree

Senior Member
Location
CT
Rating - 100%
23   0   0
Forgot to mention that I also had a Kent Marine Float switch installed on the inside of the sump. I did this mainly because I did not want the switch to start leaking from the outside. The Kent switch has a very thin washer that fits on the inside of the sump and I just did not trust it holding back all that water. This eliminates that sinerio. Hopefully!
 

PalmTree

Senior Member
Location
CT
Rating - 100%
23   0   0
DSCN2505.jpg


Durso Standpipes are a God send. I took the time out to make a set and it is well worth the effort. Just a few bucks and HD and my tank no longer sounds like Niagara Falls. Prior the Dursos I had nothing. The water would drain into the overflow and free fall 24 inches to the bottom of the tank and eventually make its way through the bulk head and into the sump. It was really loud and I have no idea how I could have ever gotten use to it. I bring the water level to about 1.5" below the teeth of the overflows. It isn't silent but it is defiantly quite.
 

PalmTree

Senior Member
Location
CT
Rating - 100%
23   0   0
DSCN2444.jpg

DSCN2501.jpg

DSCN2498.jpg

DSCN2500.jpg


I came home late one night and dove right into the plumbing. For whatever reason I caught my second wind and there was no stopping me. I've never worked with PVC before let alone flexible PVC and let me be the first to say that this stuff as awesome! I will never use anything else ever again. It is simple to cut, assemble, and glue together. I had a great time running all the lines and was pretty much done in about 2 hours. I think PVC gives any system a clean professional appearance without the twist and turns of vinyl tubing. The only draw back is the price. Spa flex is not cheap and you should defiantly measure twice and cut once. I can see how easy it can be to cut just a little too short and have a piece of PVC that is useless to you. Always consider the extra length you will need when mating the tubing into the various fittings. I nearly made that mistake but really lucked out!:splitspin
 

PalmTree

Senior Member
Location
CT
Rating - 100%
23   0   0
DSCN2547.jpg

DSCN2544.jpg


Sand is finally in and the tank is slowly filling up with RODI water. I looked all over the place for the Caribbean play sand that I've heard so much about but came up empty handed. I buckled down and ordered approx 200 lbs of oolitic sugar grain sized sand from Marine Depot. Surprisingly it was not as pricey as I had expected and they did not even charge me the overweight fee. It took forever to deliver though and the FedEx guy was not very happy. :splitspin
 

PalmTree

Senior Member
Location
CT
Rating - 100%
23   0   0
At this point I had my two sea swirls installed in opposite corners of the tank. I opted for these as opposed to the Tunze because of its space saving value. The only thing that dips into the water is a 3/4" elbow. I have had great sucess with them so far and have no issues to report. I have them set so that one seaswirl will point towards the center of the tank at a time. I figured eventually they will sway to their own rythm but so far they are just the way that I've left them.
 

herman

Moderator
Location
Weehawken, NJ
Rating - 100%
10   0   0
That is a really sweet setup allan!!. You cant go wrong with most of the equipment you have in there.

Cant wait to see this thing filled dude!!!
 
Last edited:

PalmTree

Senior Member
Location
CT
Rating - 100%
23   0   0
It took 3 days to fill the actual tank. I ran out of patience or else I would have continued to fill the sump. To circulate the water I used 2 Mag 7 dangling into the tank. No matter how much I rinse the sand and try to get the water clear I seem to always run into the sand storm. This was proably worse than the first time around. I couldn't see more than 1/2 an inch into the tank! Maybe this is normal.

DSCN2555.jpg

DSCN2557.jpg


Another arial view

DSCN2559.jpg
 

PalmTree

Senior Member
Location
CT
Rating - 100%
23   0   0
2 weeks later and the water finally started clearing up. After the first day I began to slowly add my live rock. Since the visibility was so poor I had to pretty much feel my way around. My aim was to stack the rocks as close to the rear as possible. I started with the larger pieces working down to the smaller ones. I don't know about you guys and gals but it felt like forever waiting for things to clear up and than one day you walk into you living room and all of the sudden you start seeing shapes in the back ground. What a feeling! Even though this was my second time around and I knew the everything would work out there was still that doubt in the back of my mind like I had done something wrong. But it always seems to pan out. Sad that water clearing up can make me feel so good. :fishhit:
 

PalmTree

Senior Member
Location
CT
Rating - 100%
23   0   0
My blind aquascaping actually turned out pretty nice. I had no idea it was going to look the way it did until the sand storm had subsided. I did minor changes here and there but I was pretty happy with the over all structure and layout.
 

Sponsor Reefs

We're a FREE website, and we exist because of hobbyists like YOU who help us run this community.

Click here to sponsor $10:


Top