JBNY

Reefer
Rating - 0%
0   0   0
JBNY's 270G tank thread

So I restarted my tank in December and thought this would be a great time to put up a thread for my tank.

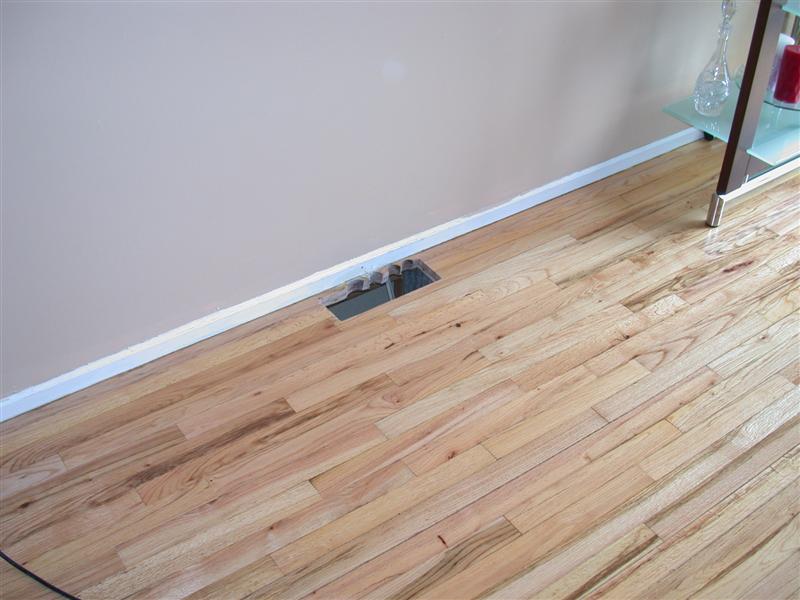
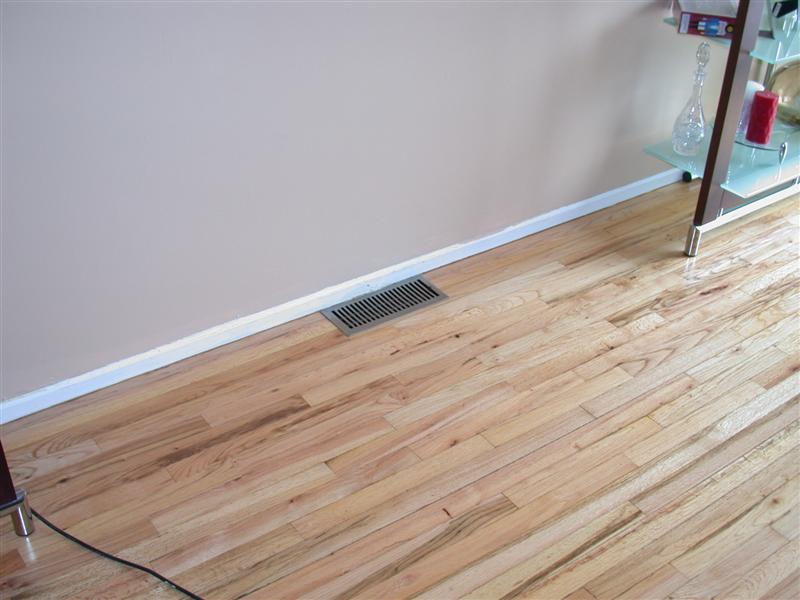
I have been in the reef hobby for almost 15 years. The tank I had in the early 2000's was a 180 gallon tank that I had tremendous success with, I took it down in 2006 to do some remodeling in the house and wanted to have the hardwood floors redone. Pulling out the tank made the floor easy to redo and gave me the opportunity for a larger tank.

Here is the old 180 gallon tank

DSCN0884.jpg


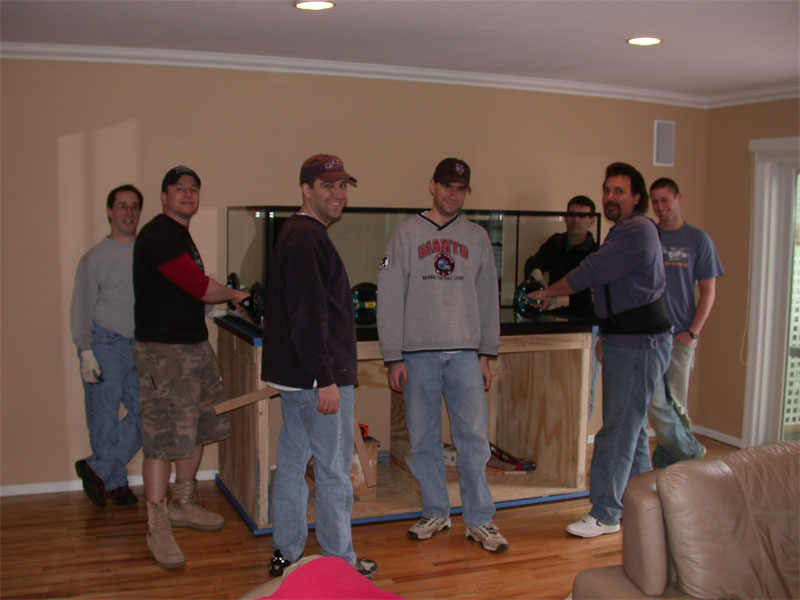
So right, I pulled that guy down and went to work on a new 270 gallon tank.

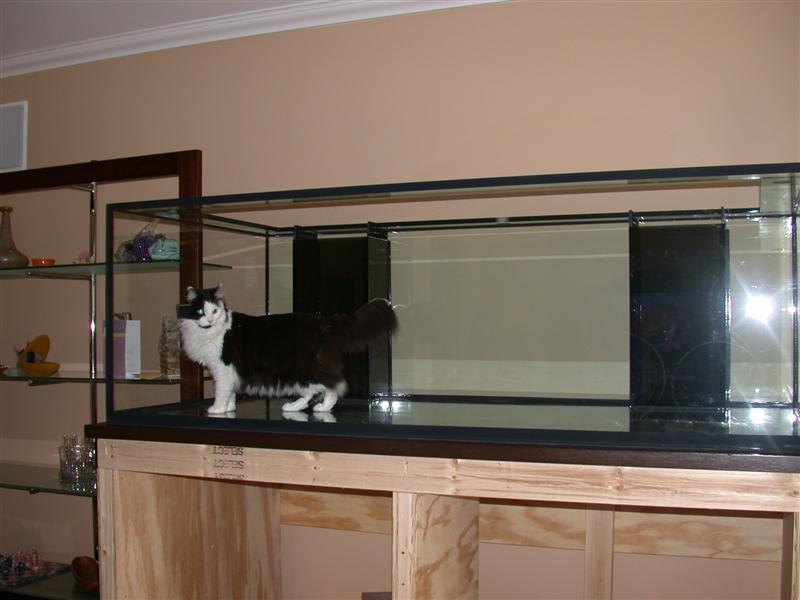
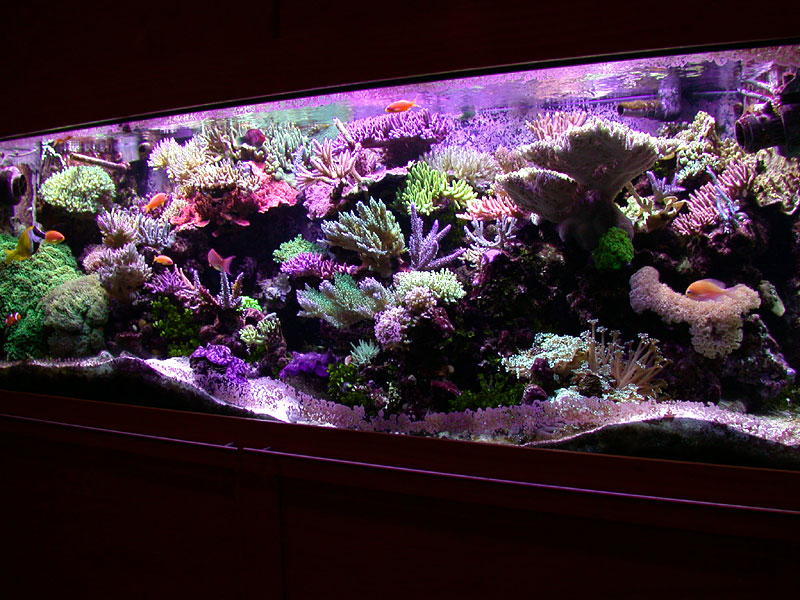
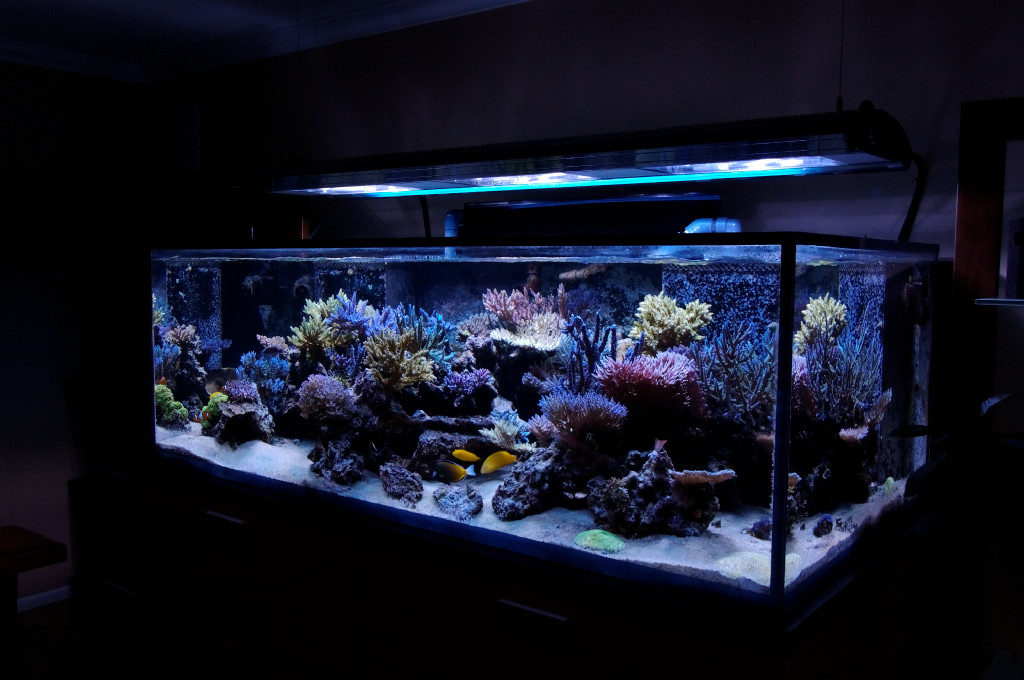
And here is the (this tank thread) 270G tank before it crashed.

DSC_2064.jpg


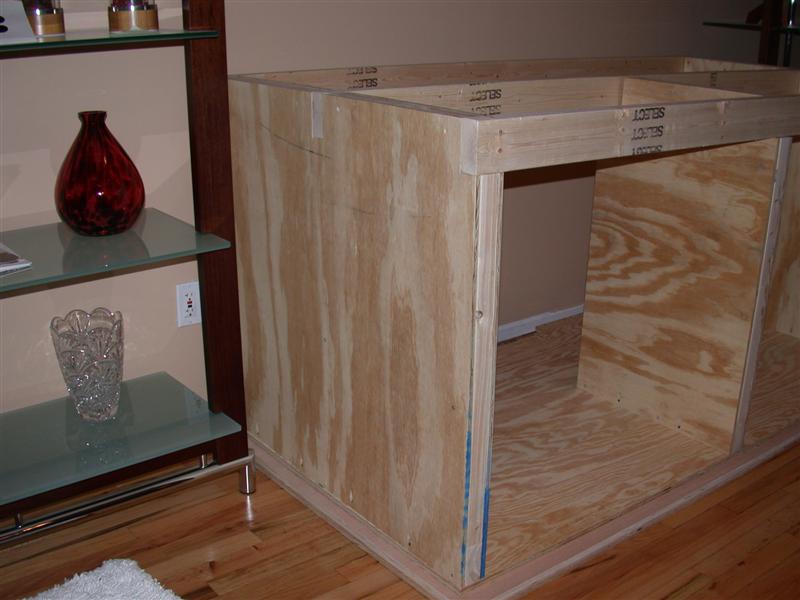
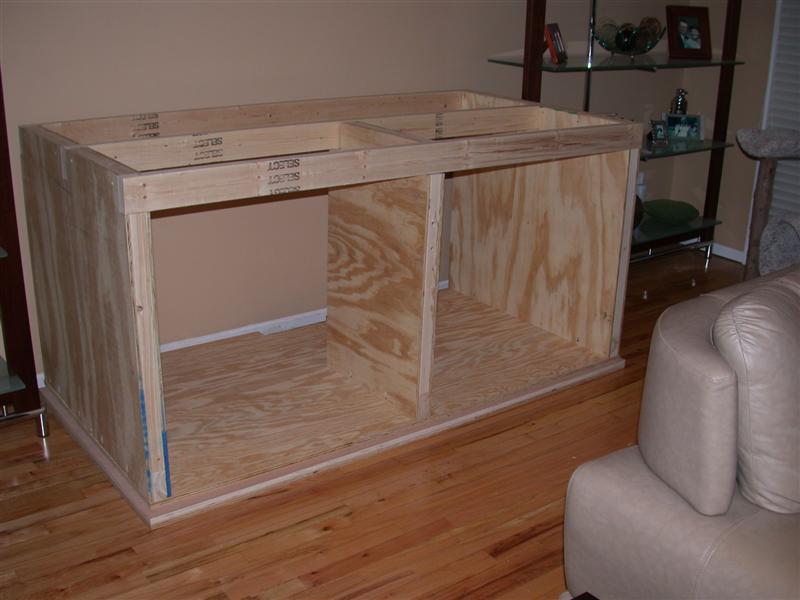
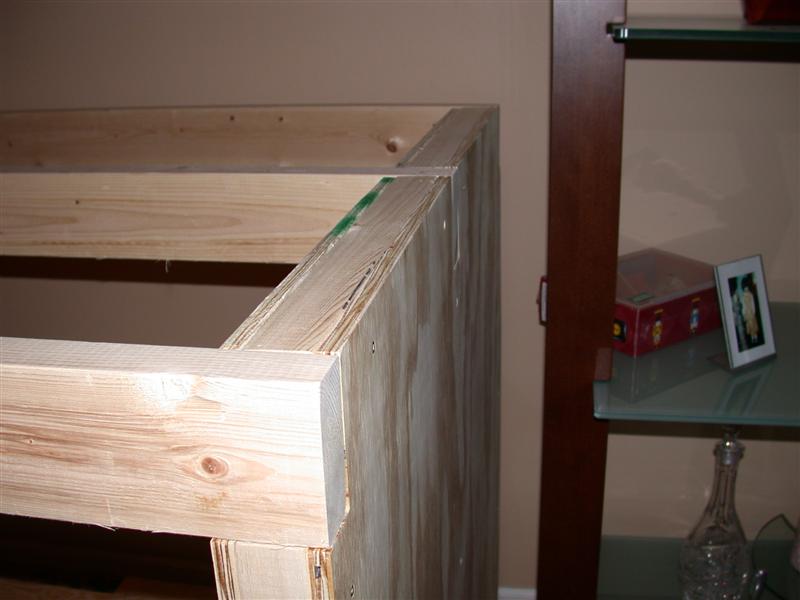
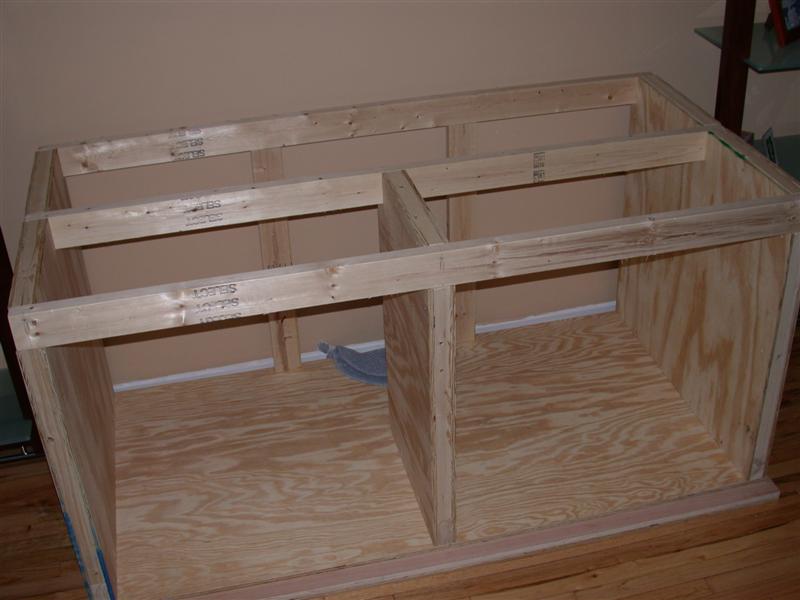
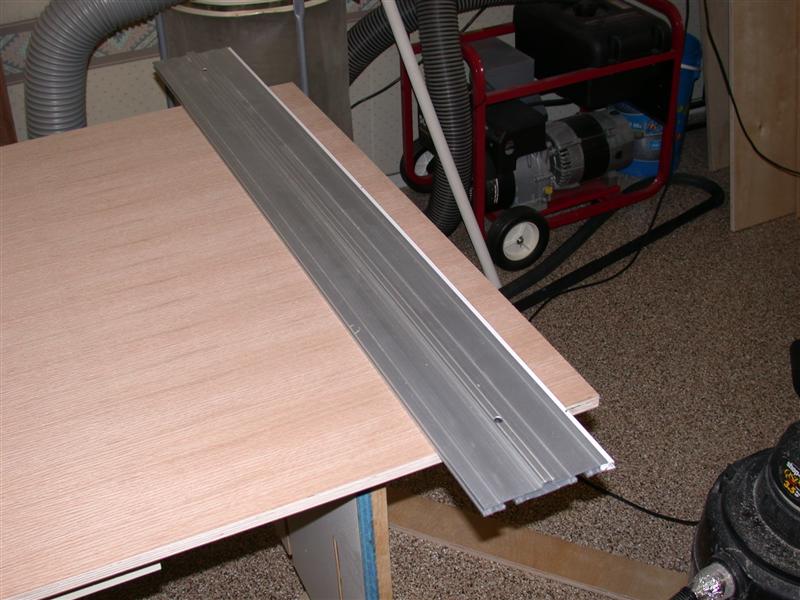
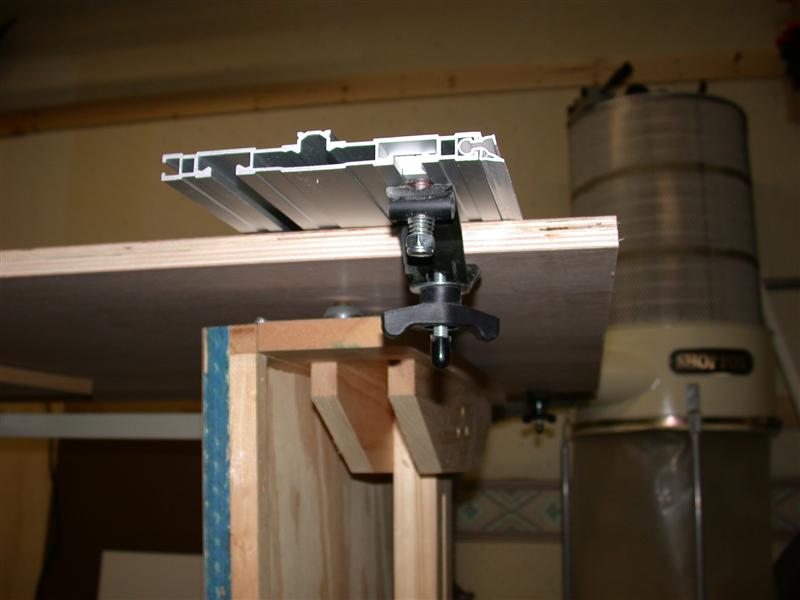
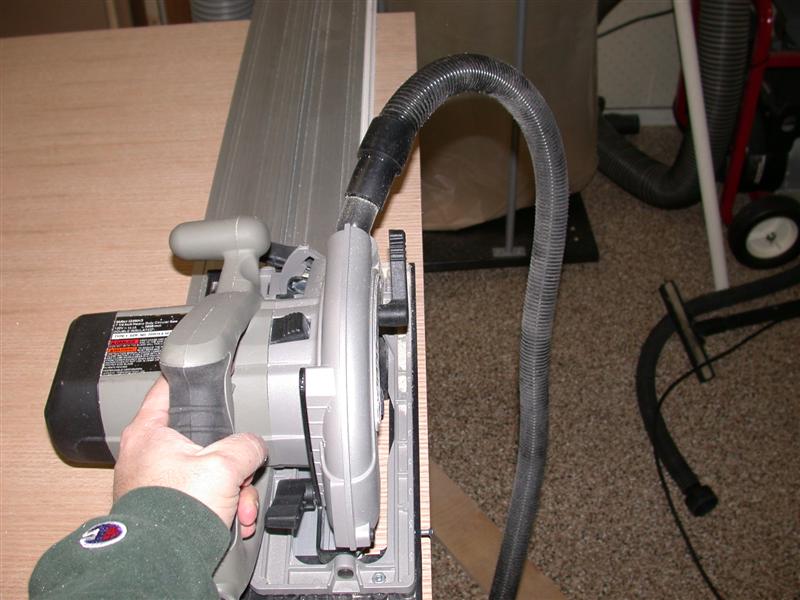
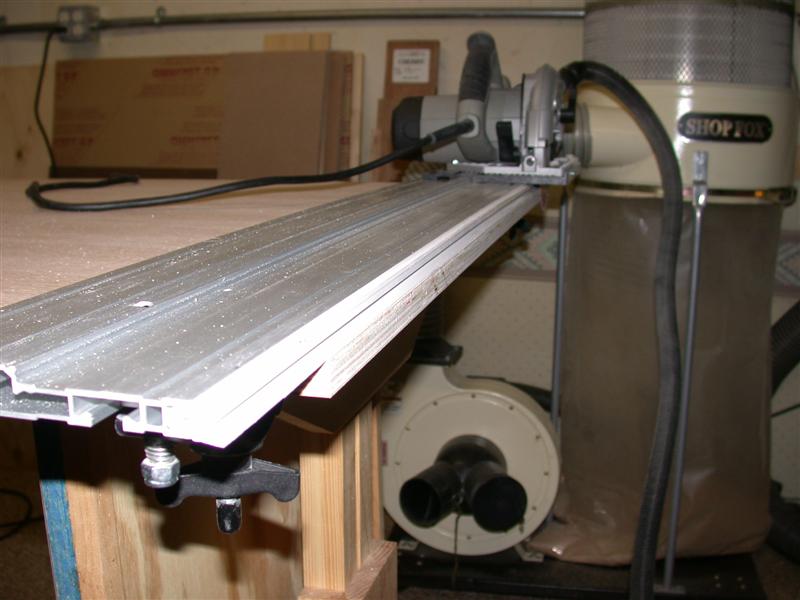
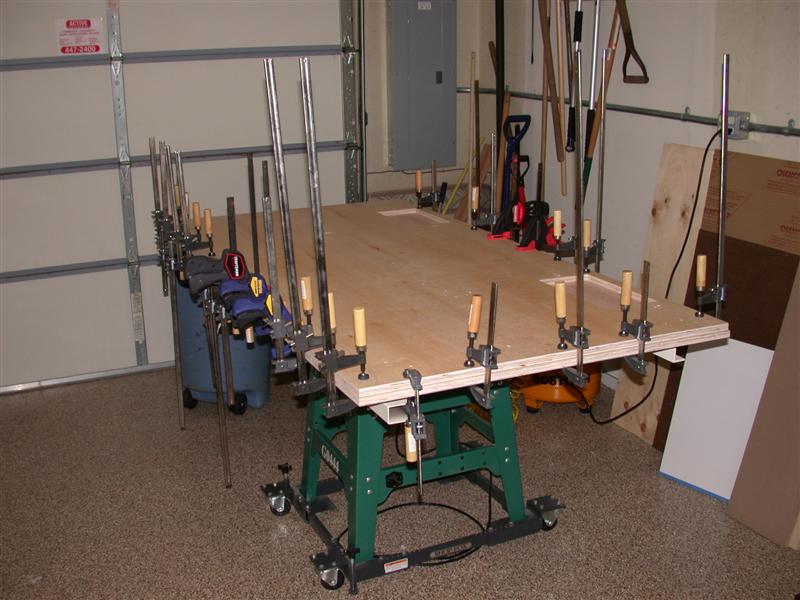
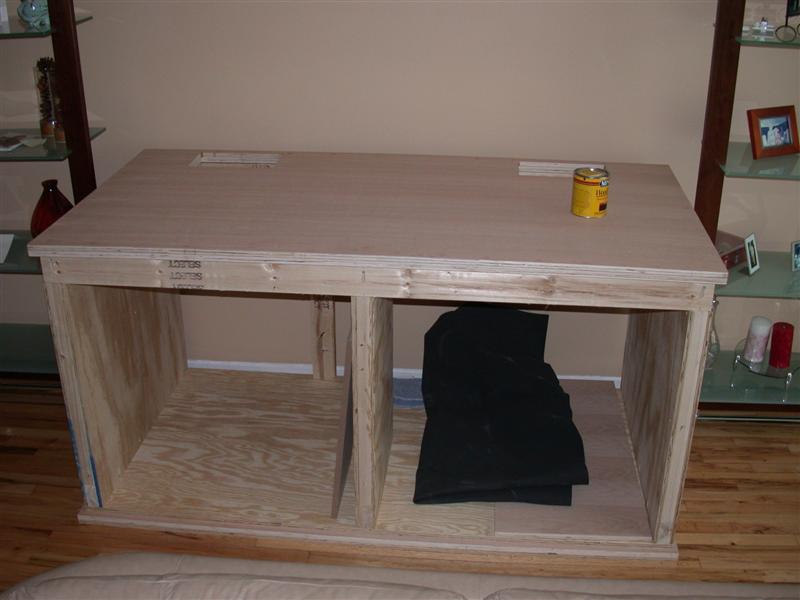
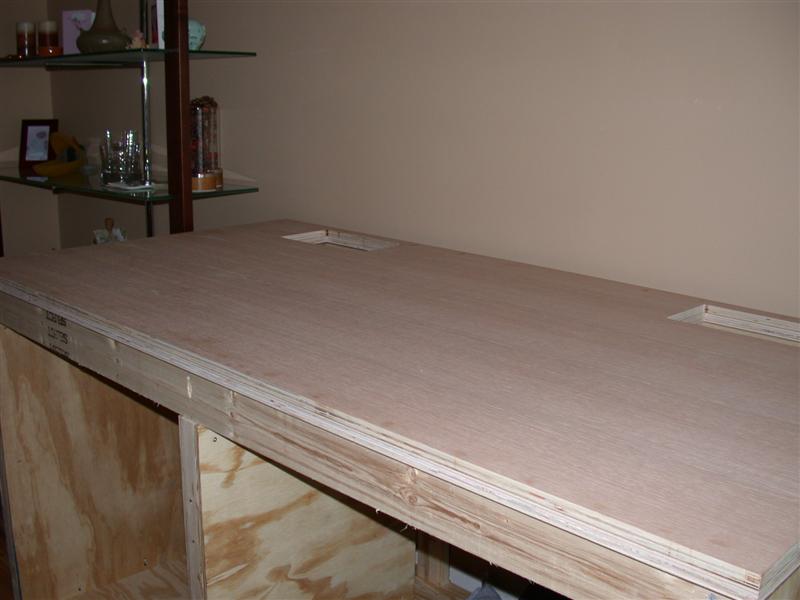
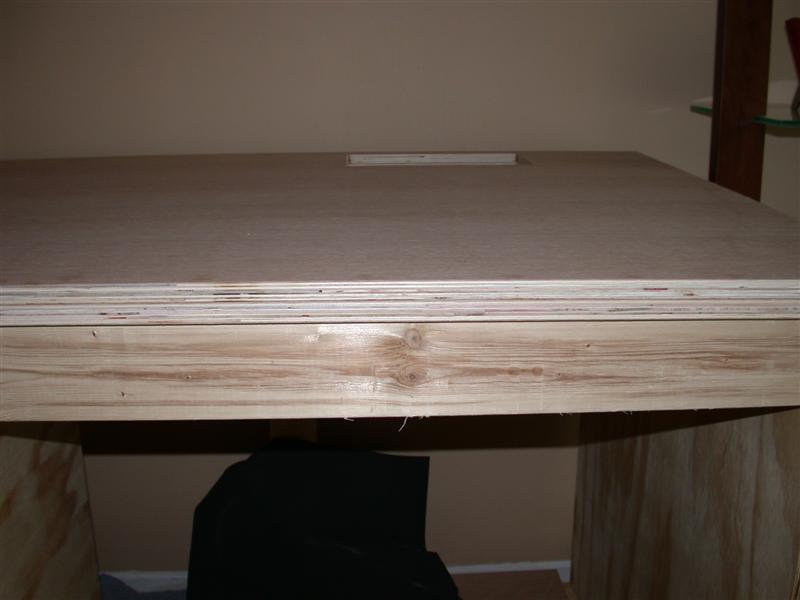
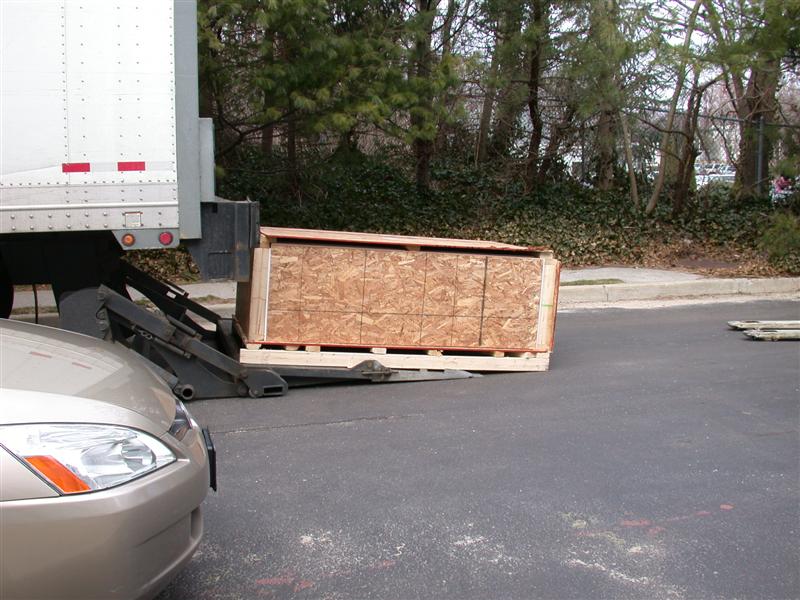
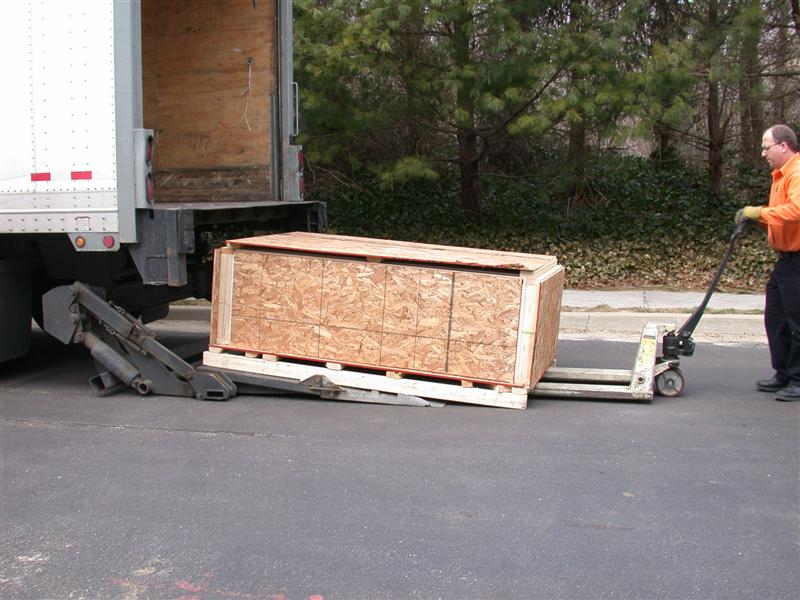
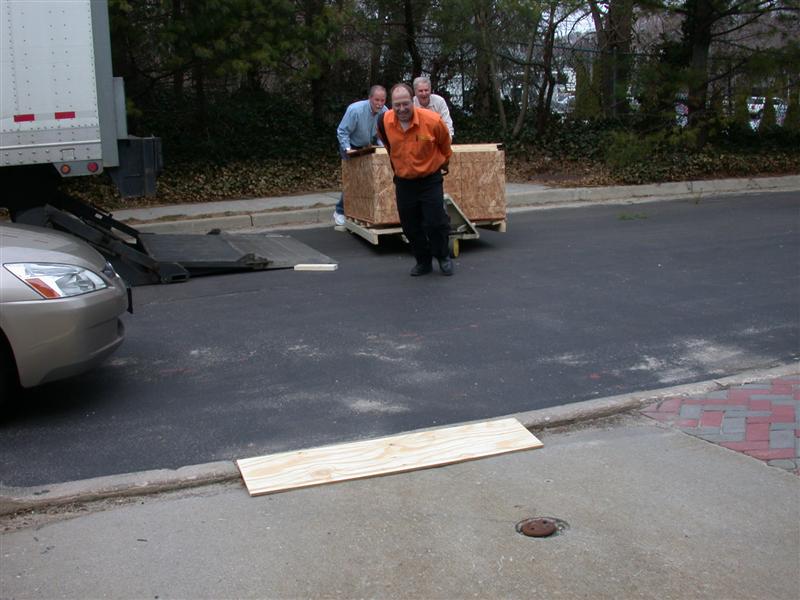
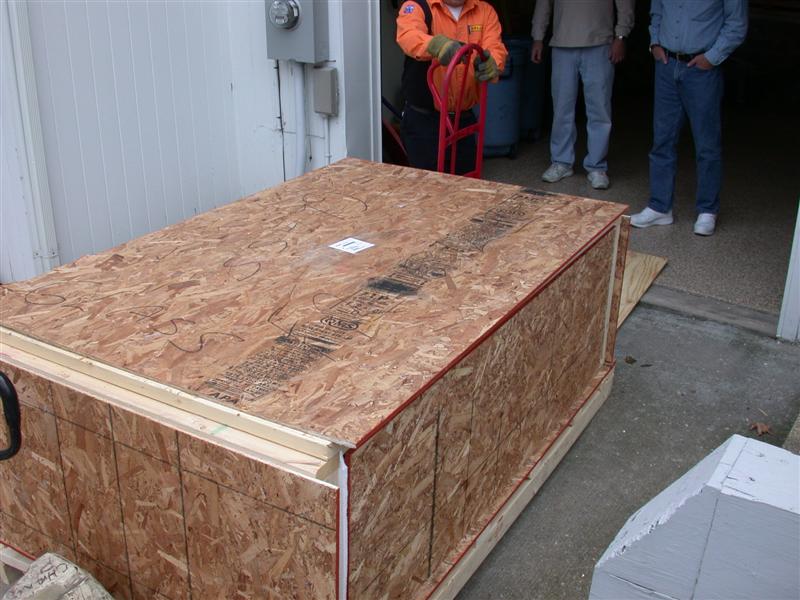
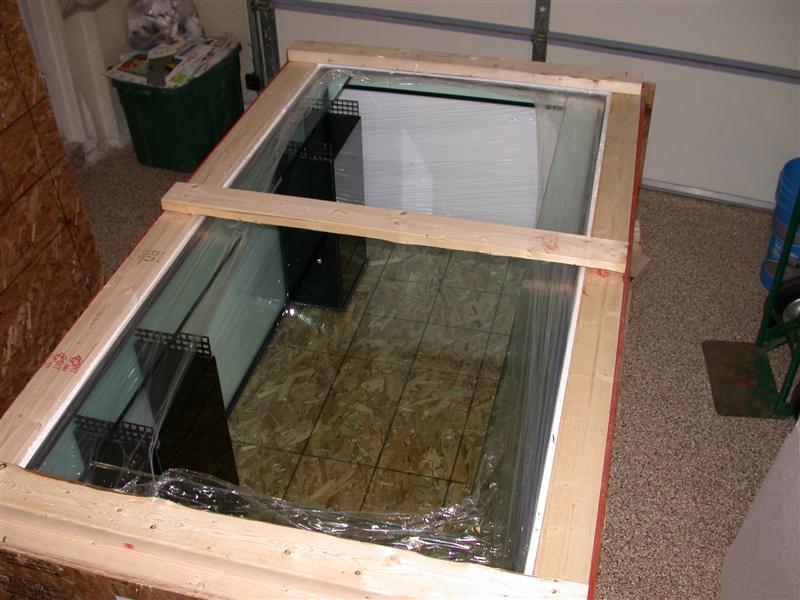
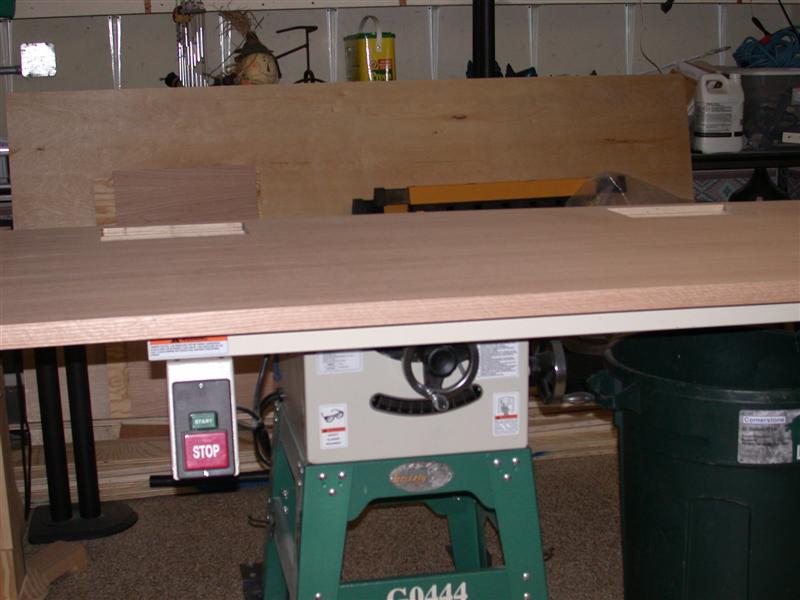
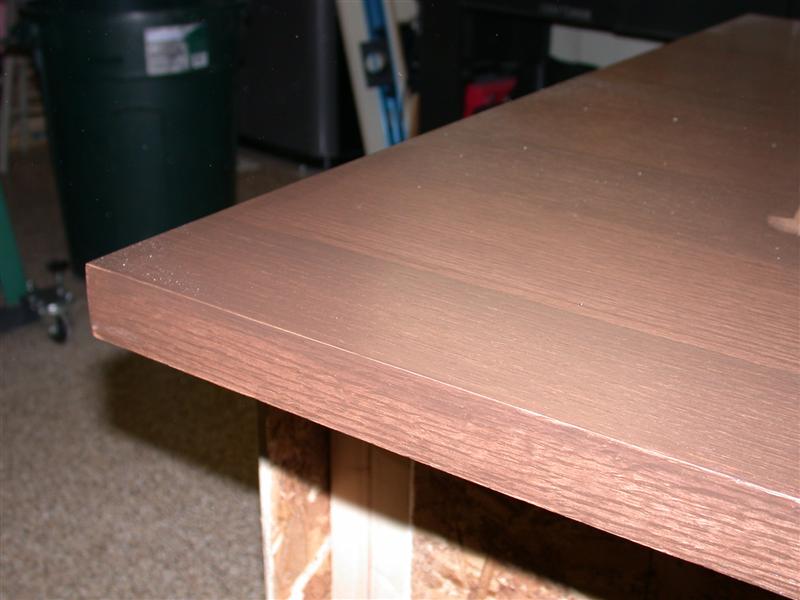
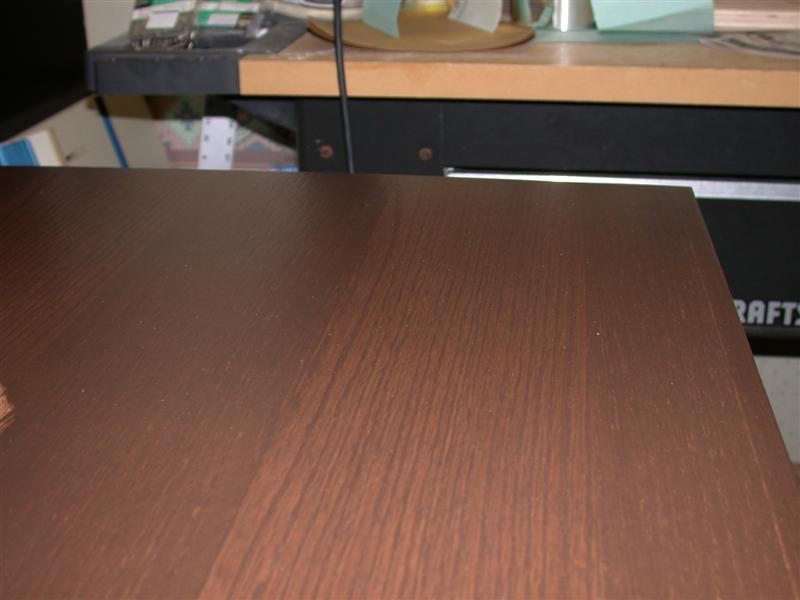
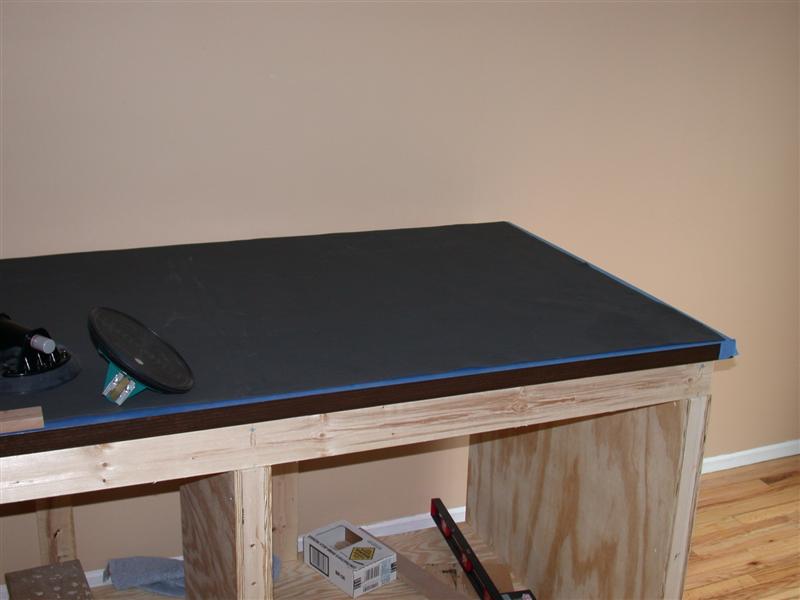
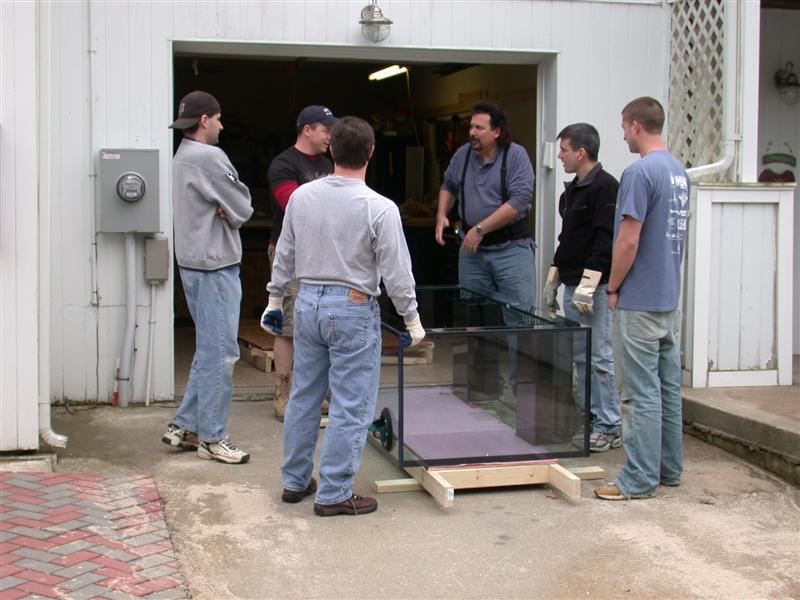
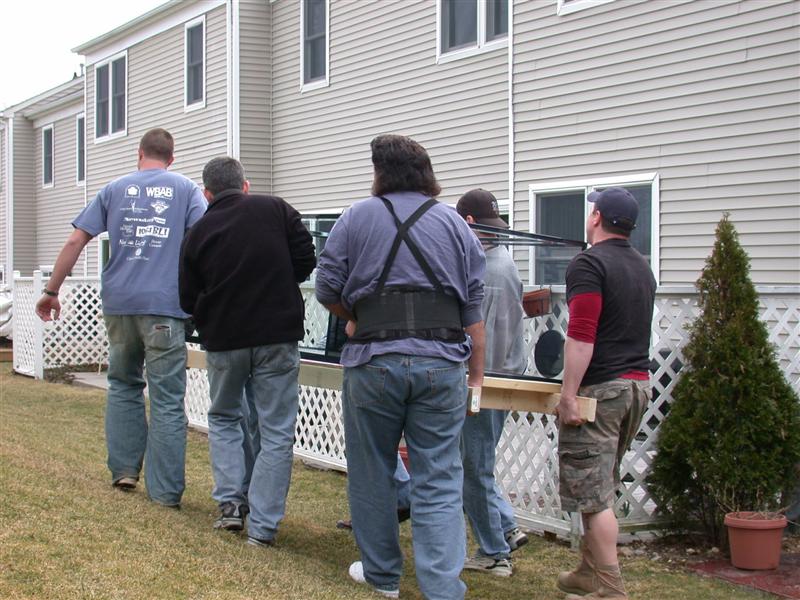
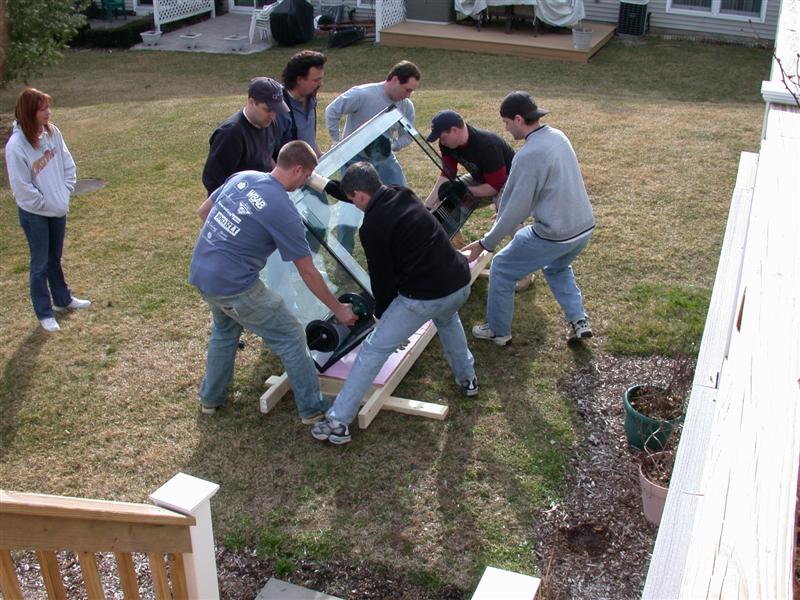
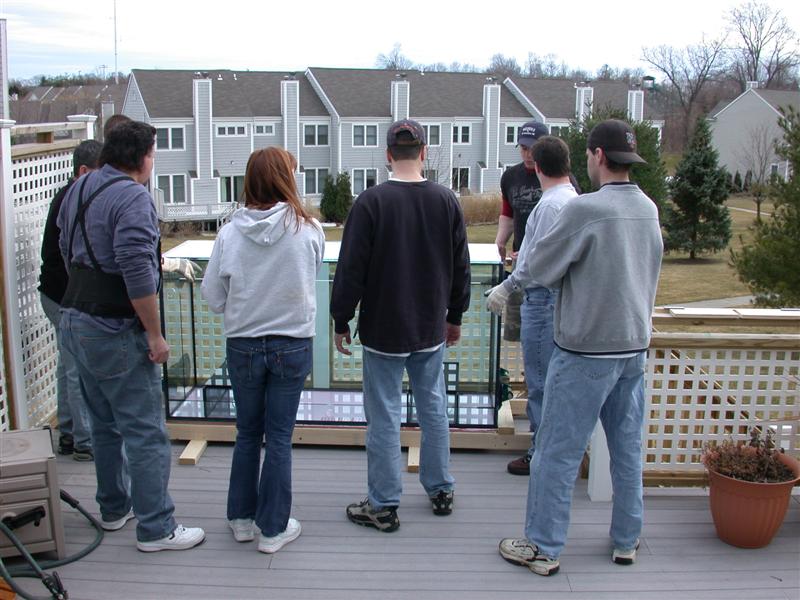
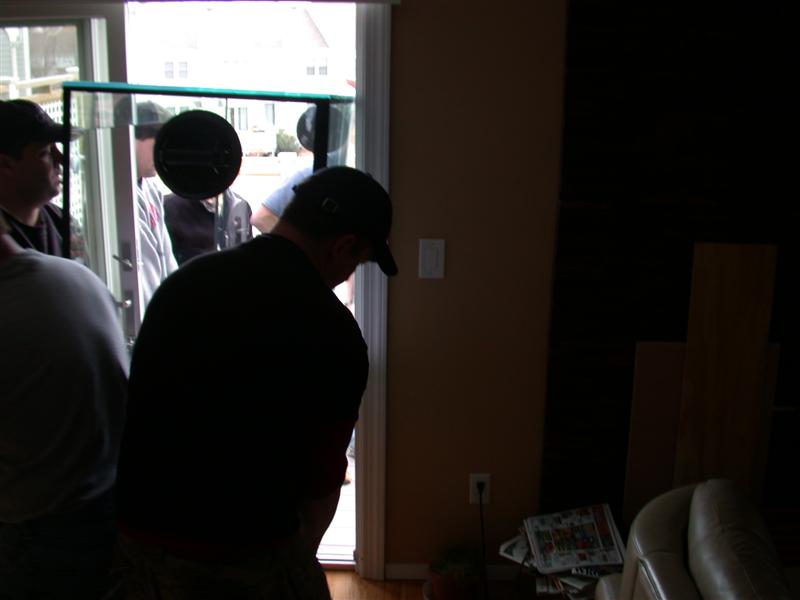
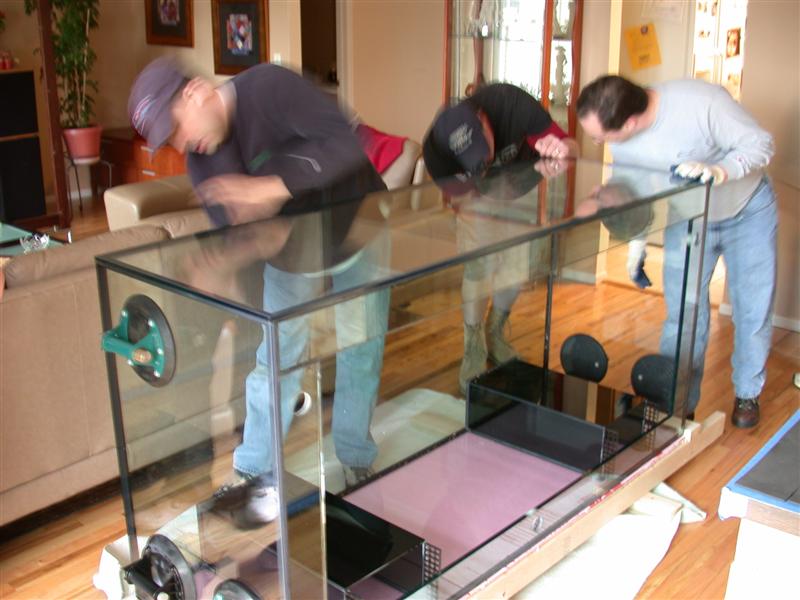
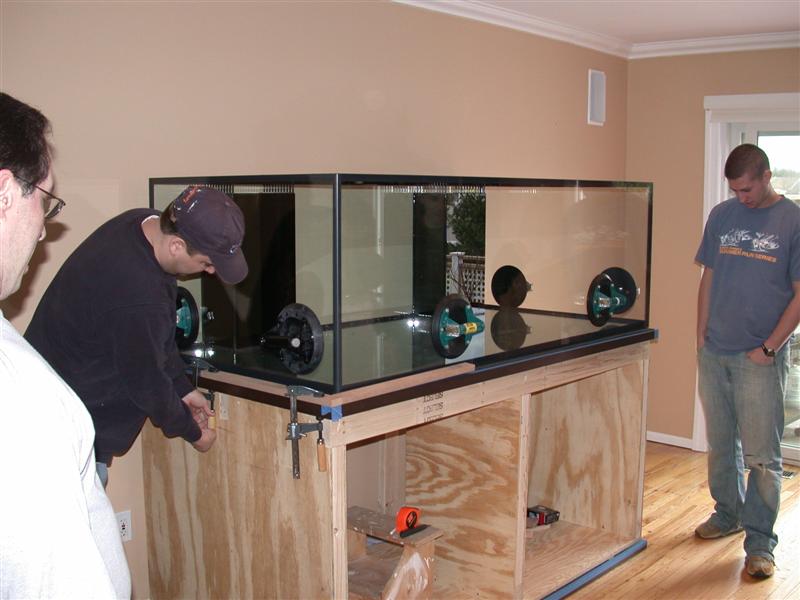
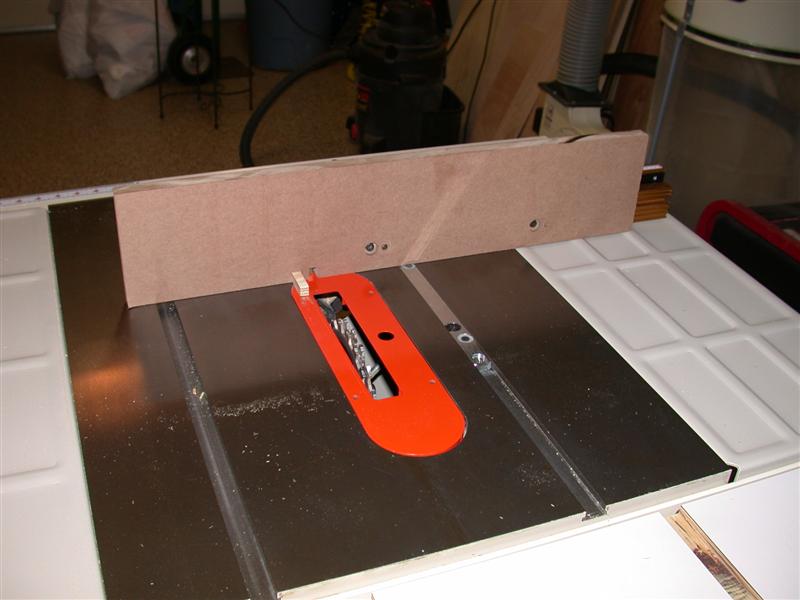
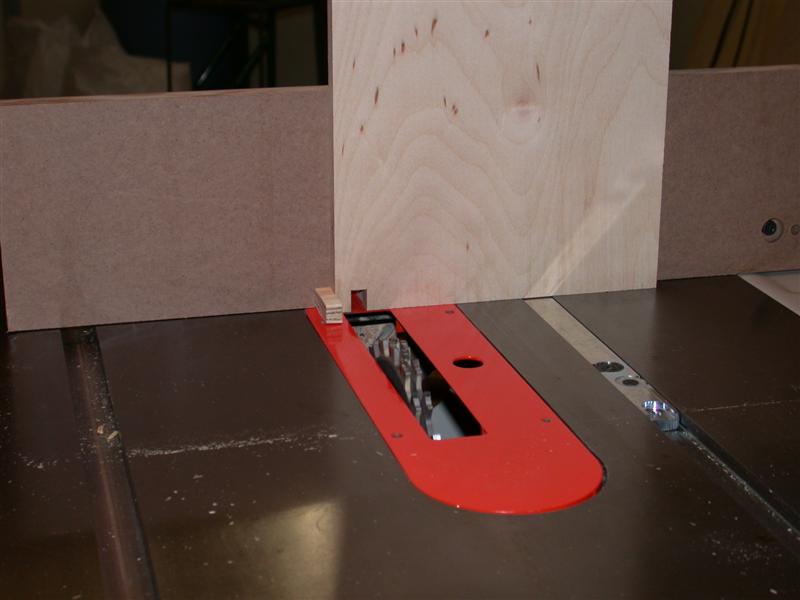
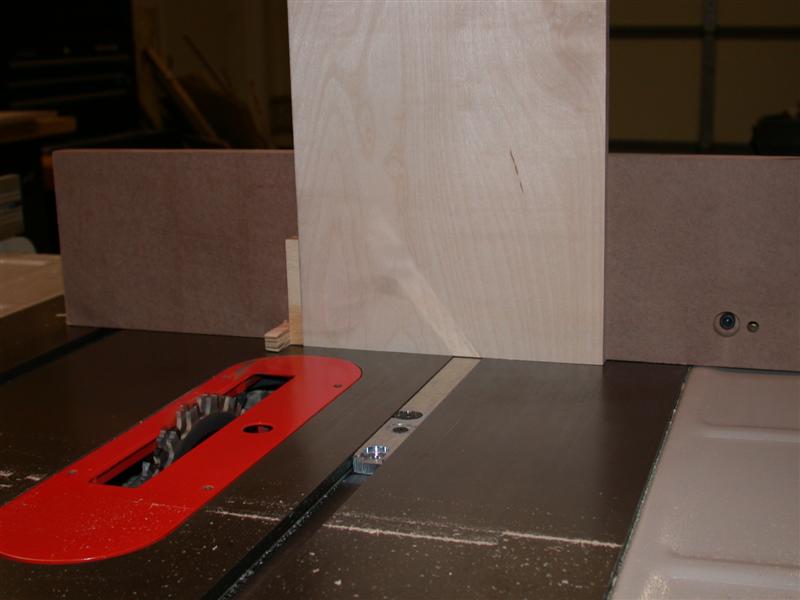
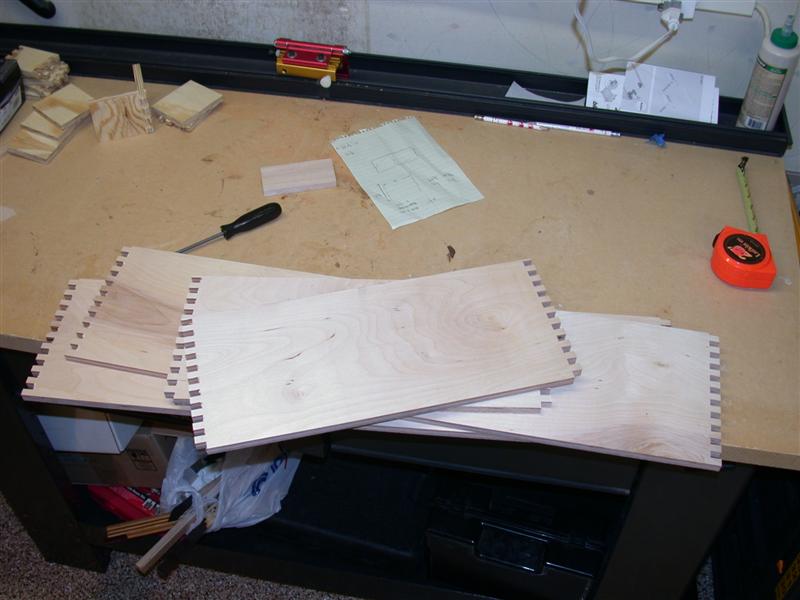
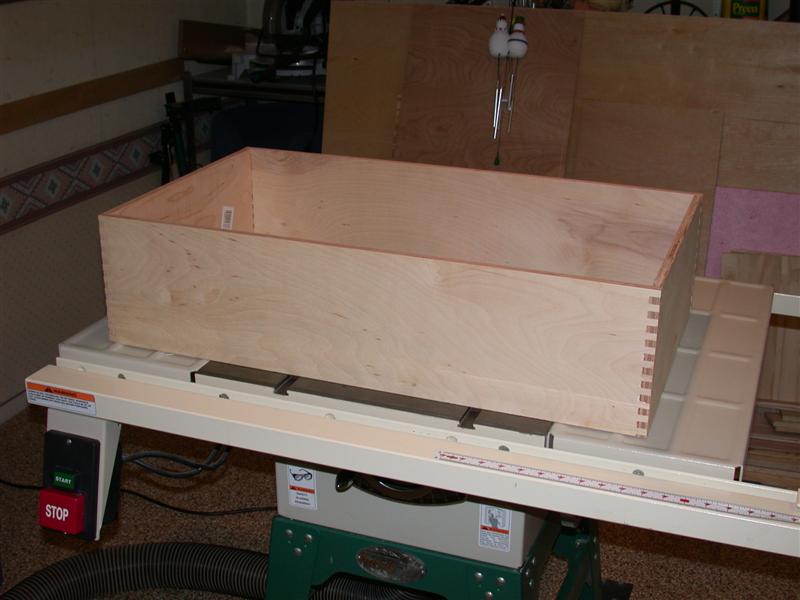
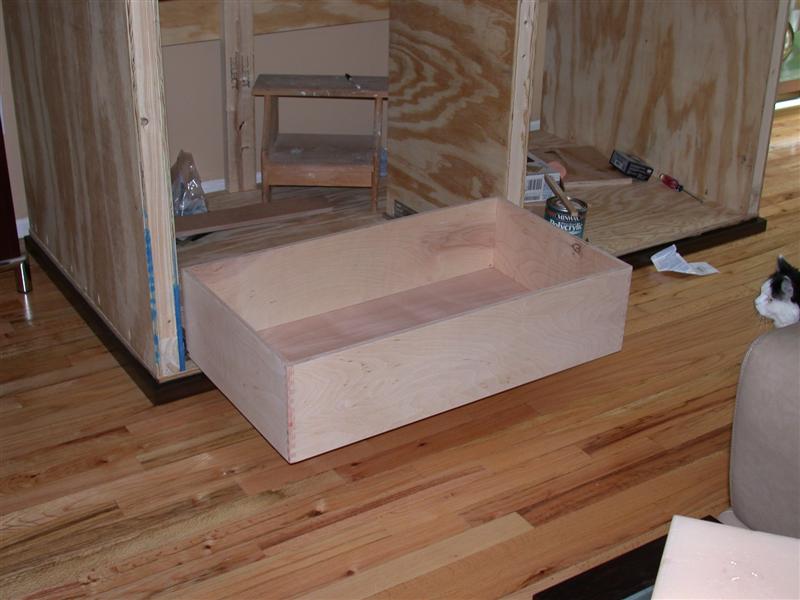
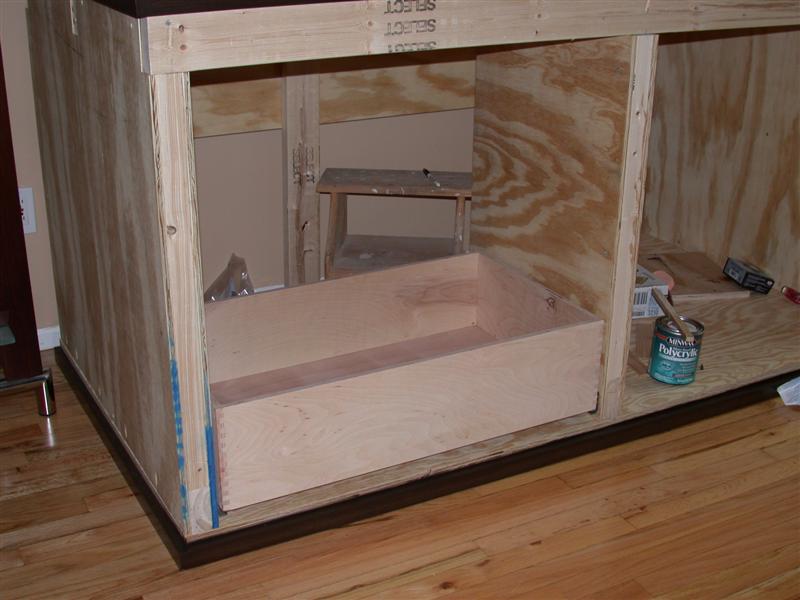
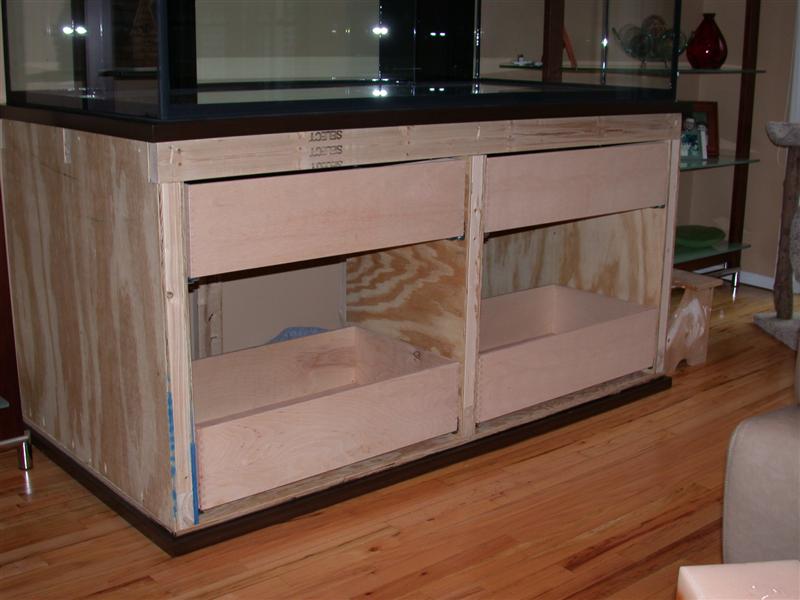
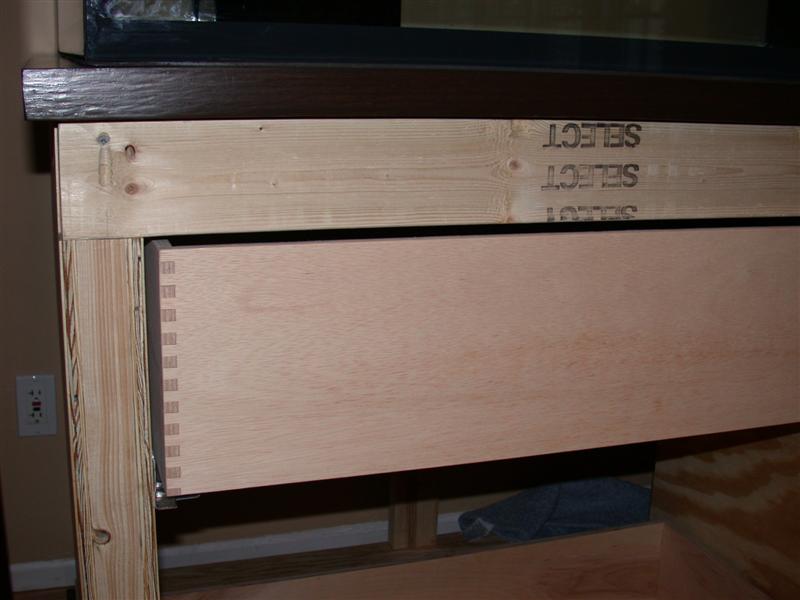
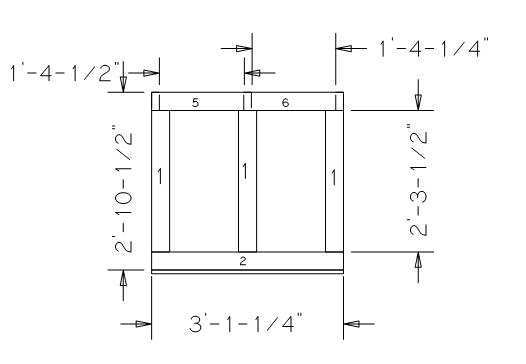
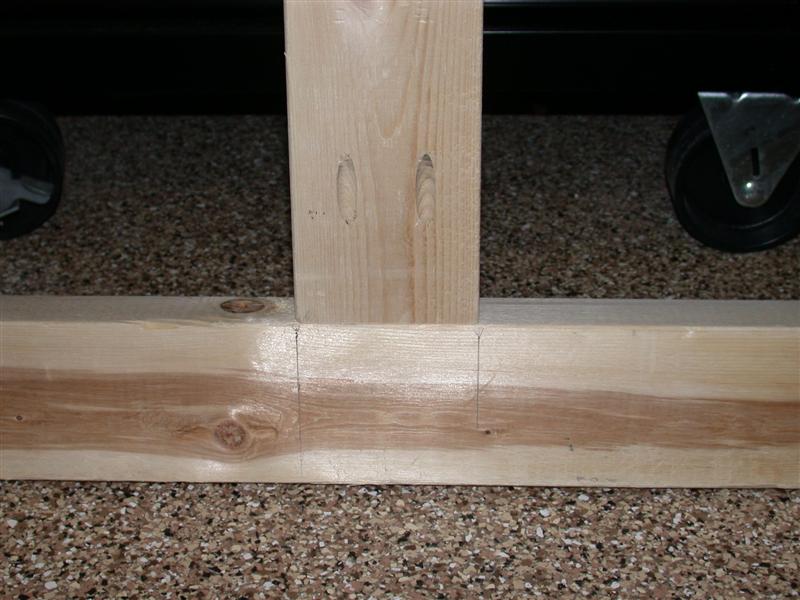
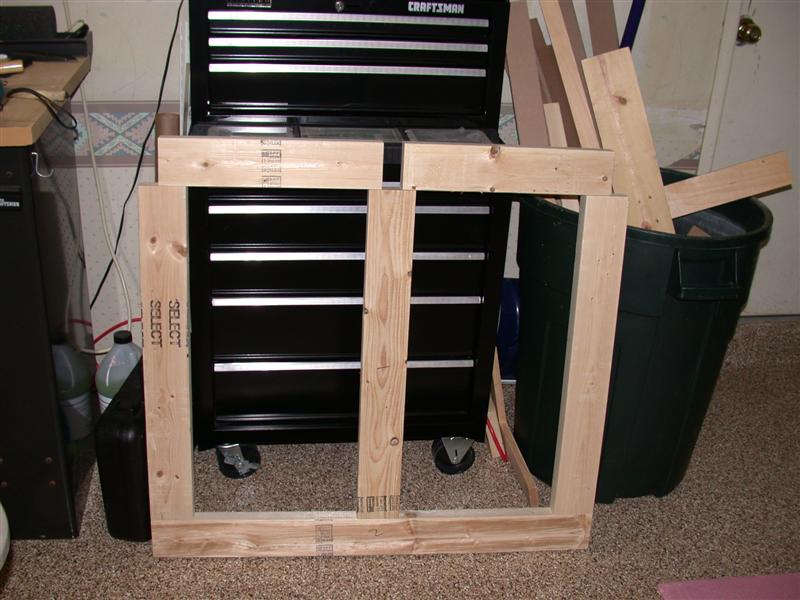
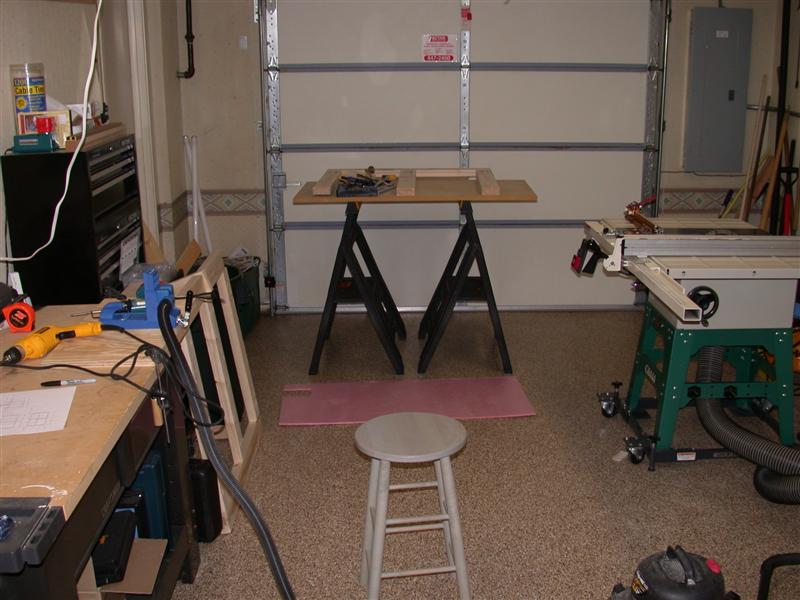
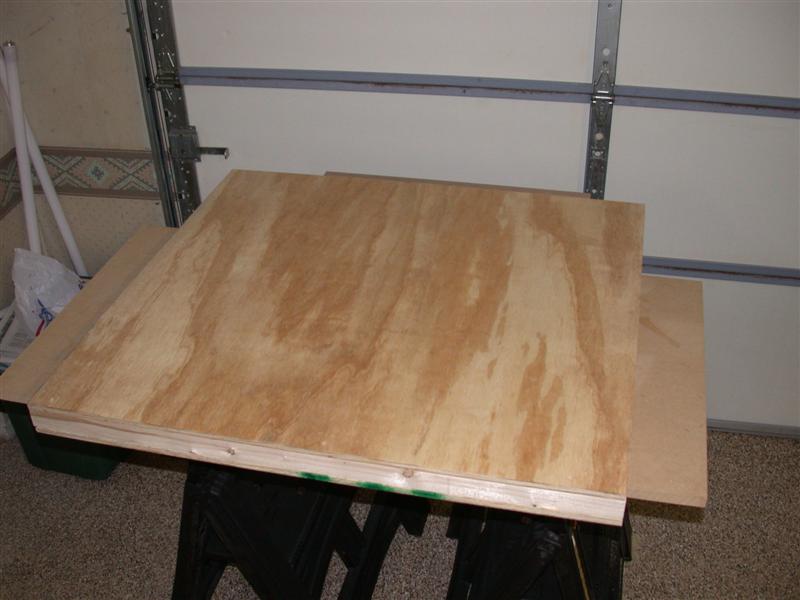
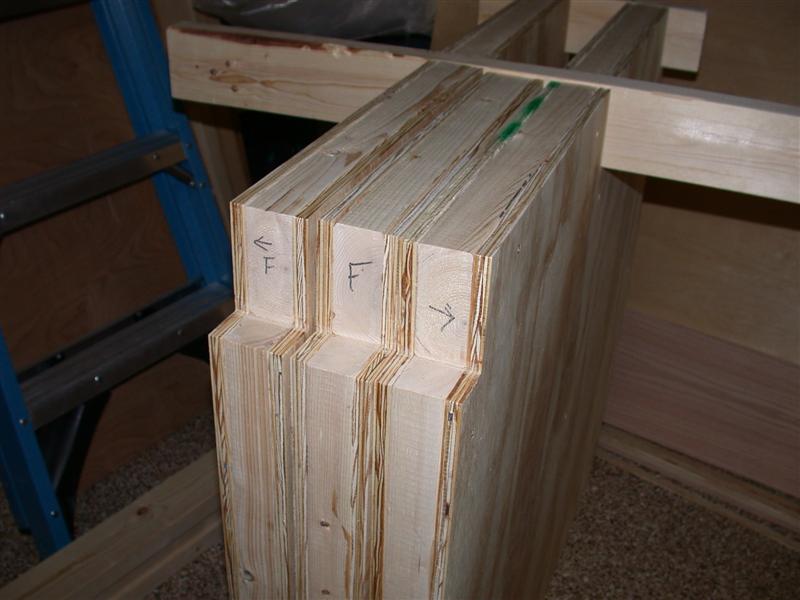
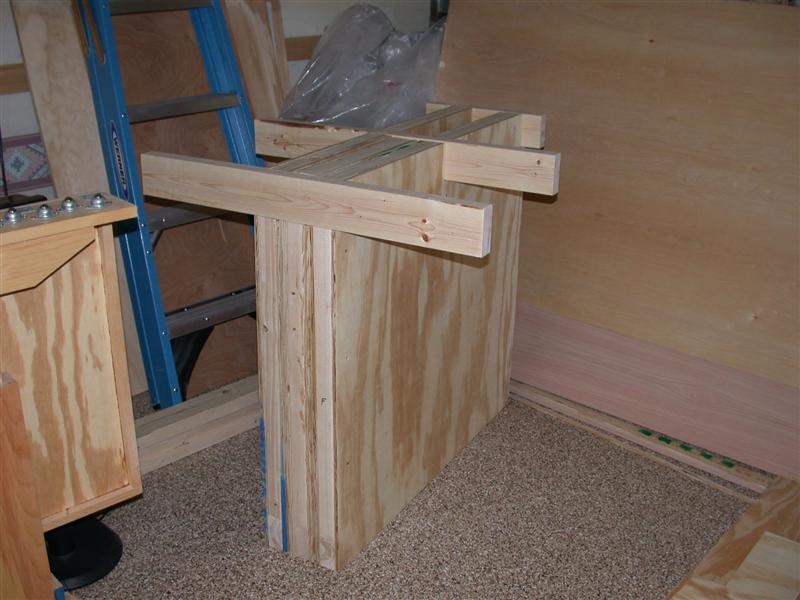
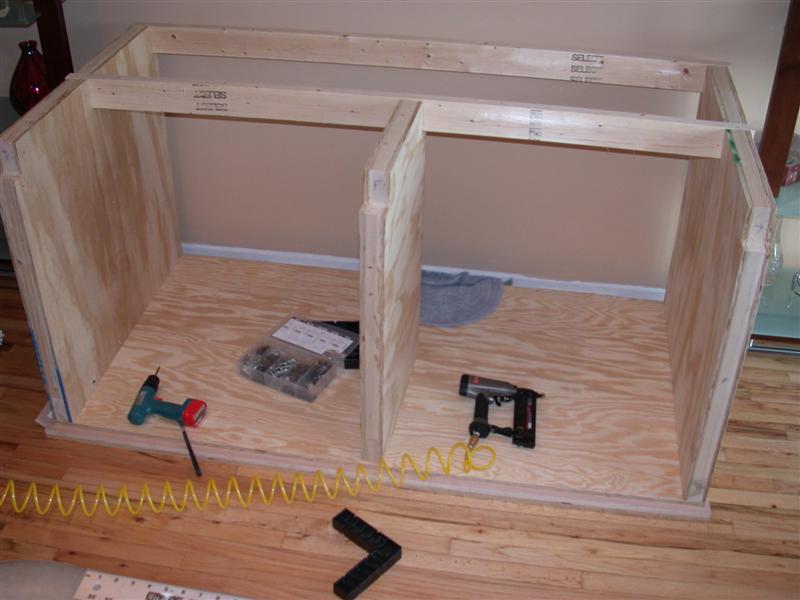
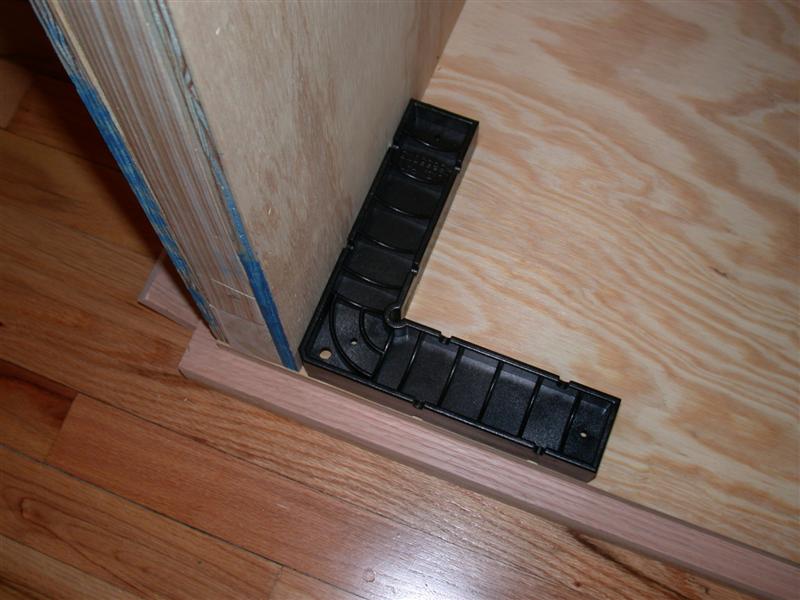
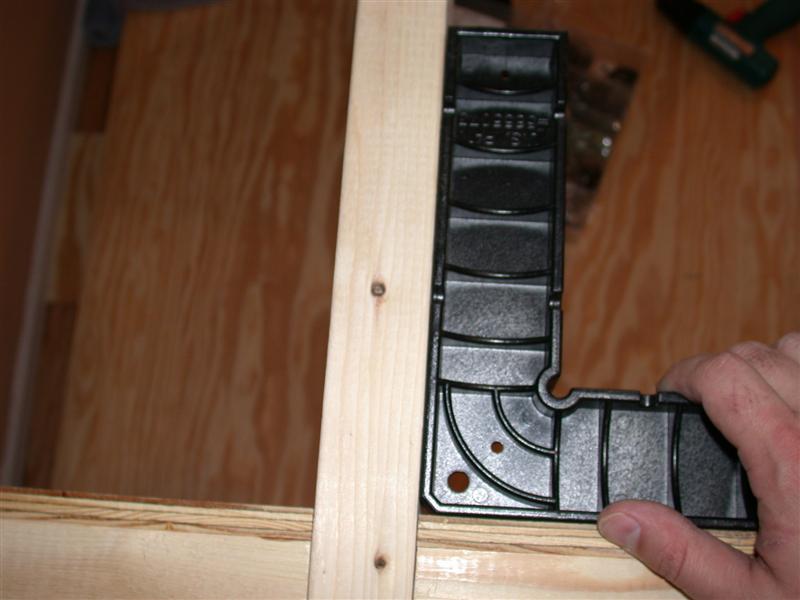
Alright, so now to the build, this tank has actaully been up since 2007, but I'll go through the whole build so you can see how I did everything. So away we go!
 
Last edited:

JBNY

Reefer
Rating - 0%
0   0   0
So looking through what I've got ready to post, I've got A LOT of pictures of the build. So hopfully this will help out anyone who might be putting up a tank now or in the future.

OK first I got rid of the old tank and stand, and had the floor redone. So now I am left with the place for the tank and big hole in the floor. All my equipment is in the basement so I had just drilled holes in the floor to run equipment in.

When I was having my floor re sanded and finished the guy doing it was commenting on the holes I had drilled in the floor. I told him what they were for. He said. "why don't you just make a big hole the same size as the HVAC register?" I thought that was a great idea. So now I have lots of room to runs pipes and wiring and you don't even notice it when the tank is gone.

DSCN1904.JPG


DSCN1907.JPG
 
Last edited:

JBNY

Reefer
Rating - 0%
0   0   0
So for the stand I decided to change things from how I had it in the past. Due to the size of the tank and the amount of room under tha tank I decided to not use doors but insead put in drawers. The tank is 36" wide and I put in 21" drawers that still gives me 15" of space behind the drawers for equipment and it turns out that is more than enough room.

I wanted to not use 4x4 posts so I used 2x4 and sandwiched them bewteen plywood. it made them super strong, more than strong enough for the tank and it used up a lot less room under the tank.
For the 2x4 this is what I drew up.

supports.JPG


Cut everything up and used pocket screws help to create a nice tight and strong joint.

DSCN1893.JPG


Finally all the pieces are together. The next part is attaching the plywood to the outsides.

DSCN1892.JPG
 

JBNY

Reefer
Rating - 0%
0   0   0
Attaching the plywood wasn't too hard. I wanted the 2x4's to sit flush with the top of the support so I had to notch a section of the plywood after it was put on the 2x4's.

First I set up a separate area that I could assemble the supports and still have access to my other tools if I needed them. So fist I put the support of assemble studs down.
DSCN1895.JPG


Next I put the 1/2" piece of ply on top of it.
DSCN1898.JPG


I aligned everything up to get ready for glue up and attaching the screws. Before I permanently attach the ply I checked to make sure the bottom of the support is square so that all of the support will uniformly touch bottom for stability.

DSCN1900.JPG


After I'm happy with that, I attached the ply to the studs with screws. With that done I need to notch out the sections that will receive the studs for the top support. So I cut away a rough hole leaving about 1/8" all around, then hit it with a router using a flush trim bit and use a hand saw to square up the rounded edges.

So with the one side of the ply put on, I flip it over and do the other. Then I do the whole thing two more times and voila. I have my three supports.

I marked them so that I would remember which ones were for the left, middle and right sides.

DSCN1902.JPG


Another shot with the studs placed just to make sure everything was lined up correctly.

DSCN1901.JPG
 

JBNY

Reefer
Rating - 0%
0   0   0
Moved all the pieces upstairs to start assembling the stand. I put the base down and started positioning the legs to make sure that everything was properly cut and aligned correctly before I started attaching anything.

DSCN1913.JPG


Next, checked to make sure the sides are square to the front of the base.

DSCN1914.JPG


Next I made sure the top supports were square when put in place.
DSCN1915.JPG


Then I tacked it down with a few brad nails to make sure it wouldn't shift when I went to screw it down. After that, I used more pocket holes to attach the legs to the base.

Every thing secure and in place. :)
DSCN1916.JPG

DSCN1917.JPG


Here are a few more pictures of the corners with the supports in.
DSCN1919.JPG

DSCN1923.JPG


So here is everything is screwed together. It's pretty solid, I'm planing on putting a piece of 1/2" ply across the back to keep the stand rigid, but even without it the stand doesn't twist or rock at all.

DSCN1935.JPG
 

JBNY

Reefer
Rating - 0%
0   0   0
I cut down two sheets of 3/4 plywood and glued them together to make the base for the tank to rest on.

First I had to cut down the plywood sheets. I used a guide system that works with a circular saw. It works very well. Much, much easier than trying to use the table saw to maneuver and break down a 70lb full sheet of plywood.

First you take the guide and put it over the area you want to cut off. The white line is plastic, and the edge of it is exactly where the blade will cut, so all you have to do is snap a line and drop the guide on top of it.
DSCN1936.JPG


Then you tighten some clamps, that sit underneath the guide, to the board.
DSCN1938.JPG


There is a plate that you attach to the bottom of the saw, the saw with the plate then rides on a rail on top of the guide. Then all you do is push the saw down the guide.
DSCN1939.JPG


That's it. Now you have a nice straight line.
DSCN1941.JPG


Do this a few more times and the whole sheet if broken down very easily.

After the two sheets were all cut up, I cut an opening for the bulkheads. I just cut out the dimensions of the overflow box.

Next was to glue and screw the two sheets together. The one piece was bowed more than I thought when I bought it, so it took a bunch of clamps to get everything just right. I made sure my wife saw that I used every clamp that I owned, just to justify all the clamps I bought last year!! :)

DSCN1949.JPG


I let the everything sit overnight.
 

JBNY

Reefer
Rating - 0%
0   0   0
Next I unclamped the top and made the holes for the overflows and flush trimmed the sides. Unfortunately, I could not hook the dust collector to the router when I was using it for the trimming, the amount of sawdust the router kicked out was unreal.

After the routing was done I cleaned it off and had my wife help me haul it upstairs to the stand.

Here it is on the stand. Man this this is going to be big! The black thing underneath the stand is the folded sheet of neoprene I am going to use for between the tank and the stand,
DSCN1951.JPG


DSCN1953.JPG


The glue up came out pretty good. Looks solid.
DSCN1954.JPG
 

JBNY

Reefer
Rating - 0%
0   0   0
Finally the tank that I orderd shows up. The tank was made by Aquarium obsessed. Starfire glass on three side 72"x36"x24"
A nice big truck pulled up.
DSCN1955.JPG


Unloading the tank. Ohh that looks pretty big.
DSCN1956.JPG


DSCN1957.JPG


Moving it onto the driveway.
DSCN1958.JPG


Last step, getting it into the garage.
DSCN1959.JPG


The moment of truth. No damage to the tank, yeah!!!
DSCN1964.JPG


OK, so the next step is staining the top. I'll post more later tonight.
 

JBNY

Reefer
Rating - 0%
0   0   0
Looking awesome Joe -
- stand looks very solid - well made
- waiting for more pics of the build

Thanks, the stand is build like a tank!

Awesome !!

Thanks, the build was a journey for sure.

Awesome thread so far. Quality wood working .. Is that my favorite tool i see the fest tool

It's not a Fes tool :( they were so expensive, this is a knock off. but it does the exact same thing.

It must be great to be so handy!

Being handy came over time. This was my first real big project, I did lots of small projects before this.
 

JBNY

Reefer
Rating - 0%
0   0   0
OK, so the next step is staining the top.

I wanted a very dark color and I think the long stain time with using the shellac under the stain helped it to come out more uniform. The finish looks great, no brush marks can be seen on the finish at all, it came out really well. Even with the veneering it still looks pretty good.

Here are some pictures of when I put the veneering on the edges of the plywood before it was stained.

Before.
DSCN1954.JPG


After.
DSCN1971.JPG


DSCN1972.JPG


And here are a few shots of the final finish. It came out much, much lighter in the picture due to the flash. It's at least 3 shades darker in person. I'll get a better shot when it is upstairs on the stand and I can use natural sunlight for the picture rather than the flash.
DSCN1980.JPG


DSCN1984.JPG


Staining and finishing took me the whole weekend and one more night.
 

JBNY

Reefer
Rating - 0%
0   0   0
Next up the tank move.

Before the tank went on the stand I had bought some neoprene foam for the tank to sit on. I want this tank to sit right on the top of the stand with no molding around it, so I wanted to use some kind of foam that was not pink or white or blue. The neoprene is a dark grey, you don't even notice it when the tank is on the stand. I cut and glued it to the top with some spray on adhesive and used a J-roller to flatten it out. I put blue painters tape on the top, thinking that it would protect the finish when I moved the stand. When I took the tape off...it pulled up most of the poly with it, so I had to redo it. oh well...

DSCN1986.JPG


Before everyone arrived I built a sled to hold the tank when we were moving it. You can see it in the pictures, but all it was was a frame that would support the tank from the bottom. I have a bunch of that pink foam insulation, so I put that on the bottom to keep the glass from touching anything that might scratch it. As well as to make sure that the tank did not slide while on the sled. I also put a 2x4 block at one end so that when we went up the stairs with the tank, the block would support the tank at the back and prevent it from sliding back. The sled actually made the move much easier as there was a solid base to hold onto while moving the tank.

I had a total of 8 suction cups so that gave everyone a firm handle to hold onto while transporting the tank.

First picture tank on the sled and getting ready to move the tank into the street and around the side of the house to the back.
DSCN1991.JPG


Bringing it along the side of the house.
DSCN1994.JPG


Now at the back of the house, we flipped the tank on it's back. Now the width is only 24" that we need to fit up the stairs and into the house.
DSCN2002.JPG


Tank is up on the deck. That was the only part were things were a little worrisome as the steps were narrow so we could only fit people to carry the tank on the front and back.
DSCN2007.JPG


Once on the deck it was a straight move to bring the tank in through the slider. I had a 28" width when the slider was open so we were able to fit the tank in without having to remove the doors.
DSCN2009.JPG


Once inside. We moved the suction cups to flip the tank up and onto the stand.
DSCN2011.JPG


On the stand making sure the tank is positioned correctly.
DSCN2014.JPG


The moving crew. :)
DSCN2013.JPG


After all the shelving and furniture are back in place, my cat, Sophie, decides to check things out!
DSCN2025.JPG


Looks like a good place to rest!
DSCN2028.JPG
 

JBNY

Reefer
Rating - 0%
0   0   0
Here are some pictures of me making the drawers for the stand. I am using Blum sliders for the drawers. The sliders are full extension, support up to 75lbs and allow the drawer to have a soft close. So no matter how much weight is in the drawer and how hard you push the drawer to close it, the slider will catch about 2-3 inches before the drawer fully closes and slowly shut the draw. I thought with the tank on the stand that this would be nice to have.

But first I had to actually make the drawers themselves. I had never done that before so it was a bit of a learning experience. I decided to make the drawers using finger joints, simply to see if I could do it.

So I had to first build a jig to make the fingers. Ihe jig is just a fence with a peg that is the same size as the fingers (I chose 3/8" for the fingers).

DSCN2029.JPG


Then you start cutting the fingers. Start with the board against the peg and using a dado blade set up for 3/8", run the board through.
DSCN2030.JPG


Then you just move the board, taking the hole you just cut and place it over the peg and run another cut. Keep doing this until you run out of wood. :)
DSCN2032.JPG


To make the mating side, you start the board on a scrap that is the same size as the peg. This way when the two sides are put together, they mate up correctly.
DSCN2034.JPG


All the pieces cut up.
DSCN2035.JPG


Then I routed out a groove to accept the drawer bottom, and dry fitted the whole thing before I glued it up.
DSCN2039.JPG


then glue it and clamp it up, After it has dried sand down the corners to make it all nice and flush and attach the drawer guides and...I have my first drawer!

It even opens and closes correctly!
DSCN2043.JPG


DSCN2044.JPG


I finished the rest of the drawers. It took me longer than I thought to build them. It was a nice learning experience for me, but it took about 2 hours to build each drawer. :eek:

These ones are nice and square so they go in and close great. The slides I bought are really nice, they allow the drawer to be fully locked in the slide when the draw is in use and when I need to remove the draw they unlock from the bottom very easily. Also the soft close feature is really cool. I can close the draw as hard as I want and the drawer stops with about 3 inches left and slowly pulls the draw shut. Really nice. I used Blum Blumotion Tandem slides in case anyone is interested.

Anyway, here are a few shots of the finished drawers. Now I have to make the fronts for them.

Shot with all the drawers in place.
DSCN2055.JPG


A close up of the joinery I used.
DSCN2058.JPG
 

Sponsor Reefs

We're a FREE website, and we exist because of hobbyists like YOU who help us run this community.

Click here to sponsor $10:


Top