InfernoST

"H" Division
Location
Brooklyn
Rating - 100%
46   0   0
First I want to Thank everyone again for the comments and the help.
I'm a little worried now about the upgrade. I honestly thought that the Metal I-Beam would be strong enough to support the tank.
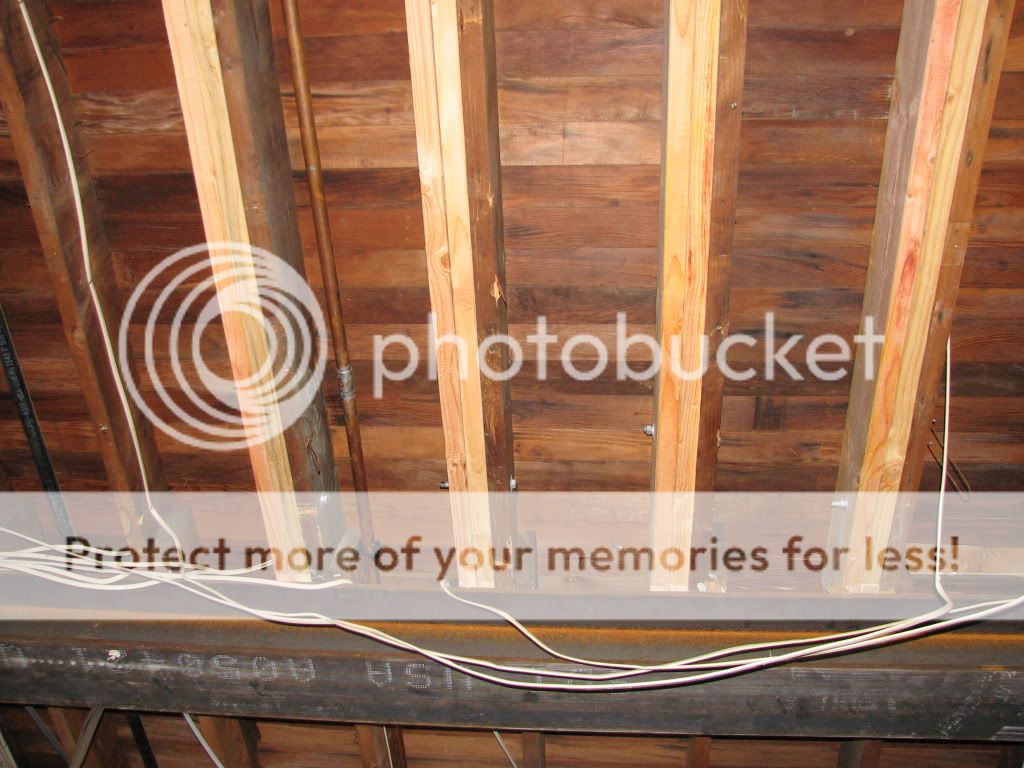
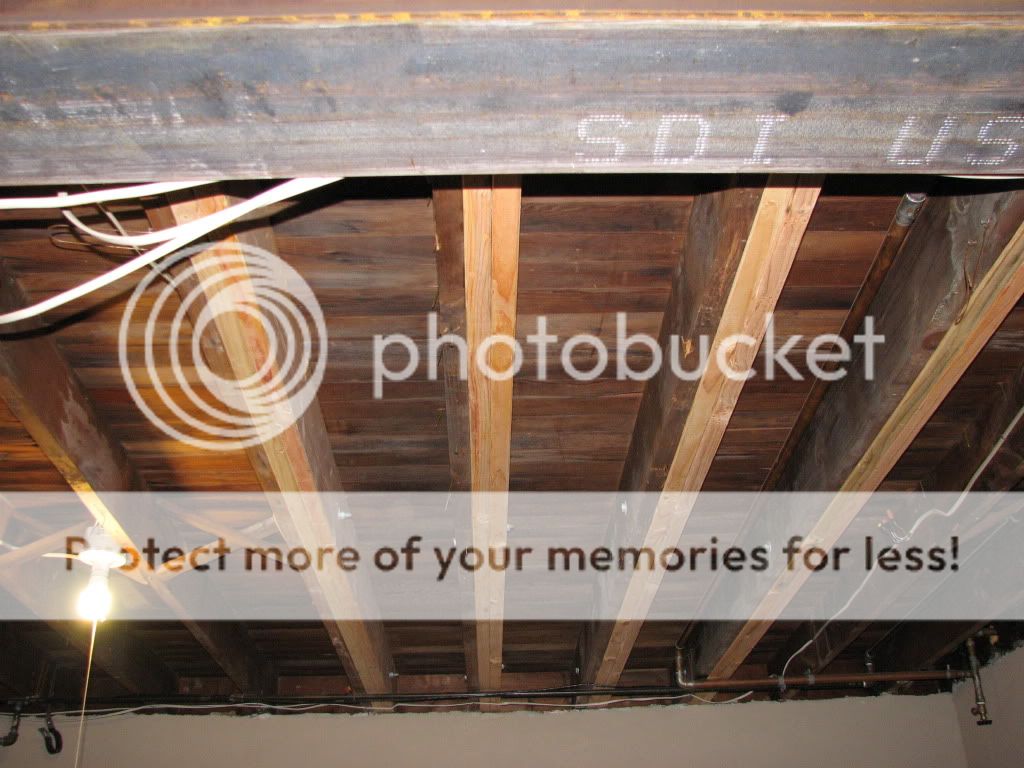
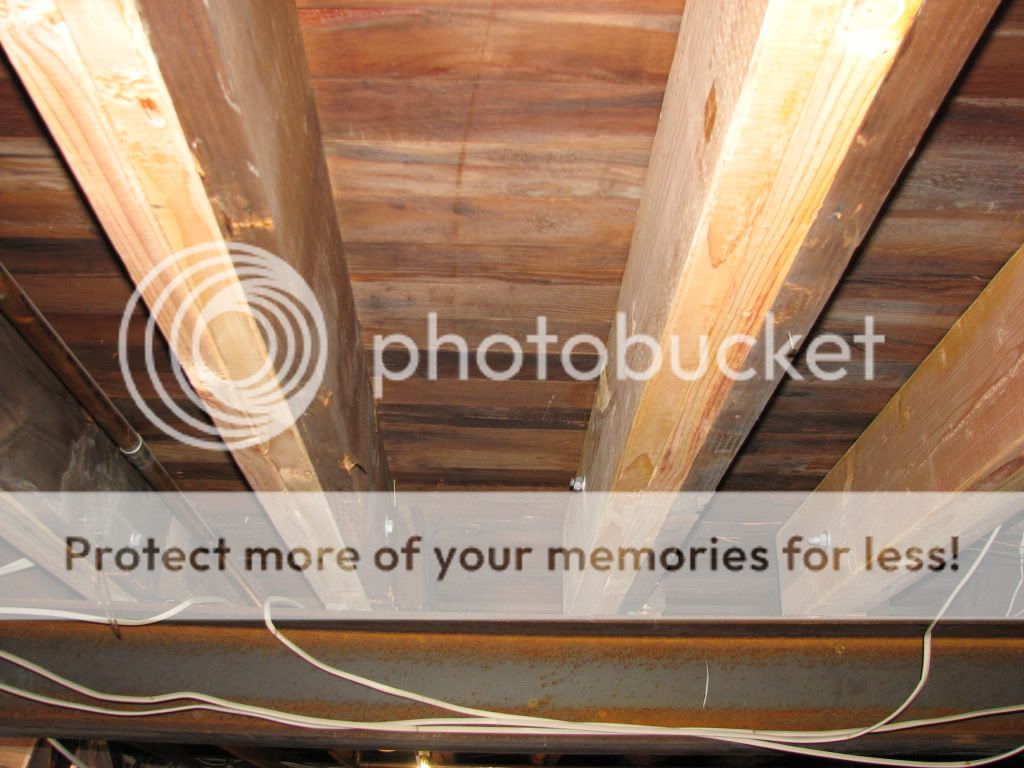
OK, I will try to explain where and how the tank sits on the second floor.

- The tank will be 2' away from the wall that you see on the first pic with the Metal I-Beam
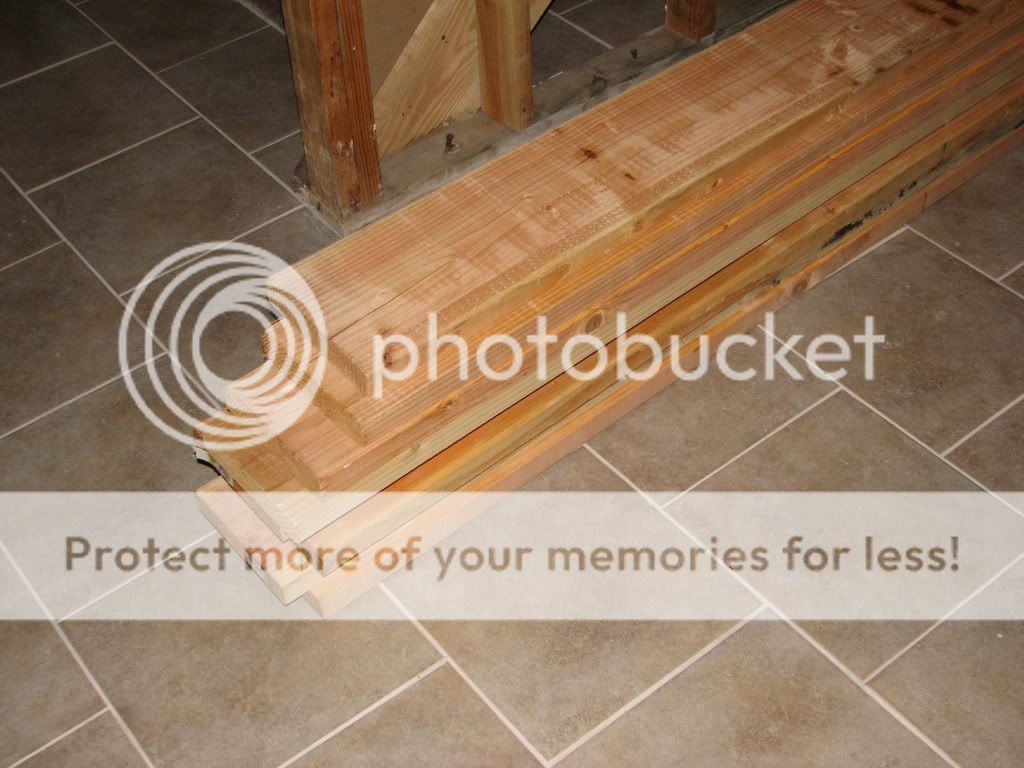
- It will sit across 5 wood beams
- The back of the tank will sit on the edge of the Metal I-Beam. Meaning, that the width of the tank/stand is 24", only 4-5" will sit on the Metal I-Beam while the rest sits on the Wood Beam.

There is no way my wife is going to let me build a knee wall. The basement is almost finished and the only thing I have to do is put up the drop ceiling. I can't believe that
this build might be over.
Maybe you could frame out around the area under the tank with supports needed and turn it into a storage closet, extra closets are always good.
 
Last edited:

InfernoST

"H" Division
Location
Brooklyn
Rating - 100%
46   0   0
What if I sister the 5 wood beams that the tank will sit on? Do you think this will help?
IMO, that should work as long as they are from the foundation wall to the I-Beam and the new sister beams are bolted to the existing beams. Don't forget to shim the sister beam so it's even with the existing before bolting them together.
 

ricwilli

Advanced Reefer
Location
New Jersey
Rating - 100%
45   0   0
IMO, that should work as long as they are from the foundation wall to the I-Beam and the new sister beams are bolted to the existing beams. Don't forget to shim the sister beam so it's even with the existing before bolting them together.

InfernoST, Thanks for the help. I am going to sister the wood beams. I might even sister the beams with two wood beams. OK, the build will continue.
 

albano

Saltwater since 1973
Staff member
Rating - 100%
129   0   0
IMO, that should work as long as they are from the foundation wall to the I-Beam and the new sister beams are bolted to the existing beams. Don't forget to shim the sister beam so it's even with the existing before bolting them together.
+1, this is what I did for my 170g, and your new ceiling will hide this nicely! :shhh:Thank God these comments didn't kill your build...THAT, would have ended my 'advising' career!
 

ricwilli

Advanced Reefer
Location
New Jersey
Rating - 100%
45   0   0
+1, this is what I did for my 170g, and your new ceiling will hide this nicely! :shhh:Thank God these comments didn't kill your build...THAT, would have ended my 'advising' career!

Honestly, I don't know what some of us reefers would do without people like you and Infernost. Some of us start upgrades without even knowing the consequences of our actions. All we want is a NICE BIG TANK.

Well, it looks like this weekend is shot. I have to go to a wedding today, and tomorrow is my sons 1st birthday. I guess I will try to start on Tuesday. Maybe I can sneek some work in without the wife knowing :)
 
Last edited:

InfernoST

"H" Division
Location
Brooklyn
Rating - 100%
46   0   0
Forget the tank stuff and enjoy the wedding and your sons 1st B'day. Congrats BTW, I remember my girl's first, it's something you'll never forget and don't forget to take tons of pictures they're only 1 once.:)
 

ricwilli

Advanced Reefer
Location
New Jersey
Rating - 100%
45   0   0
OK, so it took me a whole week just to sister four wood beams.

Here are the wood beams waiting to be put up.

SisterBeams.jpg


Beams that need to be sistered.

SisterBeams1.jpg


Here they are, put up and bolted.

SisterBeams2.jpg


SisterBeams3.jpg


SisterBeams4.jpg


SisterBeams5.jpg


I wanted to sister 5 wood beams but one of them had electrical wires next to it and I did not want to go through the trouble and start cutting wires. So hopefully 4 sistered wood beams, will give me enough support for the 215. Do you think it will be enough support?
 

ricwilli

Advanced Reefer
Location
New Jersey
Rating - 100%
45   0   0
Here is a little update. I've got about 90 percent of the plumbing done.

The Parts

PlumbingParts.jpg


The drain and return pipes

Plumbing1.jpg


Plumbing2.jpg


Plumbing3.jpg


Pipes going to the first floor.

Plumbing4.jpg


Drain pipe from the sump. I still have to connect the Frag tank drain to this pipe.

SumpDrain2.jpg


SumpDrain3.jpg


Pipes on the first floor. They will be in the stand

UpstairsPiping1.jpg


UpstairsPiping2.jpg


The pipe with the black handle on the valve will be the drain pipe. The left and the right will be connected to the drains on the tank and the middle connection with the black handle will be for cleaning the tank. All I have to do is connect a hose to it, open up the valve and start siphoning out all the crap from the tank.

The connection with the red handle will be the returns. Left and right will connect to the returns on the tank and the middle connection with the red handle will be for a 3/4 in Sea Swirl.

For now, I will leave the plumbing the way it is. My next step is to aquacape. The reason why I'm doing this next is because I would like to start dosing Brightwells. That will be a four week process. I would like to dose only the rocks that I will be using. So if I start this now, I can do other stuff while the rocks are curing.
 

ricwilli

Advanced Reefer
Location
New Jersey
Rating - 100%
45   0   0
Thanks everyone.

That puppy is gonna hurt the pocket and the electric bill.

The pocket, yes. The electric bill maybe not. I'm in the process of going Solar. I just filled out the application for the incentives yesterday. Hopefully I will be Solar before years end. I can't wait. I will post pics when/if they start.

On a side note. I'm a little concern with what I found in the rubbermaid tub full of rocks today. I found a broken glass thermometer at the bottom of the tub. Does anyone know if the red liquid is toxic? I wouldn't want to go through the trouble trying to cure the rock if my fish and corals are going to die.
Someone also brought to my attention that since I have so many pipes in this setup, to make sure my sump is big enough for when the power goes off that my sump can handle all of the water returning back to the sump. This is something that slipped my mind but I'm hoping that my current sump can hold all the water. We will see.
 

Sponsor Reefs

We're a FREE website, and we exist because of hobbyists like YOU who help us run this community.

Click here to sponsor $10:


Top