henrystyle

Bad Mutha Shut Your mouth
Rating - 100%
36   0   0
Whats up people?
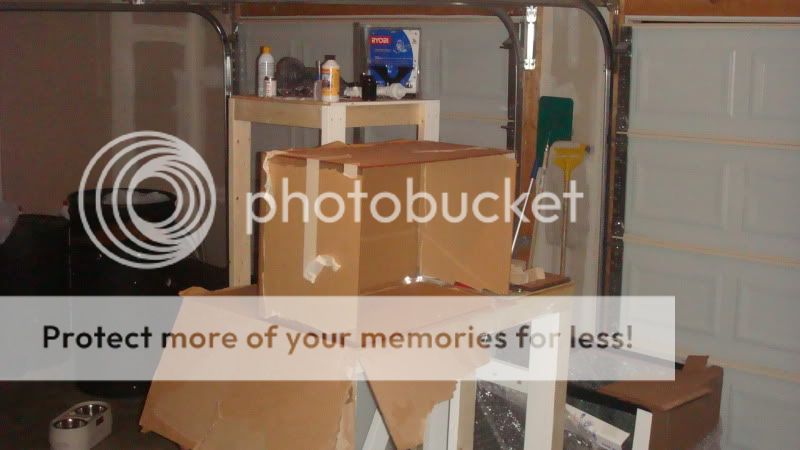
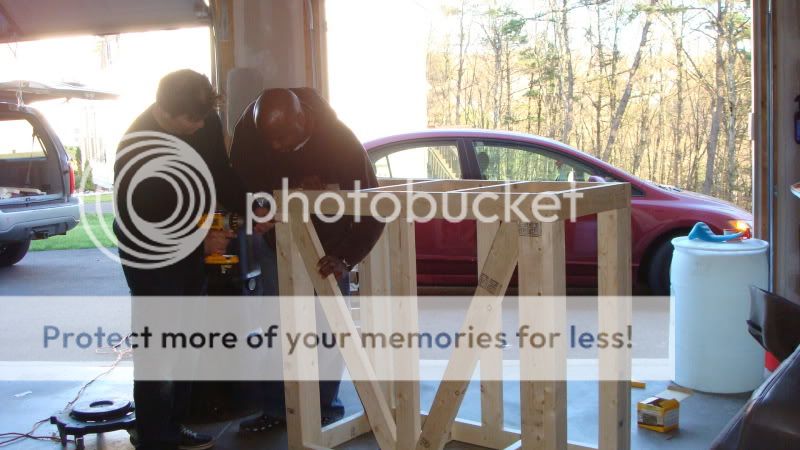
Well its about that time again. Time to get something bigger. I have been planning this new 120g for over a year and now its finally coming to life.
So hear it is.
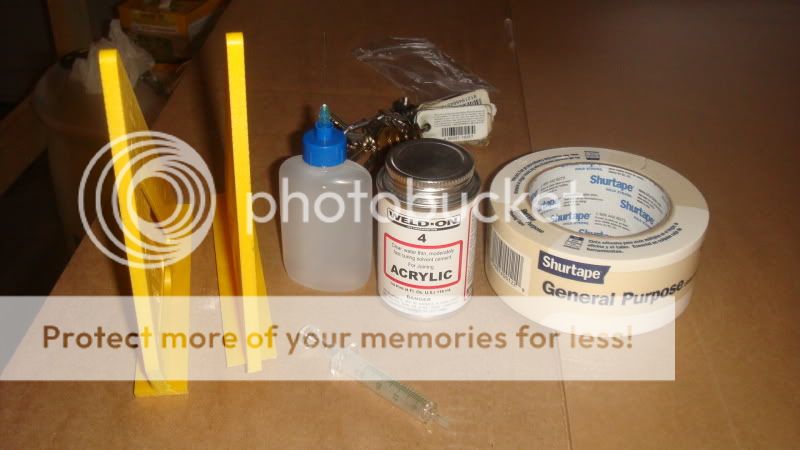
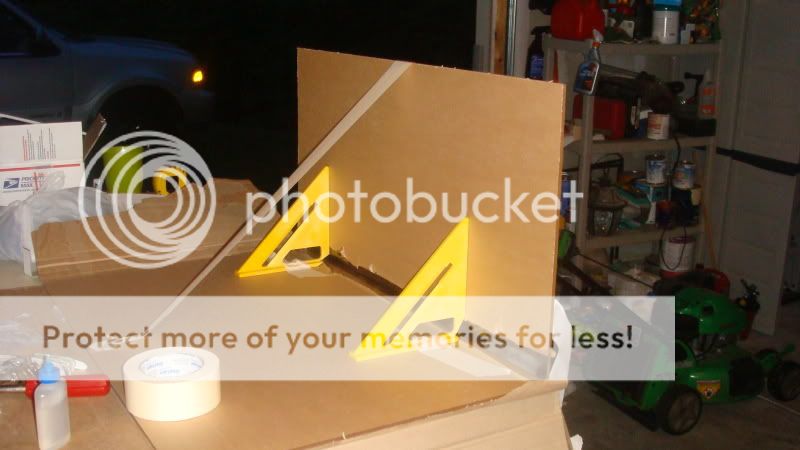
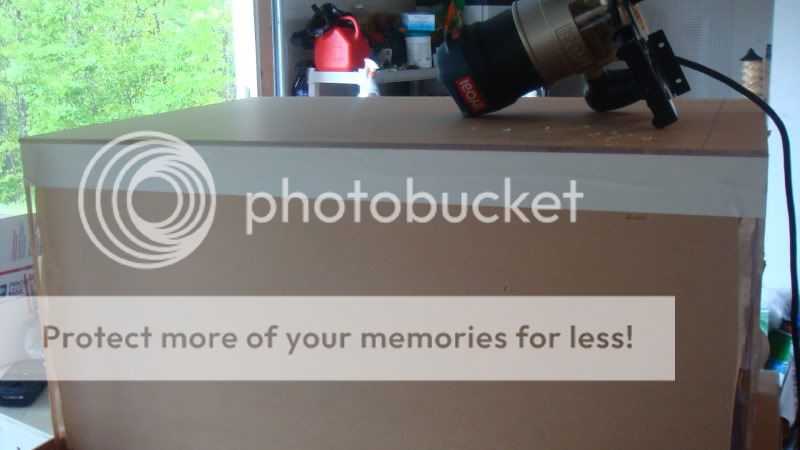
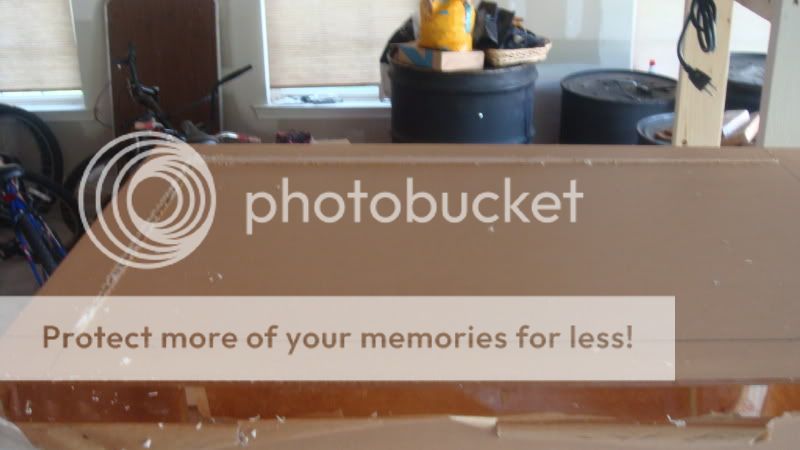
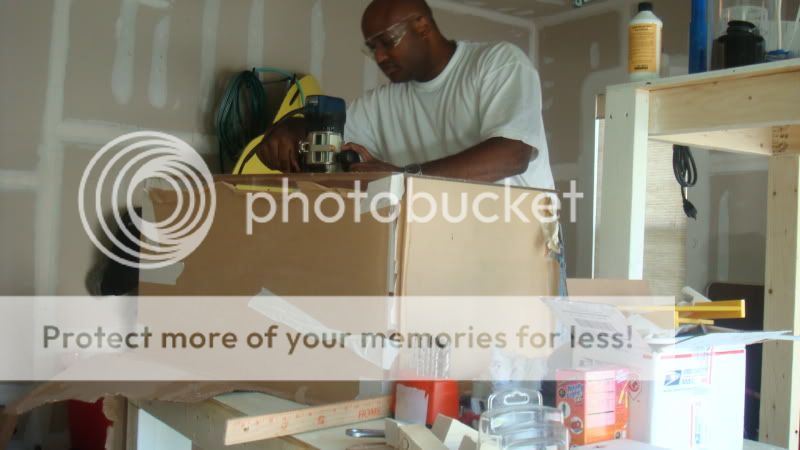
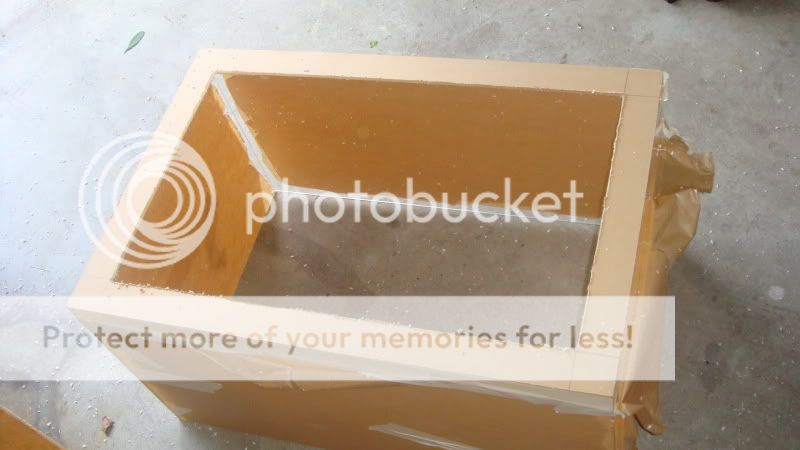
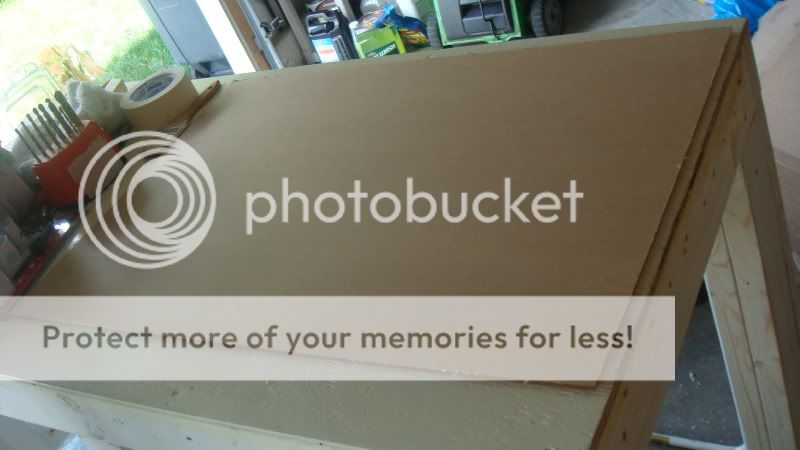
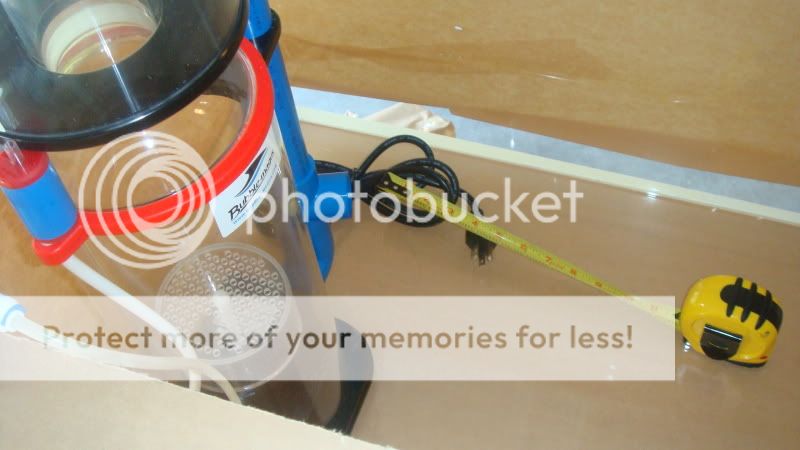
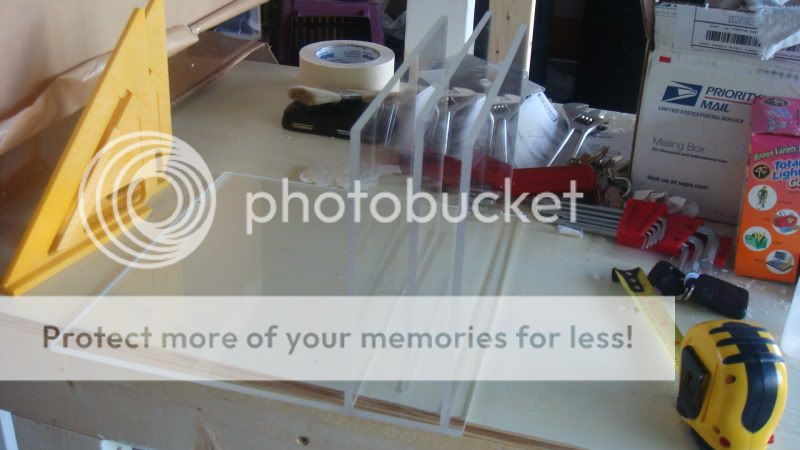
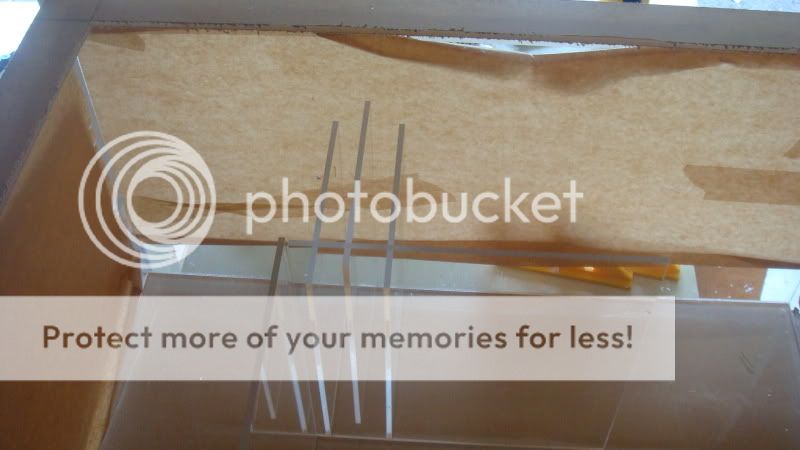
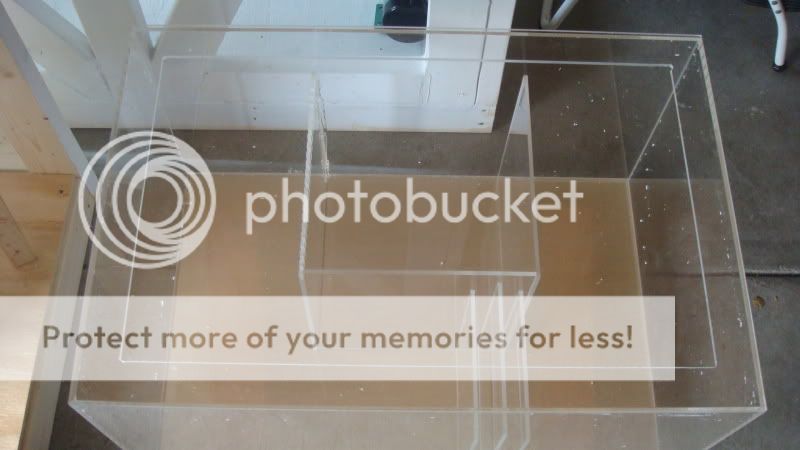
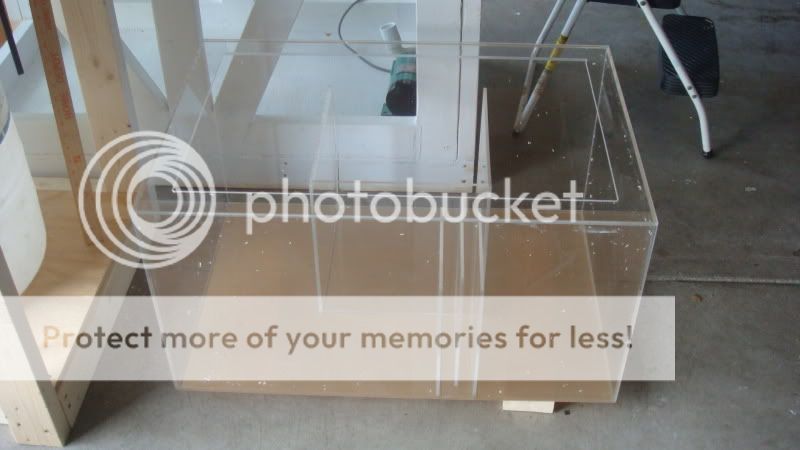
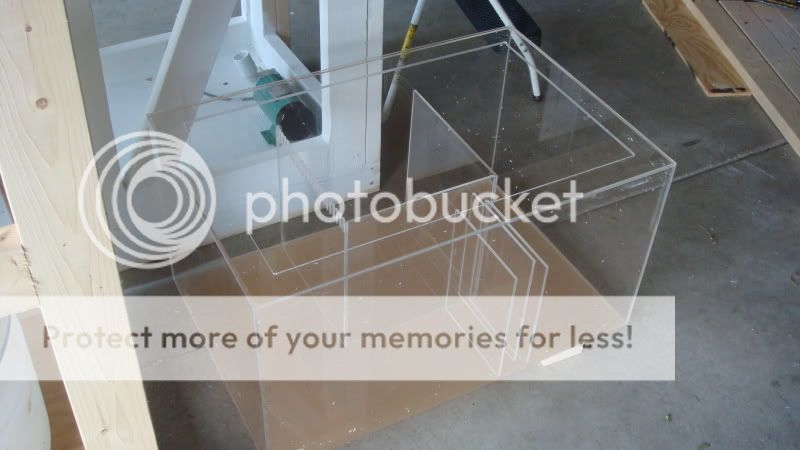
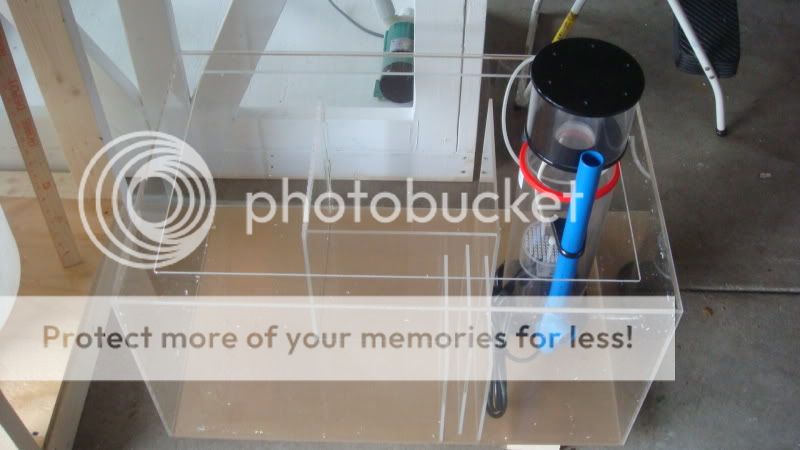
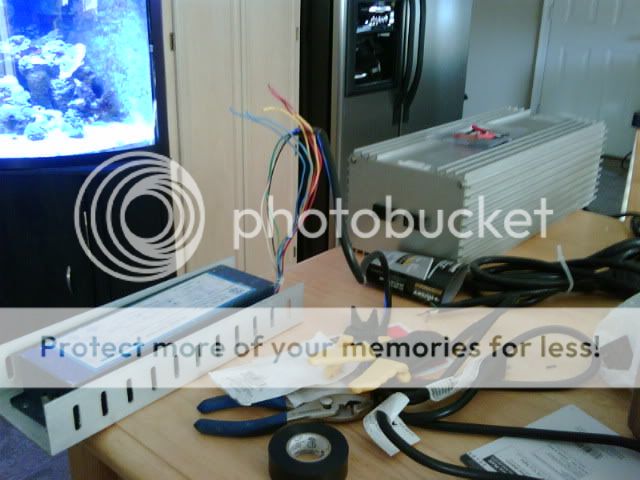
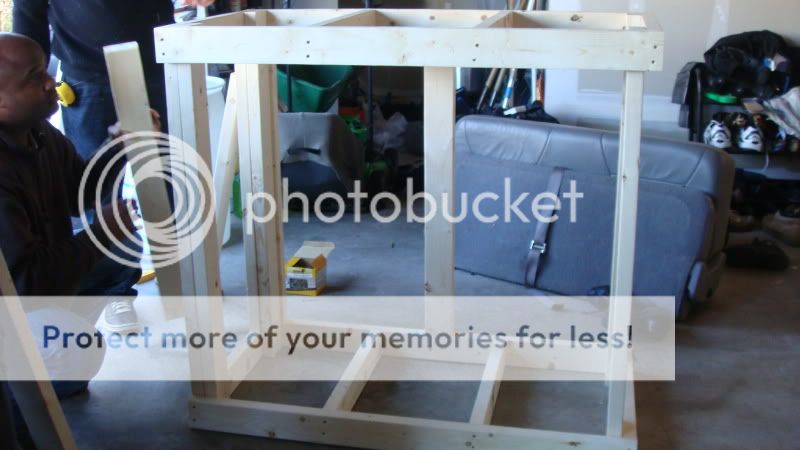
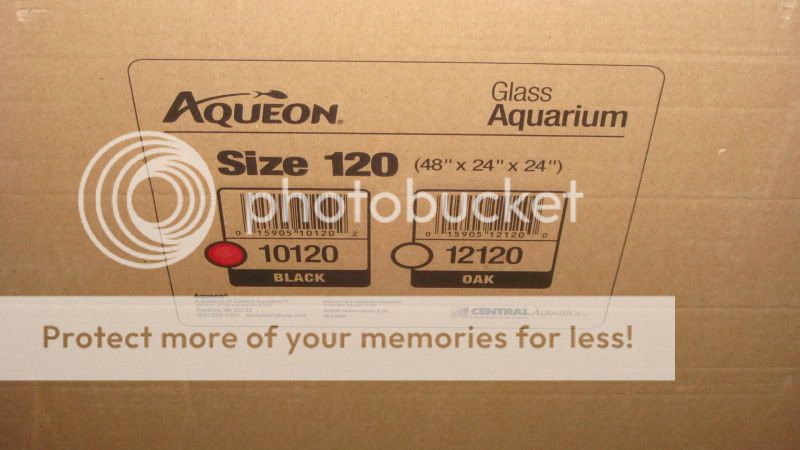
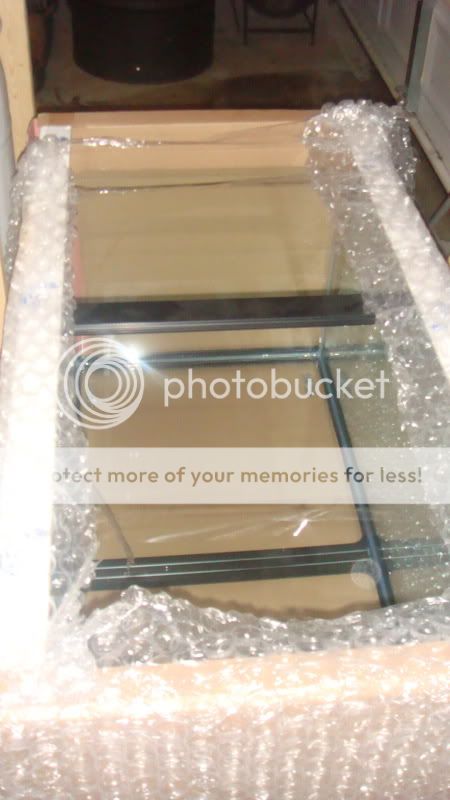
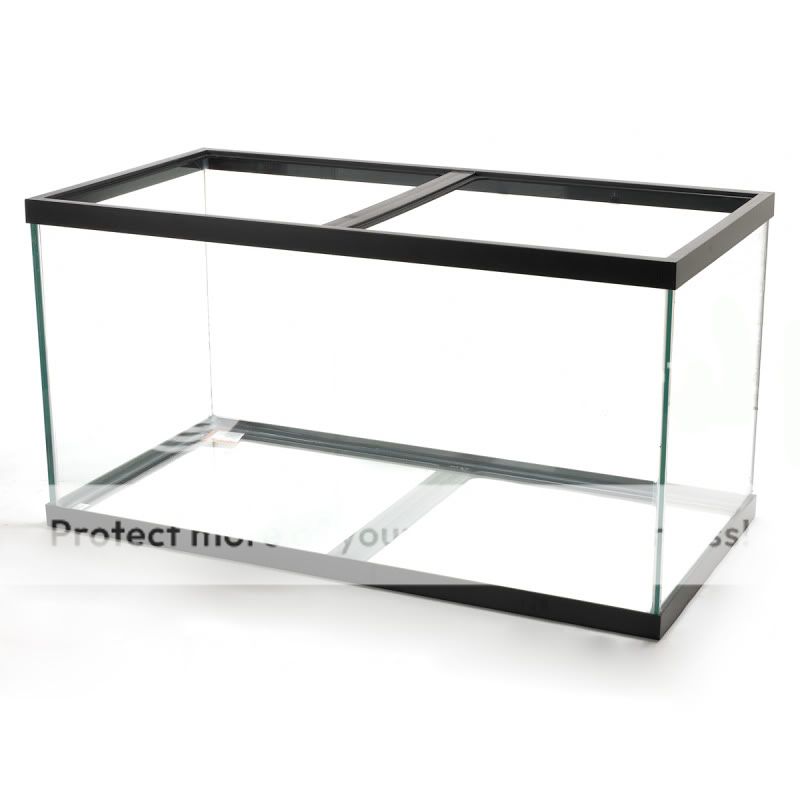
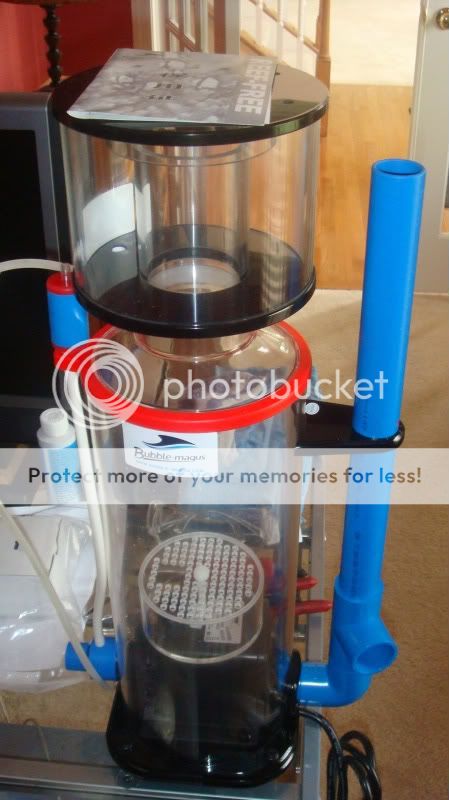
Tanks dimensions are going to be 48x24x24. Its is going to be placed under 2-400w 14k Artemis SE metal halide bulbs and 2-110w 454nm Vho's. The halides will be powered by a duel 400w PFO M135 ballast <!-- m -->http://www.flippid.com/item/1001524617/ ... rt_Ballast<!-- m --> and the VHO will be powered by a Icecap 430 ballast <!-- m -->http://www.aquacave.com/icecap-430-elec ... t-874.html<!-- m --> . The sump will be 32x14x16 and made out of 3/8" Spartech Polycast cell cast acrylic. The sump will house a BM-100 bubble magus in sump skimmer <!-- m -->http://www.marinefanatic.com/bubble-mag ... -bm100.htm<!-- m --> , a 6" deep RDSB (remote deep sand bed), and a return/frag section that will be under 2 leds (blue/white) to grow out and color up frags. The tank will also feature a 30 gallon container/auto top-off setup. Circulation will be provided by a Iwaki 30 rxt return pump <!-- m -->http://www.oberread.com/IW_MD_Pumps.htm<!-- m --> , and a 2 maxi-jet 1200's with the mods.
 

henrystyle

Bad Mutha Shut Your mouth
Rating - 100%
36   0   0
The first piece of gear I bought was my light fixture. I have a funny story about how I came across this fixture. While at work, I responded to an aided call (person sick or hurt). As I walked in the house there was a drunk guy butt ass naked on his living room floor laying in his own ****...FREAKING DISGUSTING!. As his wife starts to tell me what was going on, I notice behind her a light fixture hanging in their dining room. No tank, no ballast, just hanging there from the ceiling. While waiting for the AMT to show up, I looked underneath the fixture and saw 2 se metal halides and 2 flourscent tube bulbs. I thought to myself, HOLY **** I FOUND A LIGHT! Forgot all about the drunk guy on the floor. LOL.
Once we took care of the drunk guy, I asked his wife about the fixture and she said I would have to talk to her husband about it. I returned to the house several weeks later and asked the man if he wanted to sell it and he said sure. When I asked him how much he wanted for it, he said $100. I laughed my ass off with a serious face and then said, I will take it. LOL
Except for some dust, this fixture was in brand new condition. The man said he had it for about 5 years hanging there but only used it for a few months back when. Said he had a water leak and it damaged the ballast. That was the end of his reef tank days. To this day these fixtures still sell for hundreds of dollars.
http://www.innovativelights.com/pfo-c-69973c.html
IMG00018-20091119-1242.jpg

IMG00020-20091119-1243.jpg

IMG00014-20091119-1240.jpg

IMG00016-20091119-1241.jpg
 

henrystyle

Bad Mutha Shut Your mouth
Rating - 100%
36   0   0
I later found an excellent deal on http://www.manhattanreefs.com for a duel 400w PFO m135 magnetic ballast for $50. I snatched that up quickly. (They are no longer made)
I am a fan of SE Metal halides and magnetic ballasts. http://www.manhattanreefs.com/forum/sale-trade/70546-dual-400w-pfo-ballast-50-a.html
Also obtained an Icecap 430 ballast from my buddy Craig. (Zona) thx.
Being that the light fixture had old no longer used connectors, I had to bring it up to speed with todays newer technology. Thats where my boy Chrishew came in. Dude is an electrical wiz! He pulled apart the fixture and ballasts and put it all back together for me. Even made a new wire harness for the icecap ballast. Dude is good!
IMG00041-20100131-1524.jpg

IMG00033-20100131-1514.jpg

IMG00034-20100131-1515.jpg

Chris looking up parts on the internet for the PFO ballast.
IMG00037-20100131-1521.jpg

IMG00029-20100131-1511.jpg

Chris doing his thing..
IMG00027-20100131-1509.jpg
 

henrystyle

Bad Mutha Shut Your mouth
Rating - 100%
36   0   0
The next phase to this project was the tanks stand and cabinet build. For this part I called on a good buddy of mine Kelvin (knockout) for his vast knowledge and understanding of the hobby. I showed him a picture of a stand that I saw on the internet and he went to work. In 2 days the stand and cabinet frame was done. Outstanding job my friend!
Days 1- Went to home depot and bought some 2x4's and some screws and went to work!
First step. Top and bottom frame.
DSC01592.jpg

DSC01593.jpg

DSC01597.jpg

DSC01598.jpg

DSC01599.jpg

DSC01601.jpg

DSC01603.jpg

DSC01605.jpg

DSC01606.jpg

DSC01607.jpg

DSC01611.jpg

DSC01613.jpg

DSC01616.jpg

Day 1 work complete!
DSC01623.jpg
 

henrystyle

Bad Mutha Shut Your mouth
Rating - 100%
36   0   0
Day 2-Cabinet build. Back to Lowes for more needed supplies.
Frame for top and bottom. My buddy Chris Hew stopped by to take in the action for a minute.
DSC01631.jpg

DSC01634.jpg

DSC01633.jpg

DSC01636.jpg

Screwing down the sump and cabinet floors.
DSC01637.jpg

Day 2 done. The white 30 gallon container will be my top off water supply. Above it I will keep all my junk.
DSC01638.jpg
 

henrystyle

Bad Mutha Shut Your mouth
Rating - 100%
36   0   0
I sealed my stand floor with silicone in all the cracks and spaces then applied some deck sealing paint. Then I poured about 10 gallons of water under there. Not a drop on the floor. Did this just in case water spills under there once the tank is running.
DSC01639.jpg

DSC01640.jpg

DSC01641.jpg
 

henrystyle

Bad Mutha Shut Your mouth
Rating - 100%
36   0   0
Due to ridiculously high acrylic prices I decided to buy a glass tank.
Got my tank yesterday..Allglass 120g 48x24x24
Nicely built tank. Solid thick glass. Got a sweet deal on it. Good looking out Jim!
DSC01739.jpg

DSC01738.jpg

120G.jpg
 

Bob 1000

Advanced Reefer
Location
Staten Island
Rating - 100%
122   0   0
Looking good... I do think that skimmer is overrated though,, Best of luck with all.. Any skimmer that the top comes off like that usually ends up spitting skimmate through the little holes in the lid which becomes a headache down the line..
 
Last edited:

henrystyle

Bad Mutha Shut Your mouth
Rating - 100%
36   0   0
Got my sump acrylic in the mail today so I decided to start putting it together.
DSC01742.jpg

Setup my routing station. lol
DSC01746.jpg

1st thing was the deep sand bed wall. The design calls for teeth to be cut for the water to return to the sumps return section.
DSC01745.jpg

DSC01747.jpg

Had to improvise with the router. One main piece was missing thats why you see the 2x4 and the clamp.
DSC01748.jpg
 

henrystyle

Bad Mutha Shut Your mouth
Rating - 100%
36   0   0
Couldn't stop there. Decided to put the 4 walls of the sump up.
Tools of the trade.
DSC01750.jpg

Started with the front.
DSC01752.jpg

DSC01753.jpg

DSC01755.jpg

DSC01756.jpg

My son, Ant Jr.
DSC01754.jpg

Done deal. Tomorrow I will route the top brace and attach it. Then put the dsb section and bubble trap in place.
DSC01763.jpg


</pre>
 
Last edited:

henrystyle

Bad Mutha Shut Your mouth
Rating - 100%
36   0   0
SUMP-part 2
Time to route the top brace. Today the bottom will become the top and the top will be the bottom.
Doing a 2" euro brace..Marked it out on the acrylic.
DSC01764.jpg

Bought a router guide just for this. Keeps the router straight for a nice straight cut.
DSC01765.jpg

Goes on simple and worked great.
DSC01767.jpg

I drilled a starter hole and ran some masking tape along the top edge so that the router guide does not scratch the acrylic.
DSC01766.jpg

DSC01772.jpg

DSC01768.jpg

DSC01769.jpg

DSC01773.jpg

DSC01774.jpg

DSC01770.jpg

Brace routing done!
DSC01775.jpg
 

henrystyle

Bad Mutha Shut Your mouth
Rating - 100%
36   0   0
Now attaching the bottom, bubble trap and dsb section walls. Had to get the skimmer to measure how much space will be needed. Want to be able to remove it with ease also leaving a little space just in case I switch skimmers in the future.
DSC01776.jpg

Put anything I could find in my garage to put some weight on top after applying the solvent.
DSC01778.jpg

DSC01779.jpg

Now for the bubble trap. Each panel is 1" apart. The middle panel being 1" higher than the other 2.
DSC01780.jpg

DSC01782.jpg

DSC01783.jpg

DSC01784.jpg

Ripped off the paper, sump done.
DSC01785.jpg

DSC01786.jpg

DSC01787.jpg

DSC01788.jpg

Router guide served its purpose. It will be going back to home depot! lol
DSC01789.jpg

Tomorrow will be the moment of truth...Water/Leak test! looks good. Came out better than I expected.
 

Sponsor Reefs

We're a FREE website, and we exist because of hobbyists like YOU who help us run this community.

Click here to sponsor $10:


Top