tosiek

Senior Member
Rating - 100%
48   0   0
Yeah, im not going to go into Co2 or anything else. Skimmer + doser for 2part Bionic along with reactors for carbon and phosban is enough for me or that small tank would be out of there. Forgot to mention the rest of the stuff i am transfering to the new tank which includes a litremeter doser.

I have a small tank set up next to mine to hold some frags and coral that don't fit atm or are in holding and i couldn't live without having the small tank. So thats why i descided on it.

As per algae holders im going to run a beefy fuge with alot of algae. I did consider it but then light acess to those area's were another project to plan which i didn;t have time for ontop of this all. Plus i am now into Gallonage Minimization mode. Im trying to keep the tank gallons within 230-240 range which i am probably already over. Both for the filtration and for weight. I already changed the front back depth today by 4" (25g+) to give myself some play room with the gallons.

I still have to work out the air flow for where i am putting vents and the type of fans i will be running in the stand itself and the hood. Was going to do that once i work out the hood to be built. I have some extra stainless steel woven mesh grating 1/4" openings i might use for some venting in the doors and hood as well as the exhaust openings for the fans.
 

tosiek

Senior Member
Rating - 100%
48   0   0
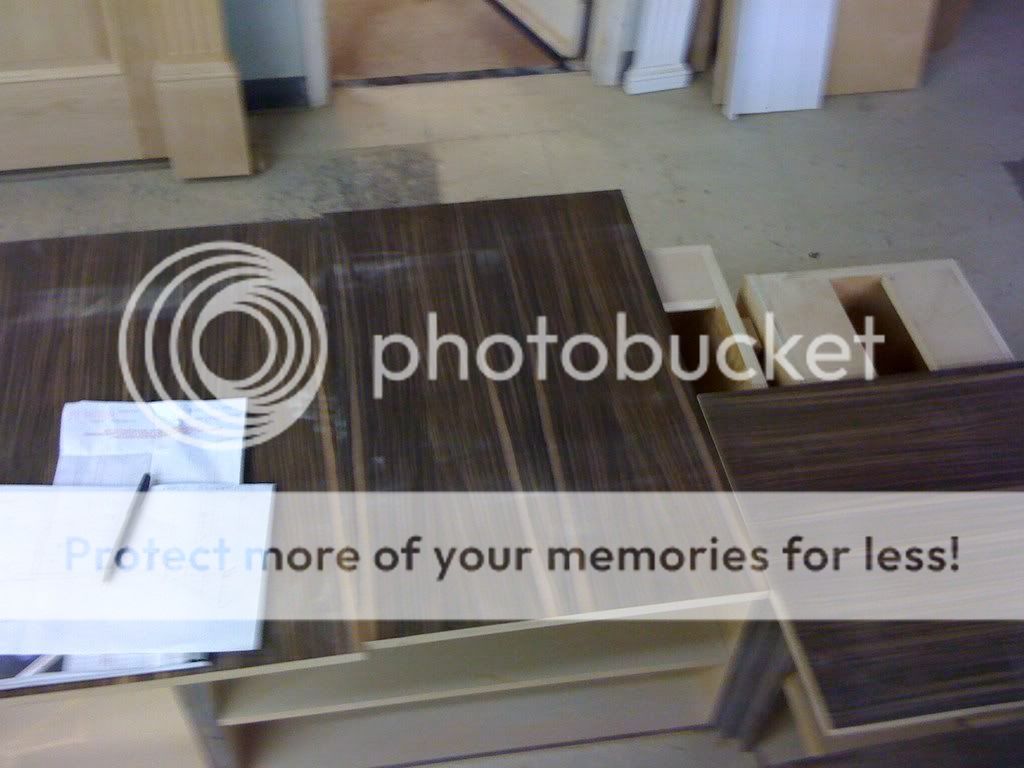
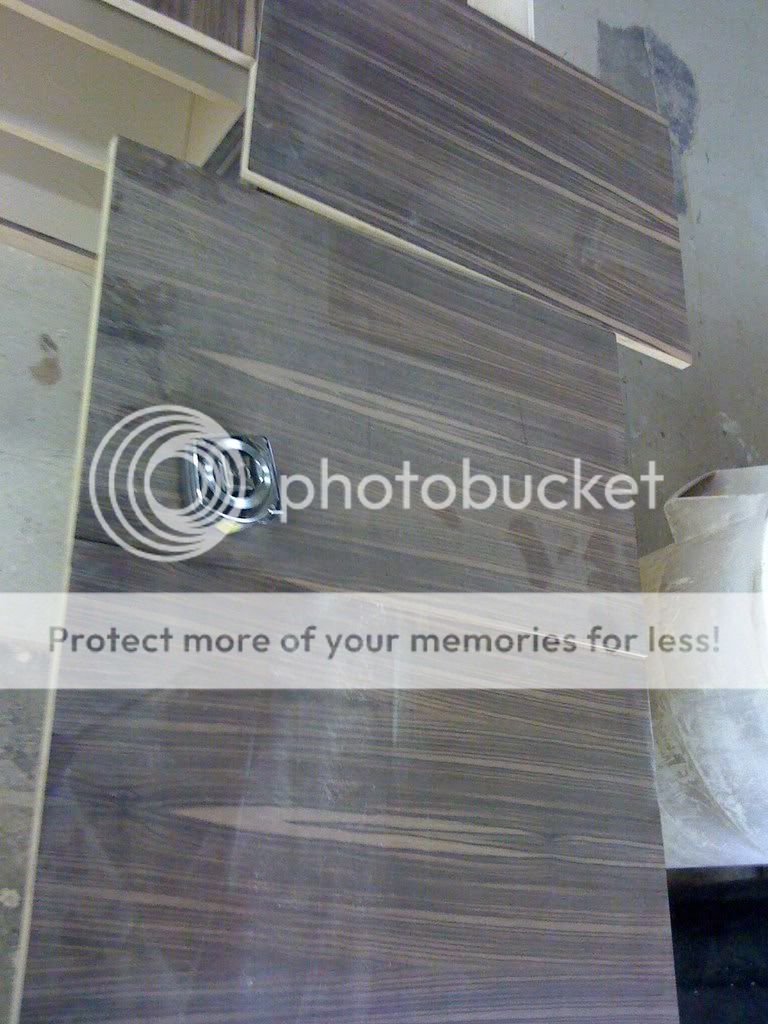
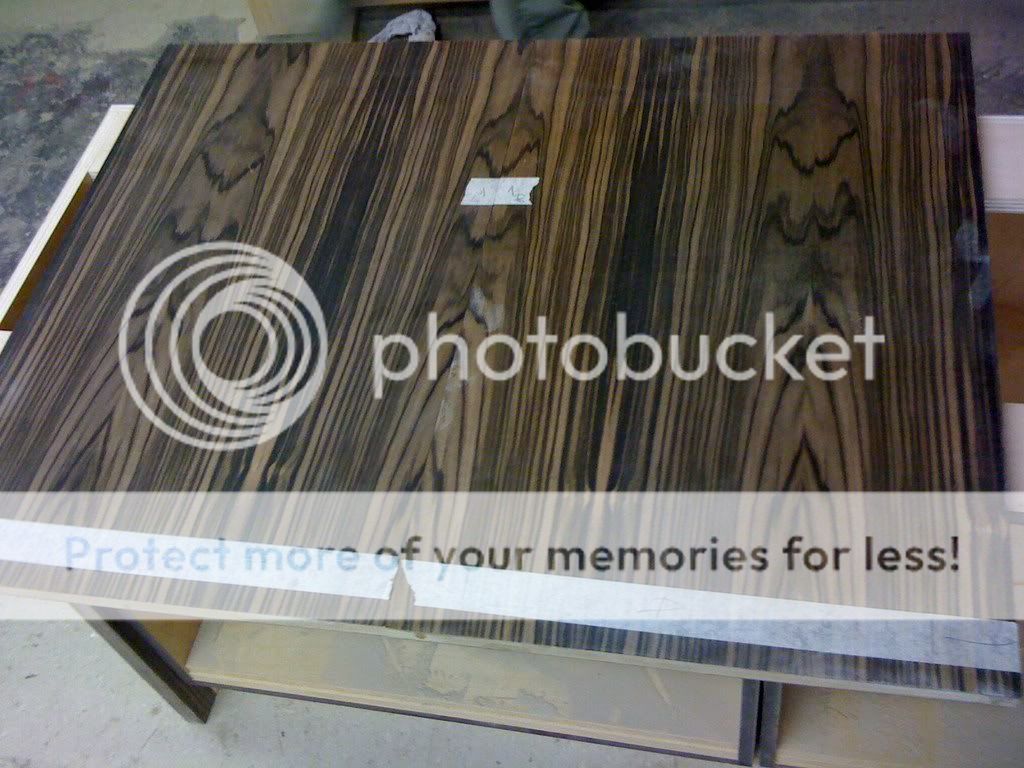
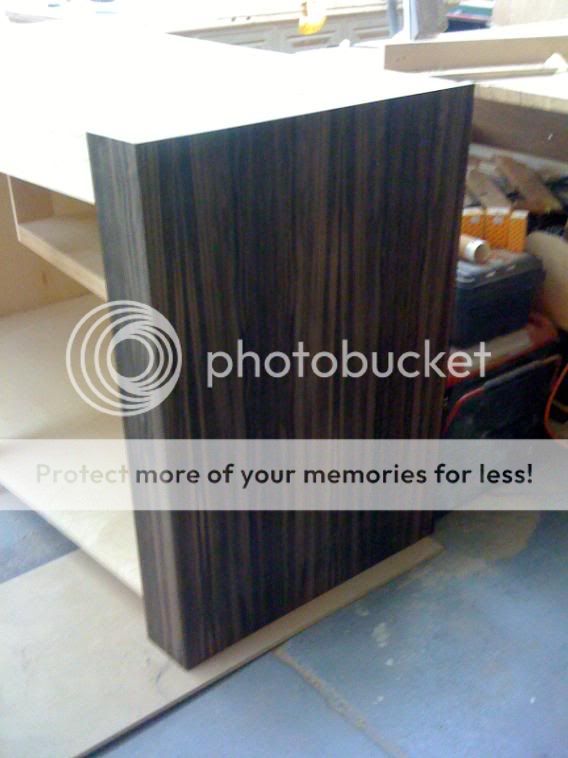
heres samples of a few panels ill be using. Last one is the back (bad side) of the paneling looks like. going to be the insides of the doors.


Tosiekphonepoics008.jpg


Tosiekphonepoics007.jpg


Tosiekphonepoics009.jpg
 
Last edited:

tosiek

Senior Member
Rating - 100%
48   0   0
Can't buy it really premade through a ply distributor. Ebony ply/mdf goes for alot, isn't matched nicely and its special order. Think Roberts ply can get them and center but its not stock stuff. Those panels went through a veneer place, custom layed out and matched on MDF. Its going to be placed as a shell (sort of) since its not really structural. The guy who was ordering and setting up this desk we made screwed up buying the boards thinking we could match a new fletch with what we currently purchased. The new fletch was wider grained and didn;'t match in color as well. So, the cabinet had two types of cuts and colors and thats not gonna fly.
 

tosiek

Senior Member
Rating - 100%
48   0   0
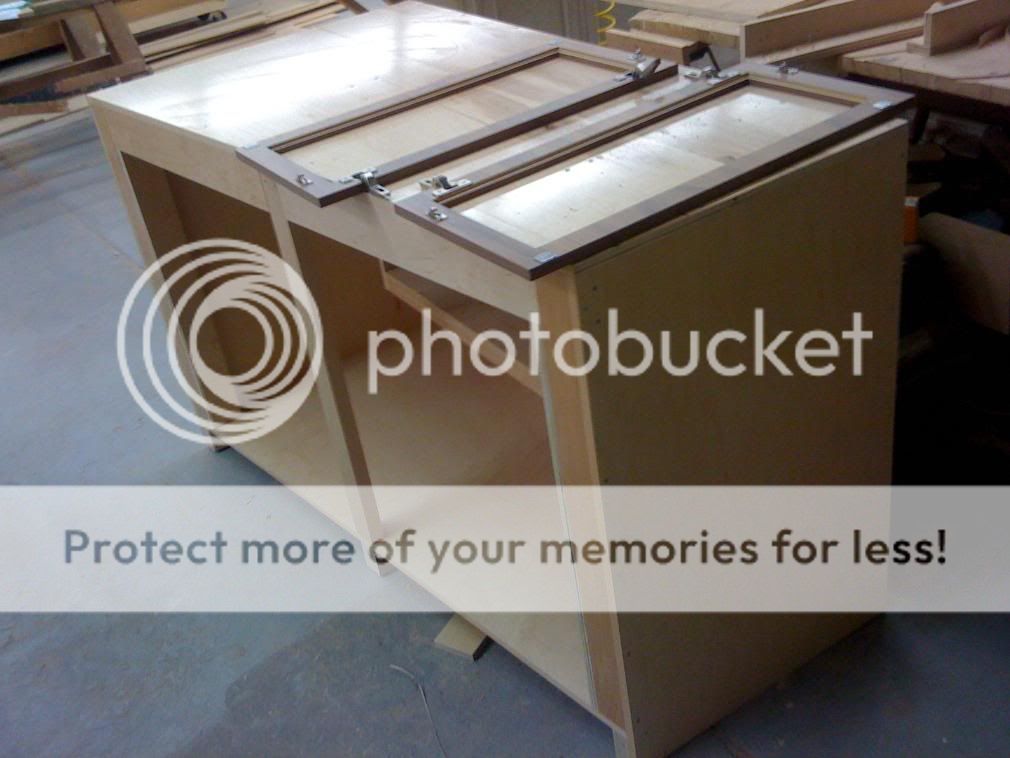
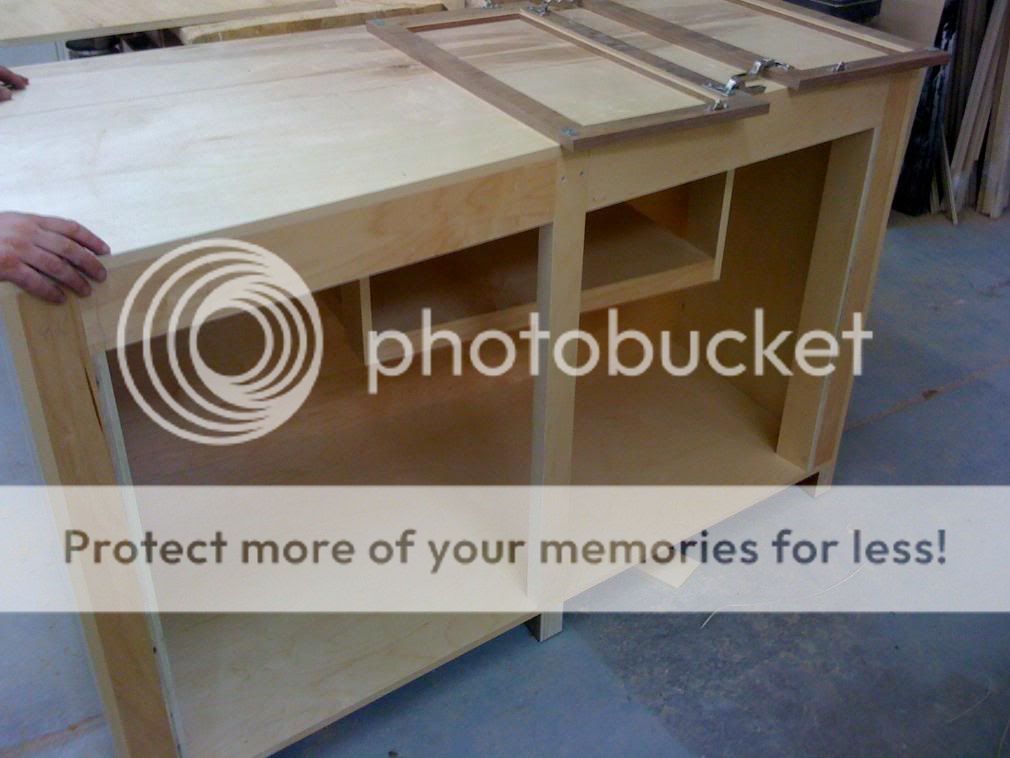
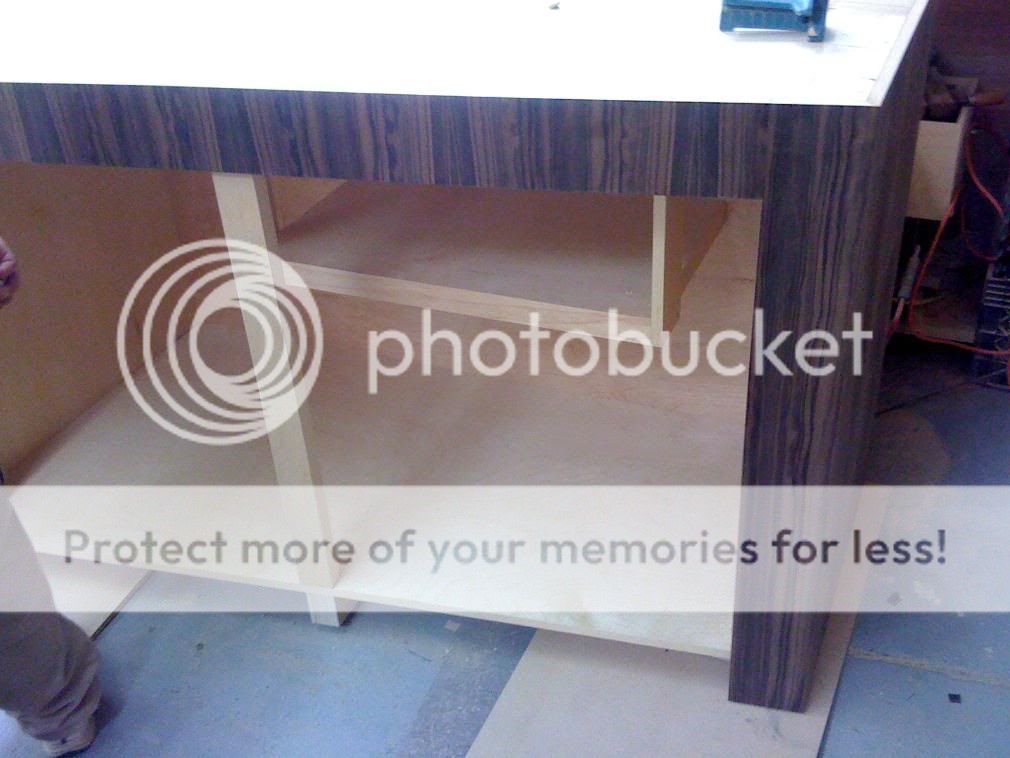
I was going to do a 3d construction of the stand as it would be finished but i was able to put the stand in the works sooner than i thought. Few quick pics of the half finished stand. Got real buisy this week and couldn't get anymore done. The stand is constructed in post and lintel. Enjoy =0)

IMG_0081.jpg


IMG_0082.jpg


I used prefinished ply because i would have laquered the stand completely anyway so it saved me some time in the spray booth. All i have to do is go over the dry areas at the end. As far as work for the stand goes i need to finish planning the hood out so i can build it and cut and fit the panels to the stand. I have a wierd angle on the 30~ side that i can't miter as easily along a table saw and i haven;t had time to work on it. I also need to decide if im installing european hinges or some decorative butt hinges. I already prepared the stand for european hinges but i will have to rout out and install some hardwood into the paneling for butt hinges as the doors will be 20"+.

Also, mid way i realized that i had to dissasemble the stand to install it and again dissasemble it to take it out. So i can't use any glue/nail brads which makes things a PITA. And i have to take into consideration that all the screws will be screwed/unscrewed at least 3 times before its in my house. Thats fine but its something ill have to remind myself when taking it out to place somewhere else down the line as it weakens their grab in the wood.

IMG_0083.jpg


The center brace is removable, although it requires taking off the top horizontal shell piece which doesn't bother me since i will probably only take it out when setting it up. I offset the shelf 10" to allow space for the return plumbing and space to work and on the other side i have plenty of room for filter socks and my skimmer, which just came in two days ago and is awesome! Oh Em Gee!

Think thats it for the stand.
 
Last edited:

masterswimmer

Old School Reefer
Vendor
Location
NY
Rating - 99.6%
448   2   0
T, beautiful work, as expected. Thanks for sharing.

The angle you're talking about must be a real pita. Is the problem going to be magnified when constructing the tank itself? I know it won't be easy, but will it create any problems?

R
 

tosiek

Senior Member
Rating - 100%
48   0   0
Don't think so unless im missing something. As long as the miter is close it should be an easy build. And to get the glass done its as easy as setting the glass on a conveyor belt vertically and letting it run ontop of a grinding wheel digitally set to a degree. Im gaining almost a 1/16th of glass on the joint and a stronger corner structurally. The biggest problem is getting the damn mag float to clean that corner. :sigh:

Only problem in building it is if the miter is off by alot and im getting over 1/8" (or less than 1/16"/1/32") of silicone between the panes of glass. The silicone cures differently and is either more elastic at the joint and/or doesn't bond (or cure) as well as a thinner space between the glass pieces. Too thin and its not elastic enough and causes too much stress on the silicone.
 
H

hatinabox

Guest
Rating - 100%
48   0   0
I found something in Skymall, it's called the Zero water exchange filteration system and it's by hiq-usa, honestly...I like the idea to never having to change you're tank, but that's just me. what do you guys think about this?

-Cyrus
 

h20 freak

Advanced Reefer
Location
PA =(
Rating - 0%
0   0   0
I found something in Skymall, it's called the Zero water exchange filteration system and it's by hiq-usa, honestly...I like the idea to never having to change you're tank, but that's just me. what do you guys think about this?

-Cyrus

Most likely not a good idea.The only thing i'm aware of that can pull off that claim with good results is Dialyseas and even that has some shaky claims.
 

tosiek

Senior Member
Rating - 100%
48   0   0
Finished the bottom stand =0) Glass should be in in 2 weeks.

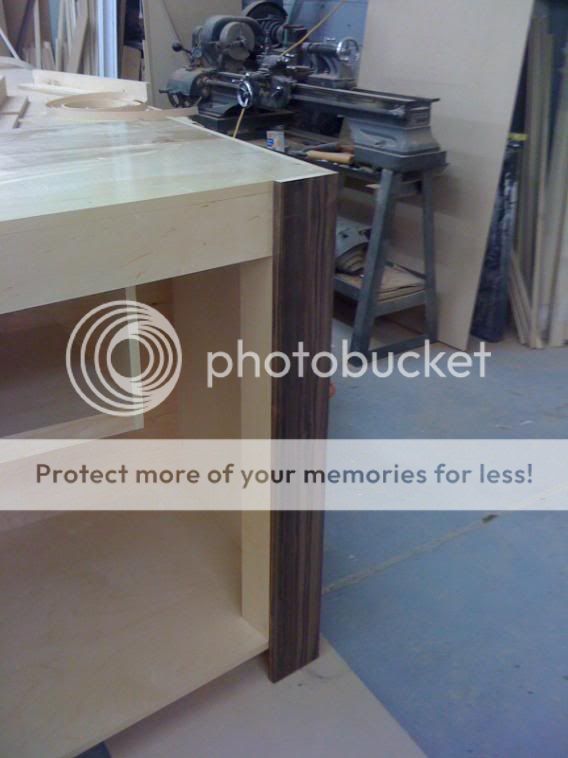
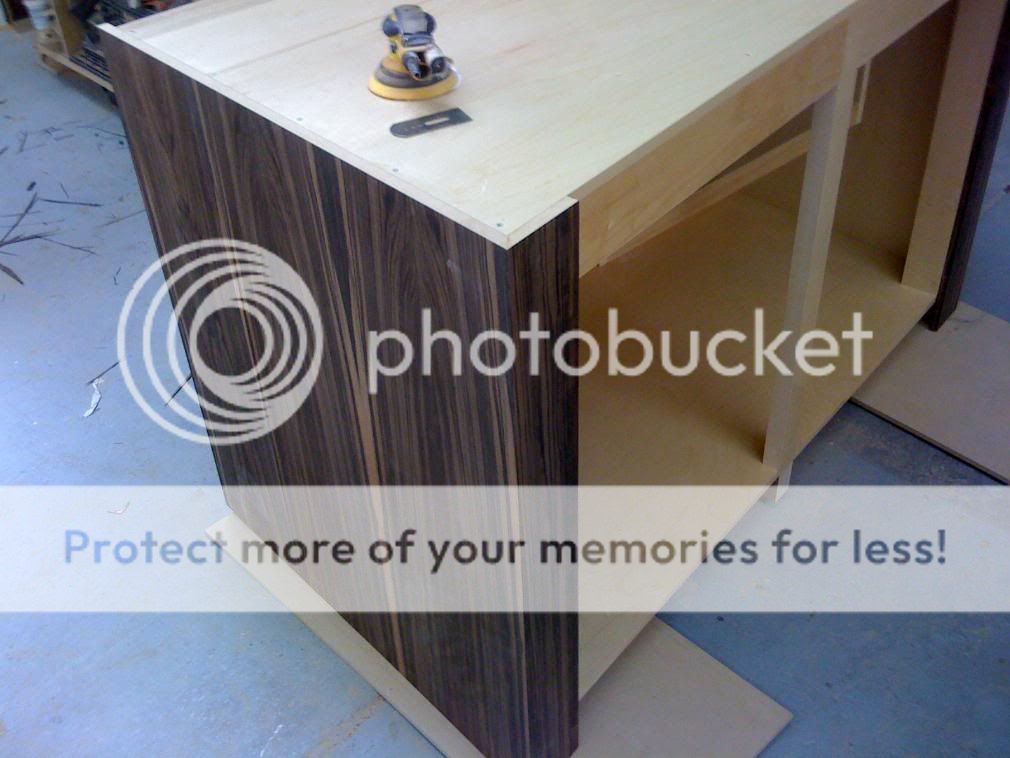
btw the veneer was book-matched and trimmed. Visited the veneer place today and was talkin their lingo and placement half the day so thought i would shoot some food for thought.

IMG_0104.jpg


IMG_0105.jpg


The top oak pieces will be shaped for the top/bottom rims acting as further supports for the glasswork. They act as channels for the glass to sit in to help with alignment and stuff also. Bottom one will be a U shaped pattern with a lip inside to help support the bottom pane of glass. Ill be veneering the visible sides. I didn't like the finish on solid ebony next to the panels so thats why not ebony rims. Im thinking laying out this foamy rubber dish pad stuff that comes in rolls between the stand and the top glass part for a buffer. Its like 1/8" thick and provides a little dampening and helps with tank shifting.
 
Last edited:

tosiek

Senior Member
Rating - 100%
48   0   0
Finally i can update this thread.

The glass finally came in today, gonna pick it up tommorrow as i didn't have time today. Im also starting on the hood tommorrow so should have both done by the time i finish off with the glass and let it cure for a week.

T minus:

-assemble the glass and let it cure
-finish the hood
-put a finish on the stand/hood
-finish building the sump


Should be about 3 weeks before i have it sitting in my house waiting to add all my livestock =0)
 

tosiek

Senior Member
Rating - 100%
48   0   0
Finished the rim work for the glass part. Ill get pictures up later today. also worked on the hood a bit. Made a compartment for most of the electrical work minus the ballasts for the lighting. Ill get pics and a 3d model of the hood concept up later tonight or tommorrow.

Ran into a slight problem that will change the order i planned on assembling everything while carrying all that 1/2" glass around. Its too damn heavy to lift once assembled unless i have a group of 5 people or more bringing it into my apartment and even then i don;t want to chance a slip. Originally the stand was to be taken apart and have a finish put on it, and the finish roughly takes a week of sanding, coating, and buffing on my free time after work. During that time it allowed me to assemble the glass and let the silicone cure. Now im going to have to assemble the glass after i have everything finished and installed for the most part in my apartment. :irked:
 

jhale

ReefsMagazine!
Location
G.V NYC
Rating - 100%
52   0   0
Better make plans to sleep at the GF's for a few days, that much silicone curing will make your apartment unbearable to be in. If you want help with the glass let me know, I'd like to see and help put it together.
 

Sponsor Reefs

We're a FREE website, and we exist because of hobbyists like YOU who help us run this community.

Click here to sponsor $10:


Top