tosiek

Senior Member
Rating - 100%
48   0   0
RO tubing split huh. Your making me think twice now about running it that long. Actually running it any length. But then i have to worry about the RO tubes running into my RO unit from the water main.

As far as ....

Time adds up, this project lets people see why custom is worth the cost ;) :)

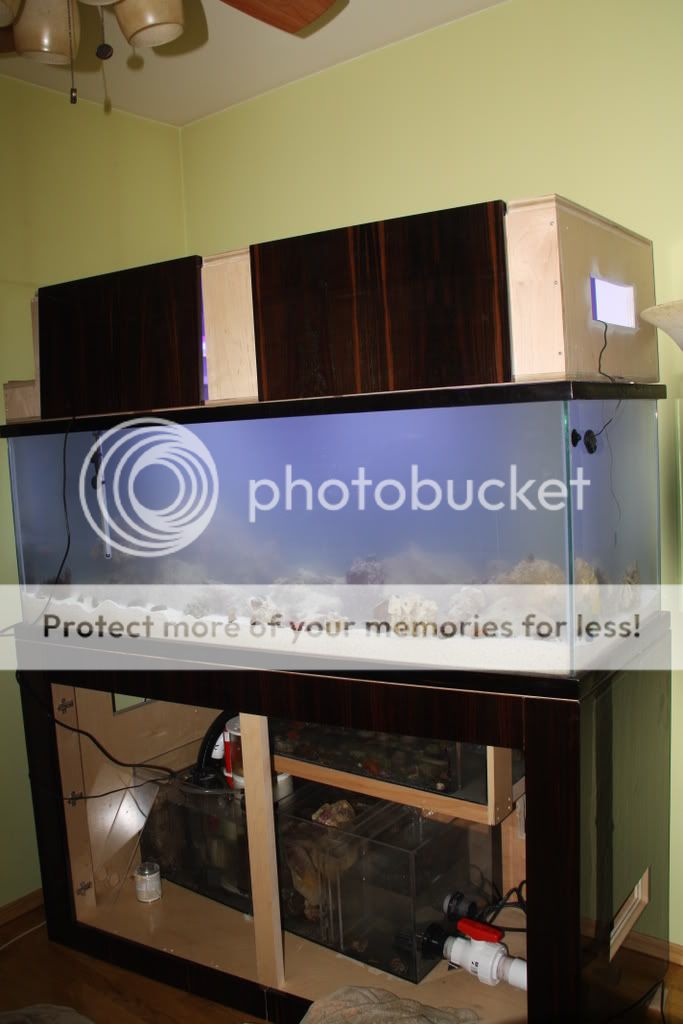
goes, its things like that that some people don't understand when it comes to better quality hand made things compared to factory run objects as far as pricing goes. When i get emails asking about pricing of cabinetry and stuff people start to compare it to ikea or lower end millwork companies. If thats the price range for what your looking for then thats where you get it. Alot of the factory built millwork and cabinetry is very nice but you get what you pay for when it comes to how its built and how long its gonna last you. But there is a big difference between the higher priced bedroom sets or kitchens available and what you can get from the discount area in ikea.

Also, People don't take into consideration the thought, time and quality of products used in making the better cabinetry/furniture/millwork and why it stands apart from the rest out there. Its hard to realize it as everything looks easy in theory and on paper.

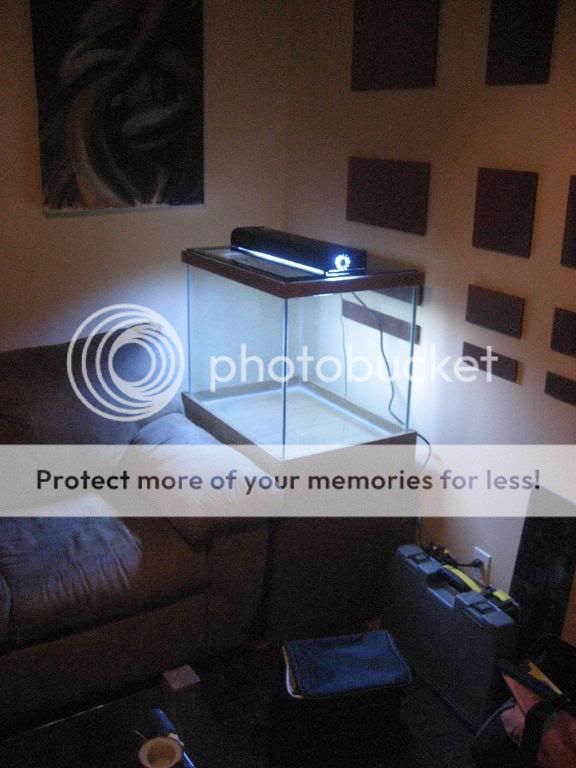
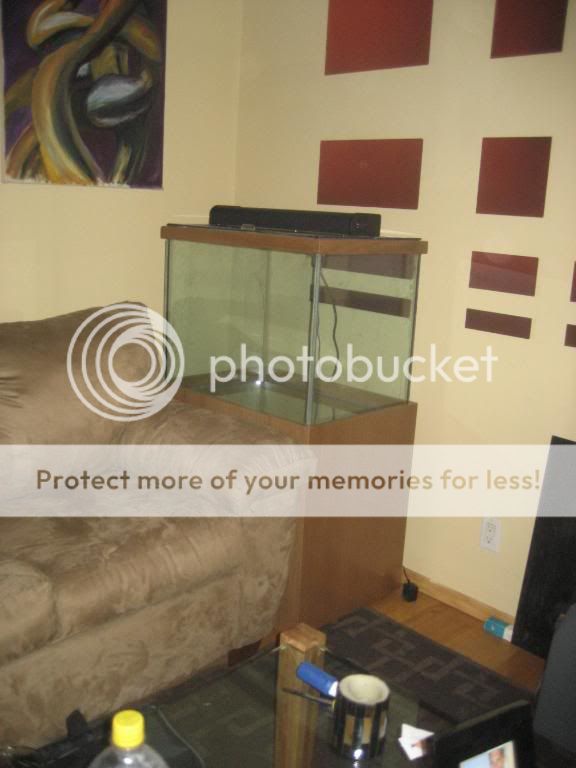
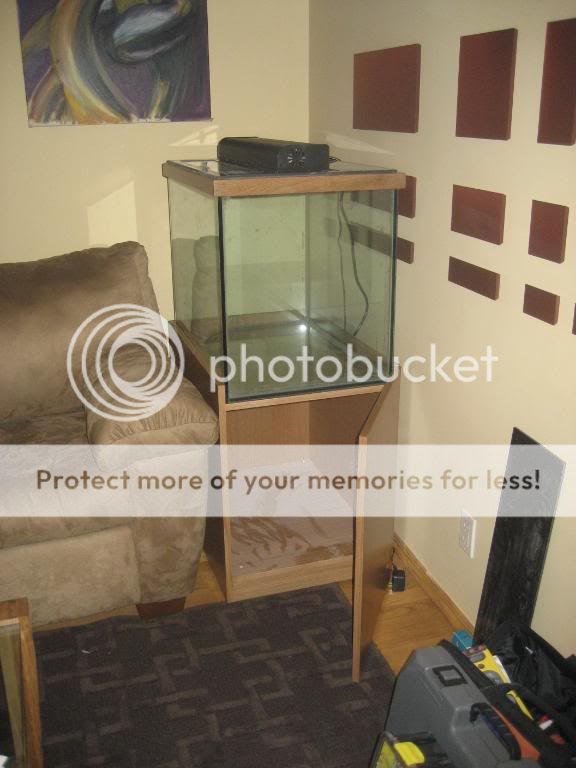
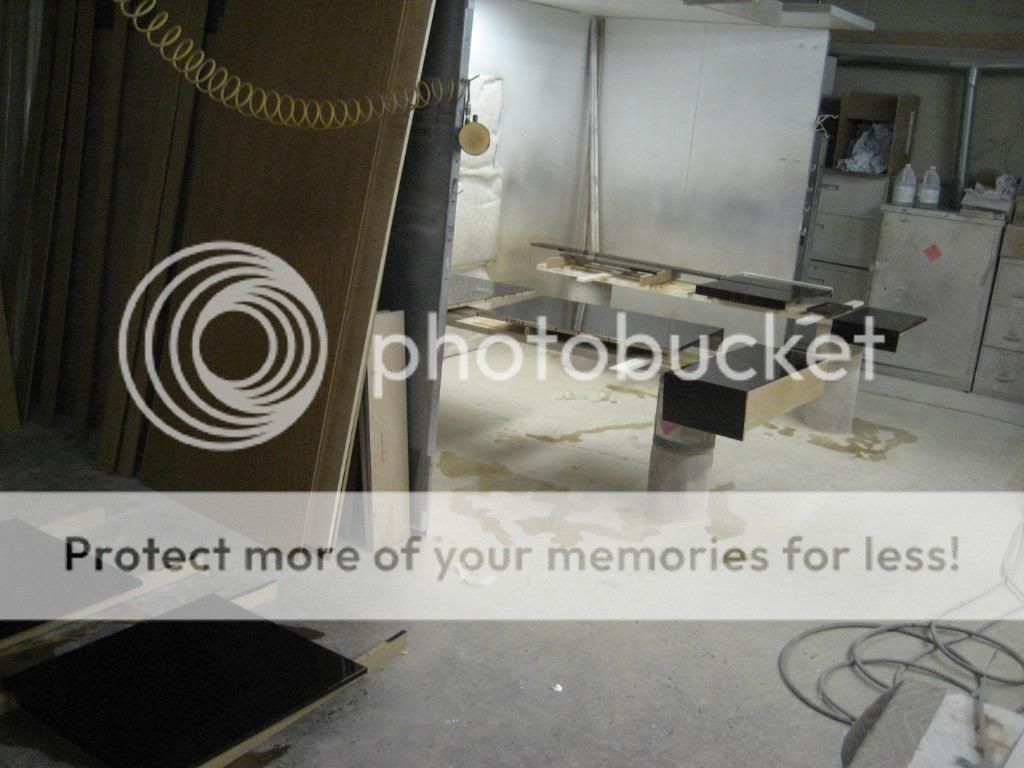
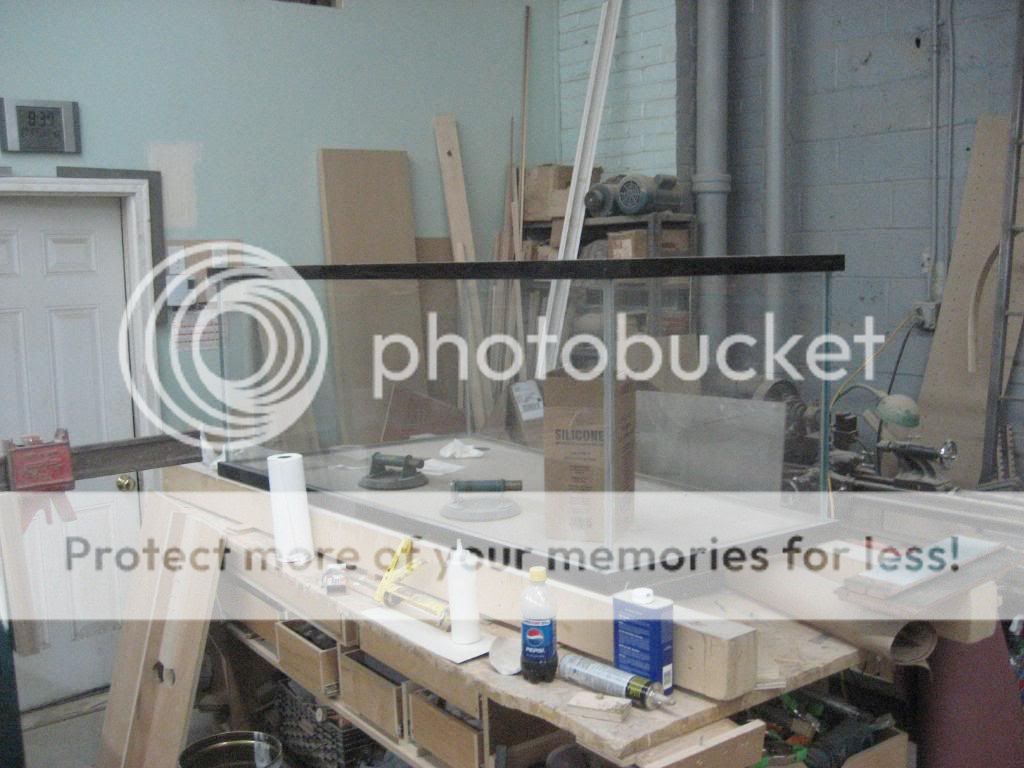
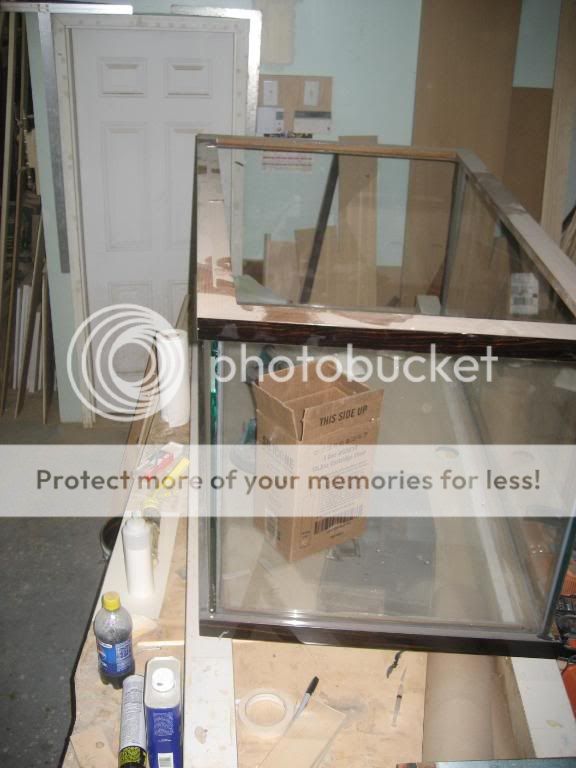
Small tanks i priced for people i can't cut as low as glasscages and the other custom places. They are ordering everything in bulk and doing alot of the glasswork in house and i can tell you that pricing differs by more than half before profit comes into play. I was quoted $3000 by one glass place for starfire glass on my current tank. The glass place i do alot of buisness with gave me materials + work time without profit and the same glass came out to around $900.
 

jhale

ReefsMagazine!
Location
G.V NYC
Rating - 100%
52   0   0
I know where to go if I need glass now :lol:

the tubing split after it was in use for about 2 years. It was a tiny hole that opened near the tank. It was such a small leak it made me crazy for a few hours till I figured out where the water was coming from. I thought the tank was leaking at first.
I liked my RO tube in the spaflex approach. any extra water would drain into the sump, or the sink. at the sink end I had a floodstop sensor at the spaflex tube opening. any water coming out would shut off the whole system and sound the alarm. I can't think of too many other choices unless you want to keep an RO reservoir near the tank.
 

tosiek

Senior Member
Rating - 100%
48   0   0
OMGZ! PicS! :tub:


Here is the Freshwater cichlid tank i made. Couldn't find a premade tank with the dimentions i wanted or close enough so i had to build it. It was planned and set up rather quickly. 26" x 18" x 22" high with a rift oak cabinet. I had a hard time getting a 24" dual flourescent fixture quick enough locally that actually had 24" bulbs so i got a PC light 50/50 with a glass hood and built out the light support and tank cover out of plexi scraps i had laying around. Cichlid tank look great under 50/50's or actinic/10k's and thats what i wanted. The lights a bit bright right now but should dim down in time and once i hadd stuff inside it should fix the brightness. The tank is run on a oversized Eheim canister filter with an airstone for some extra airation. Ill get more pics once the fish are in which should happen later tonight or tommorrow night.

Tosiek1047.jpg


Tosiek1049.jpg


Tosiek1048.jpg


Ontop of just moving tanks around my apartment, i also am dramatically adding alot of space in my living room by moving out my reef tank and go a wall mounted flat panel and reorganizing, I also got a new TV, have to paint one wall, and im also wokring on wall mounted unsupported shelves jutting out from the wall. So, alot is going on along with just a tank swap from room to room.

Onto the reef tank.

I wanted to post a complete process of whats going on with the finish but I won't get good shop pics of the cabinet finished and ready/standing before it goes into a small dim room with bad camera angles.

The Finishing Process

I stupidly descided on doing a high gloss polyester finish on the tank which requires alot of time. The buffing alone for a 3' x 3' panel 2 sides with edges takes about 4-6 hours of constant buffing. But the finish is unmatched for the more exotic woods like anigre or ebony or any eccentric grained veneer. It gives depth to the wood itself and most of the time highlights the different color variations and such.

I descided on doing the finish when we made a few samples of ebony for a client. We skipped the sealer process and poured a thick poly coating on one sample and ended up getting a golden flake color in the grain work. My guess is the poly ended up pulling out air and oils from the grains when it heats right before it gets hard and dry's. You only see it when its in the final steps of drying. It looks amazing and we were able to replicate it on every one of my panels. Only thing is we had to pour the poly on all the paneling instead of spray for it to come out as nice as the sample. It required all the panels to be level and set out before application. The poly coat is made by Ilva, sold only by 2-3 people close to NYC and is for industrial/professional use. Poly, hardener and accelerator. The finish also costs 75-100$ a sq. ft. in most places that do the finish and they mostly only run poly finish in those shops with specialized equipement pretty much only used in applying and sanding/buffing polu and urethane if anyone has the thought through their mind.

Tosiek1017.jpg


Tosiek1015.jpg


The poly coat is made by Ilva, sold only by 2-3 people close to NYC and is for industrial/professional use. Poly, hardener and accelerator. The finish also costs 75-100$ a sq. ft. in most places that do the finish and they mostly only run poly finish in those shops with specialized equipement pretty much only used in applying and sanding/buffing poly if anyone has the thought through their mind.

The process, start to finish, starts with a sealer coat, then 2-4 polyester coatings with sanding in between (220 grit) to build a depth to the finish. Then a final sanding is done using 1000 grit sandpaper then moving to 1200, 1500, then finishing with 2000 grit. The final step is the long and gruelling buffing process with touch ups. Here are pics of the first pouring of the poly and the results. Another 3 coats went on sprayed and i currently have 90% of the panels done and ready.

Tosiek1018.jpg


Tosiek1019.jpg


A comparison pic flash/no flash

Tosiek1020.jpg


Tosiek1021.jpg


Tosiek1022.jpg


Here are some pics of the glasswork assembled.

Tosiek1045.jpg


Tosiek1046.jpg


I had to finish and polish the framing before assembly. Sorry for all the dust but thats a few days of it sitting there and sawdust builds up quick here. I still need to silicone in a return tower in glass and cut the plexy for the overflow and install it. Here is the concept overflow design.

tankassemgood2.jpg


Thats it for now. Hope you enjoy. Im working on getting the tank installed the week between Xmas and New Years. Hopefully if everything goes well and on time you'll see it installed after the new years. :tub:
 

tosiek

Senior Member
Rating - 100%
48   0   0
01/19/09 Tank is finally up and running. Still have alot of work to do to fine tune everything. Ill get pics up once everything is set up the right way.

Finished up around 3am. Tank water is all coudy from the sand, so once that clears up i have to set the rockwork and coral. Stand and hood need some finishing touches and i have to run all the electrical equipment the right way.

Here's a really quick pic of the tank a mess.

good.jpg
 

tosiek

Senior Member
Rating - 100%
48   0   0
Thanks Jhale, should be a few days before its visitor ready. 2 weeks before everything is set in stone as far as missing panels not done and a few things to come in and be installed.

Tuni, there is room above it to reach in and place coral + a light which isn't installed yet.
 

Sponsor Reefs

We're a FREE website, and we exist because of hobbyists like YOU who help us run this community.

Click here to sponsor $10:


Top