


You are using an out of date browser. It may not display this or other websites correctly.
You should upgrade or use an alternative browser.
You should upgrade or use an alternative browser.
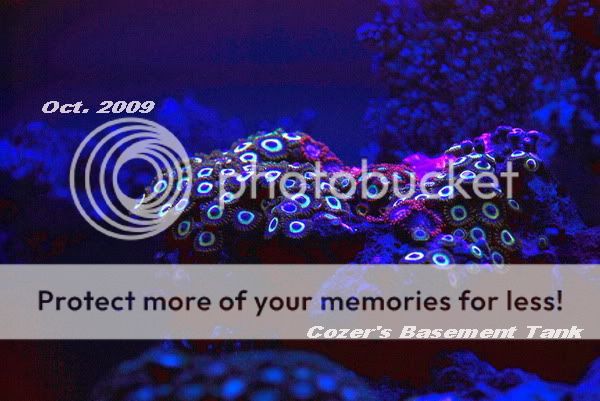
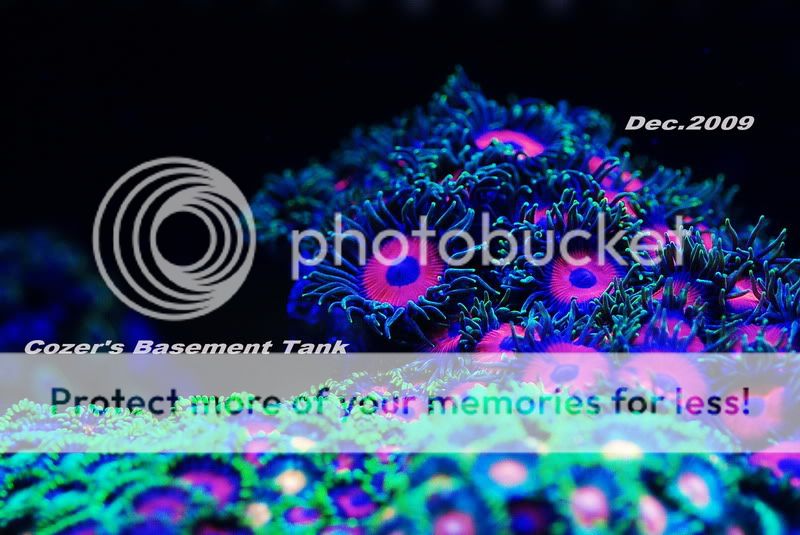
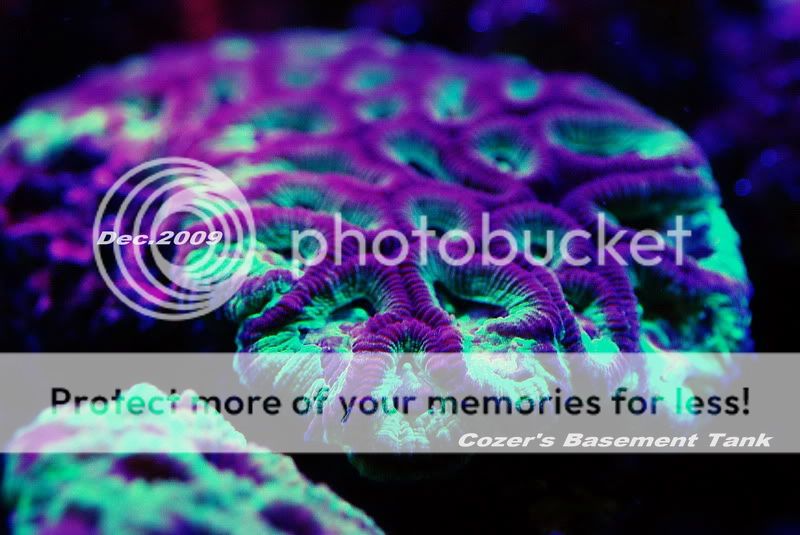
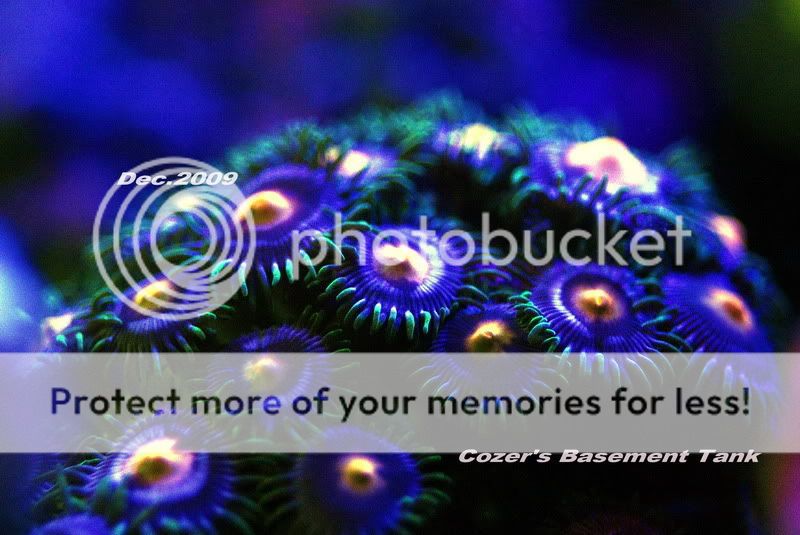
Cozer's Basement Tank
- Thread starter cozer
- Start date
- Location
- Flushing NY 11355
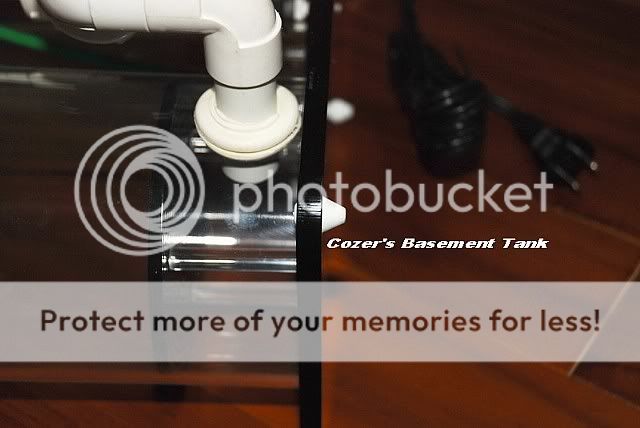
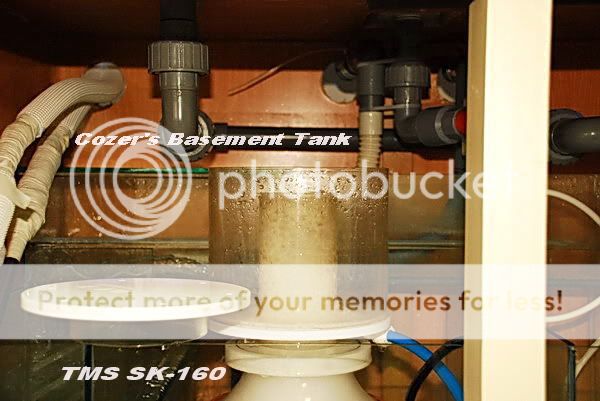
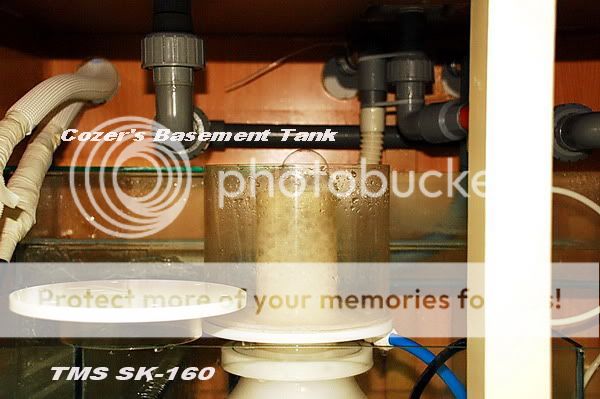
It looks like an Uniseal or equivalent to me.
Is the white piece where the pipe goes into the body soft or hard? Do you know if it is a "uniseal?
- Location
- NY
It's got to be a Uniseal or equivalent to take that shape. What else could it be?
R
R
It's got to be a Uniseal or equivalent to take that shape. What else could it be?
R
I would hope they use something better and more permanent. A mis-adjusted regulator can blow that thing right off.
- Location
- NY
I would hope they use something better and more permanent. A mis-adjusted regulator can blow that thing right off.
True dat. Do you know of any other Uniseal type bulkhead?
- Location
- NY
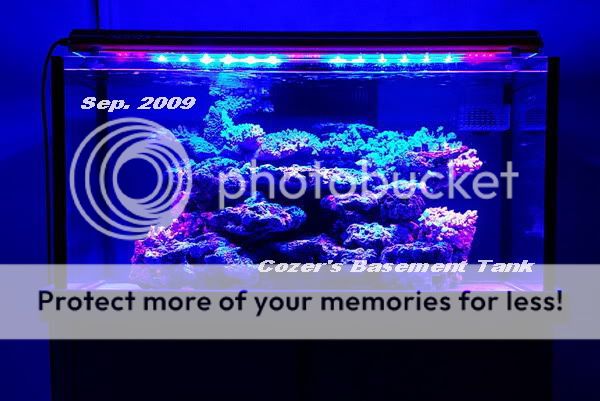
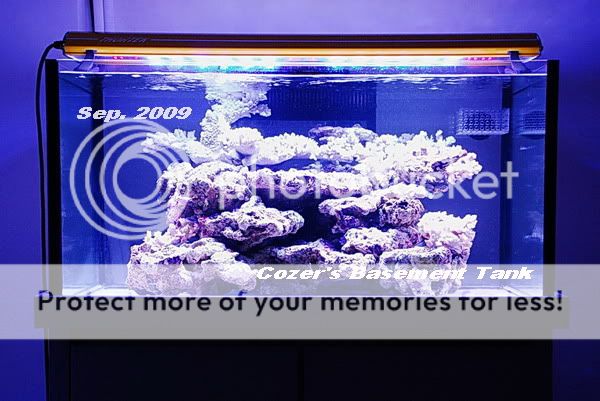
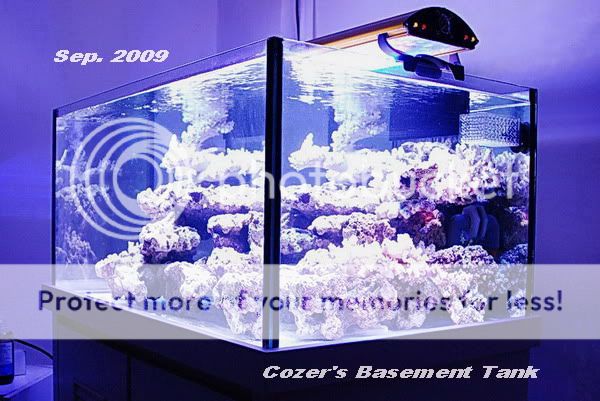
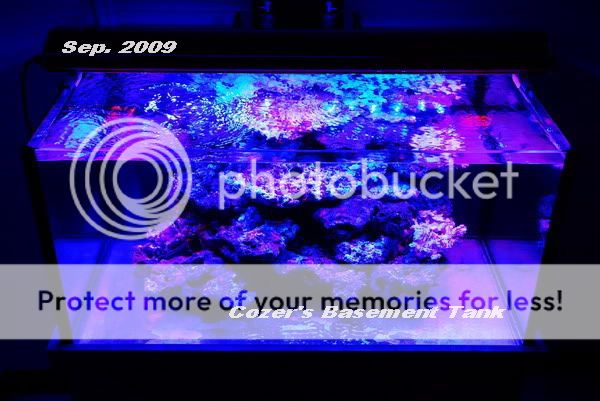
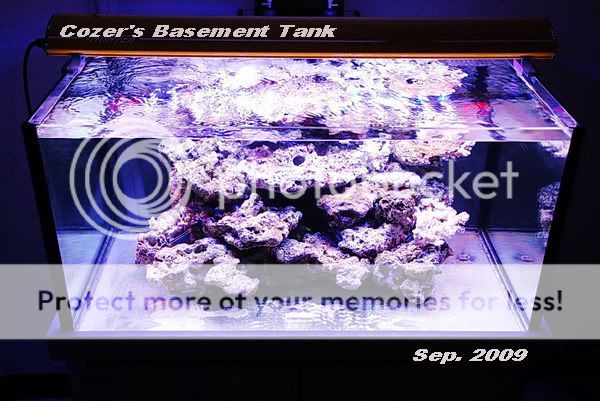
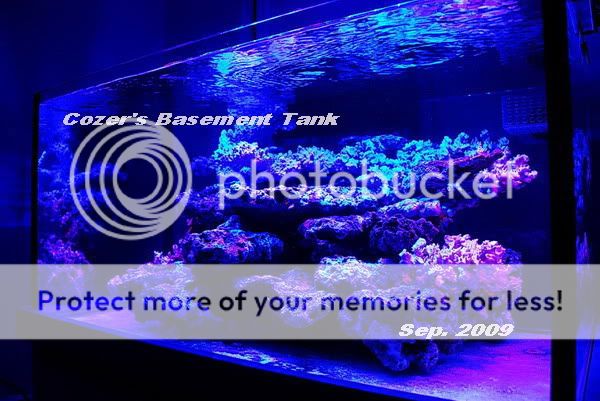
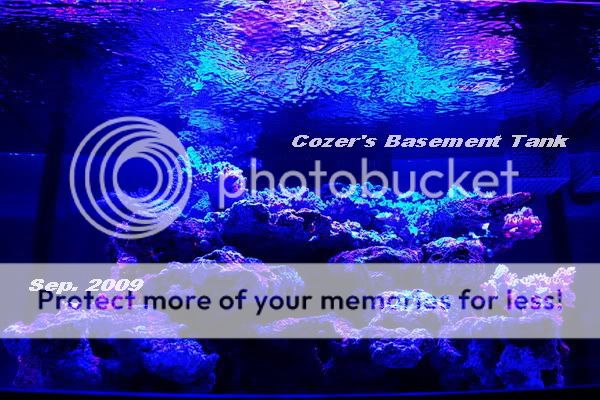
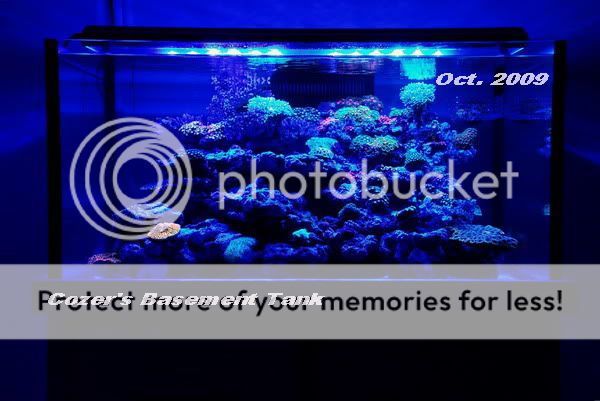
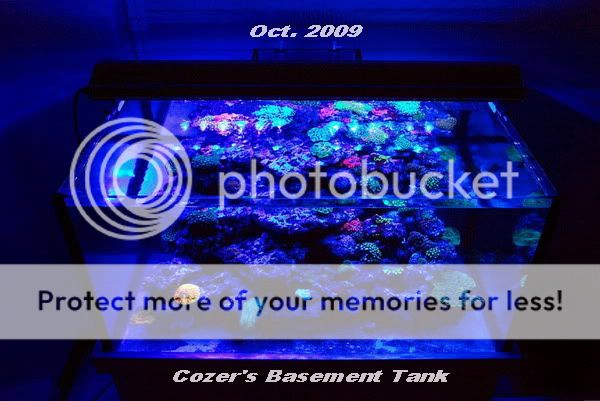
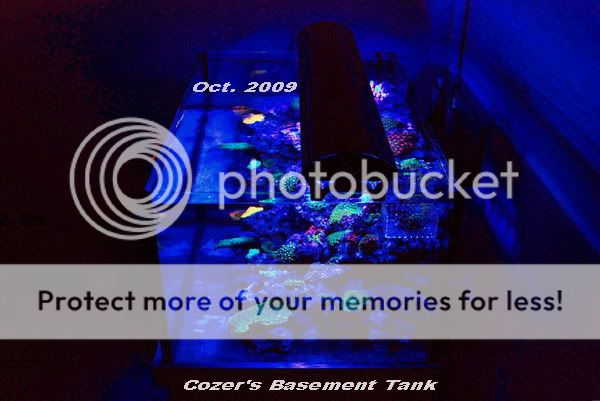
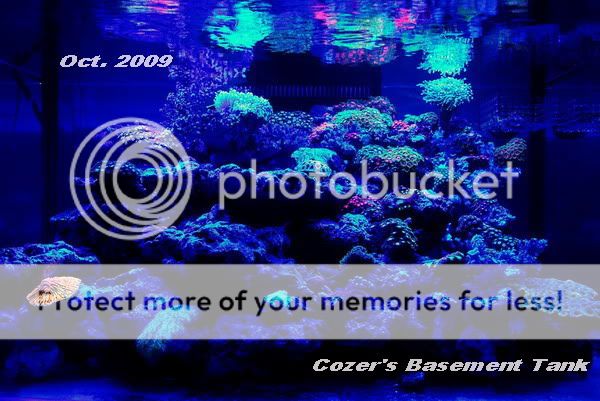
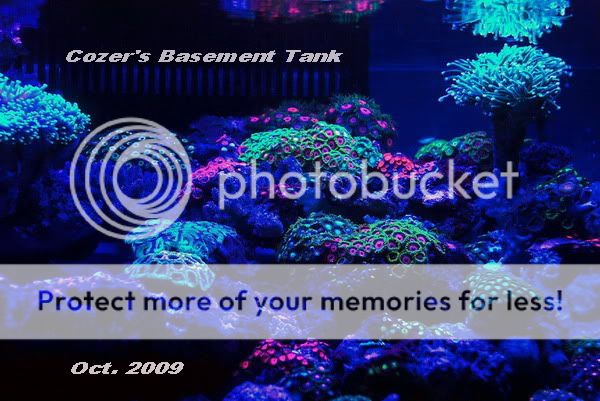
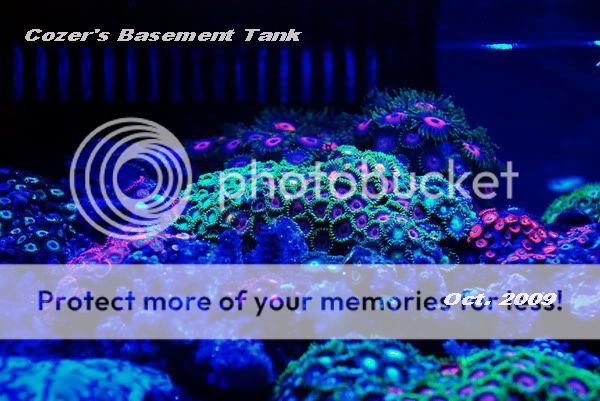
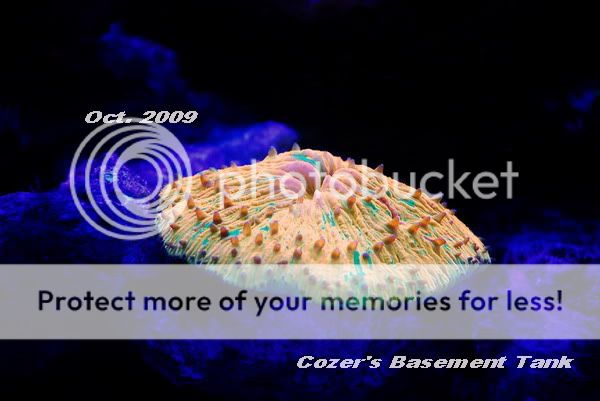
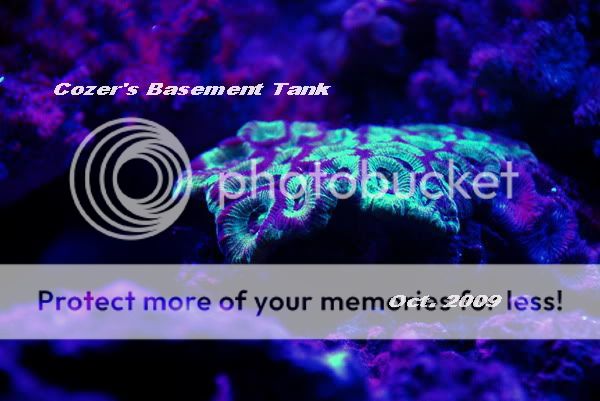
David, I'm really liking the new aquascape. Great job.
Russ
Russ


- Location
- NY
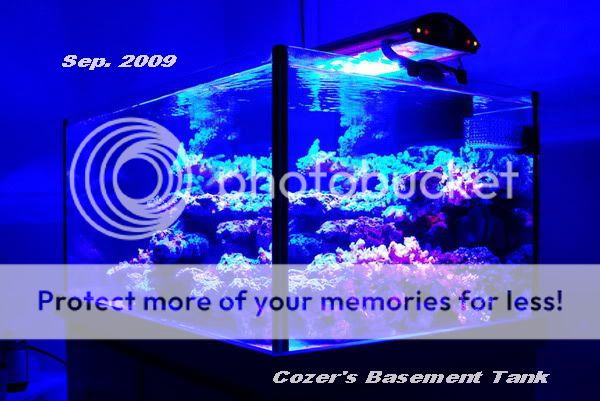
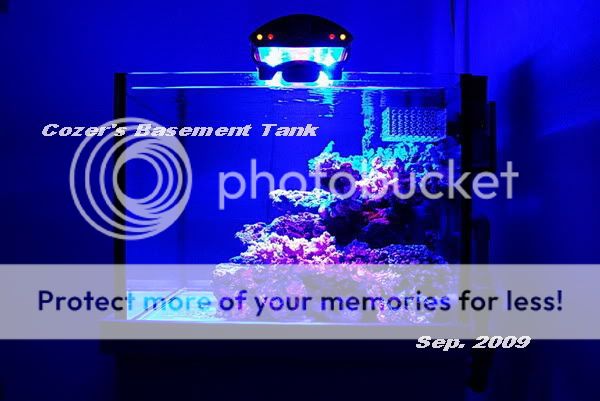
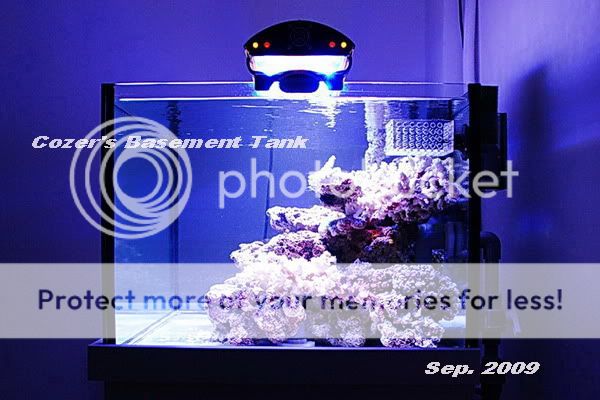
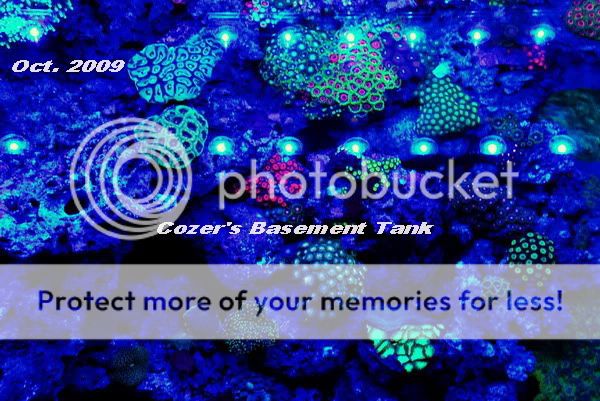
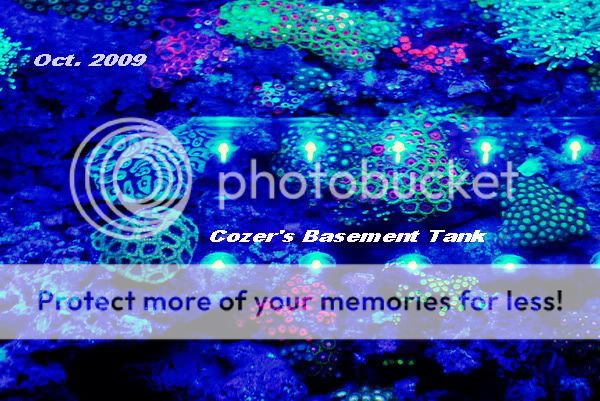
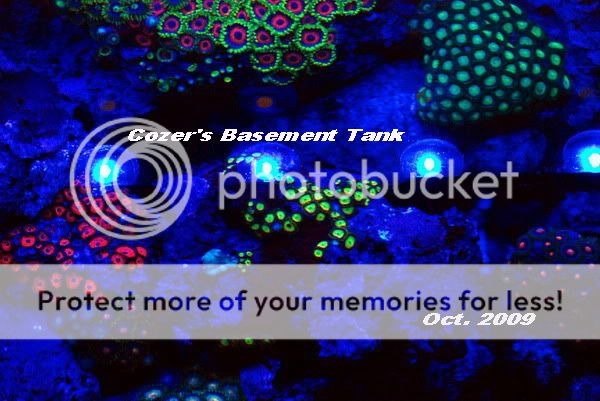
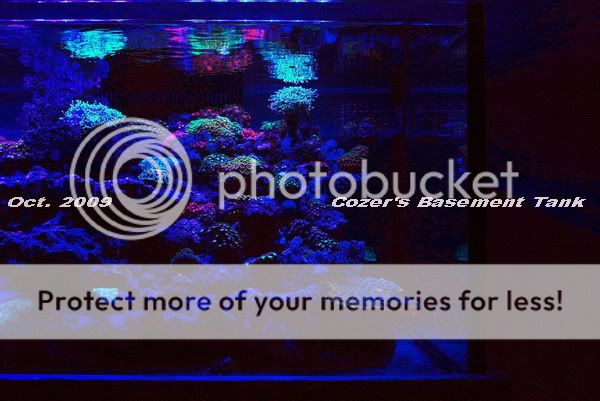
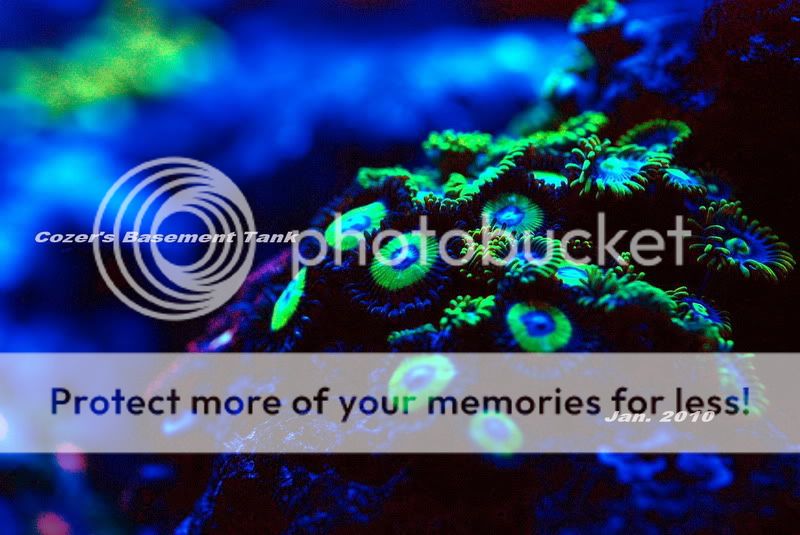
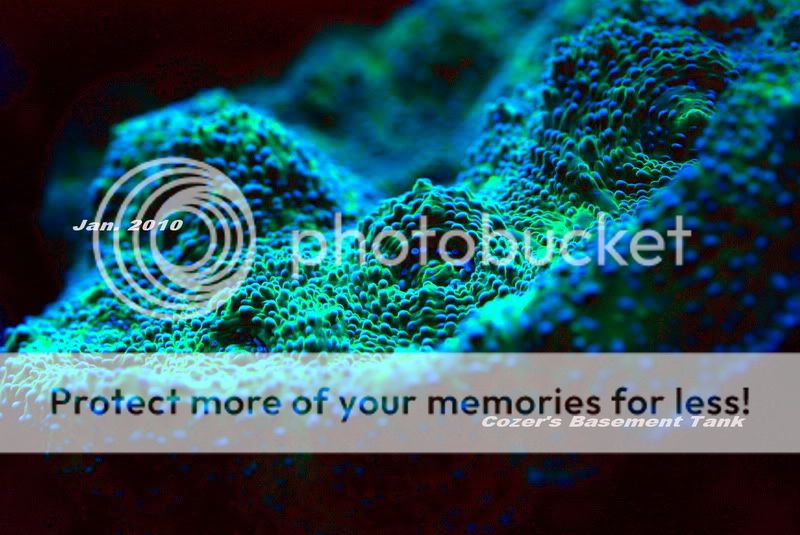
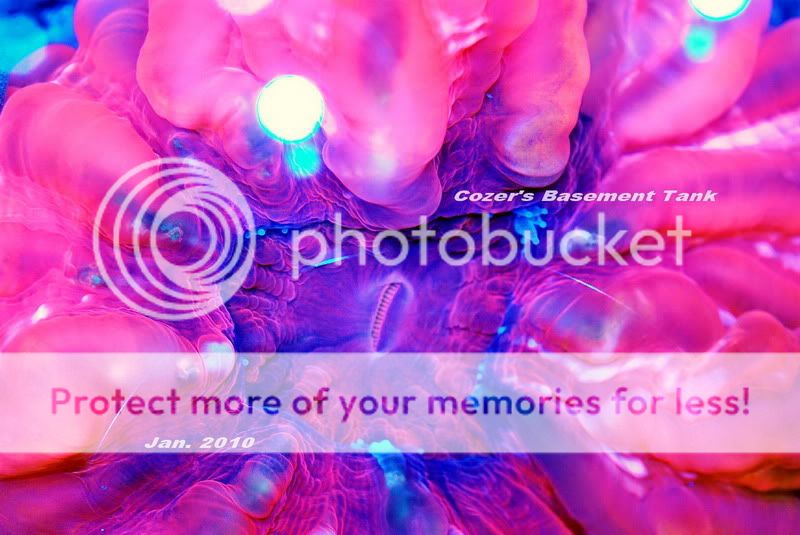
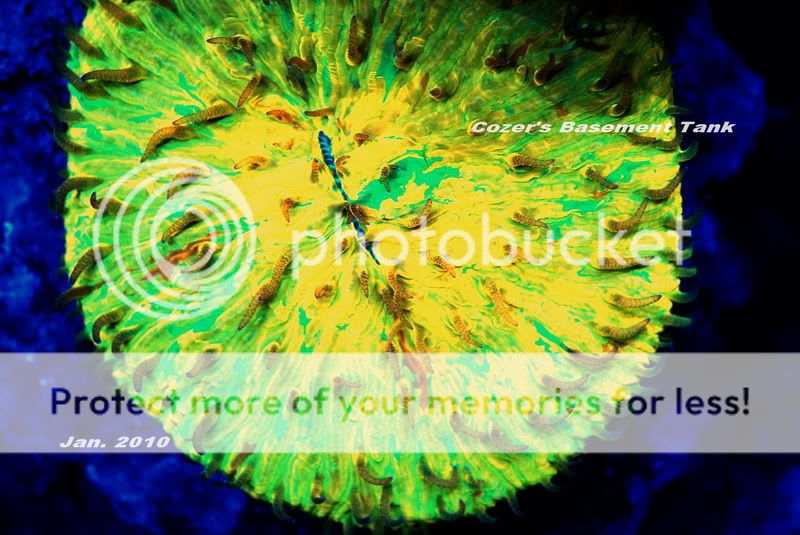
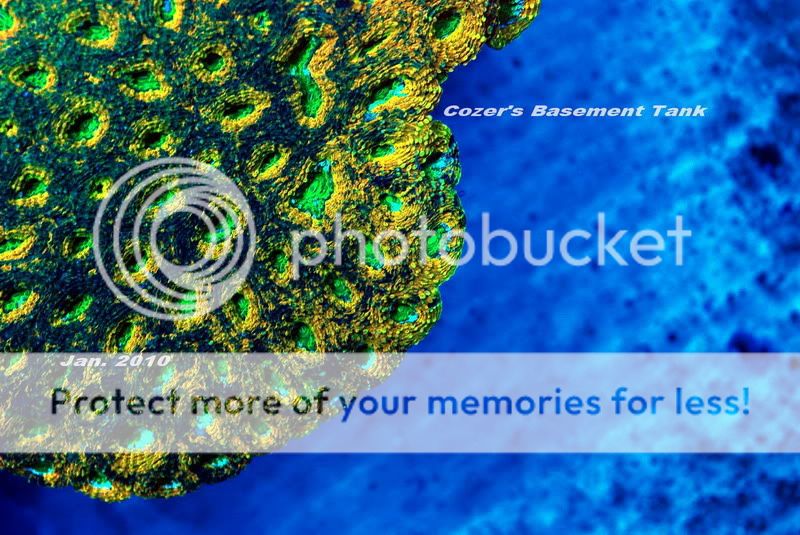
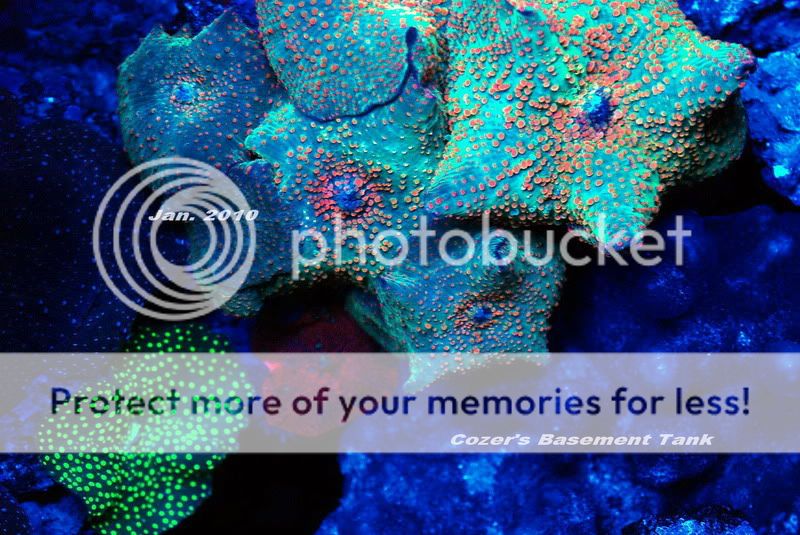
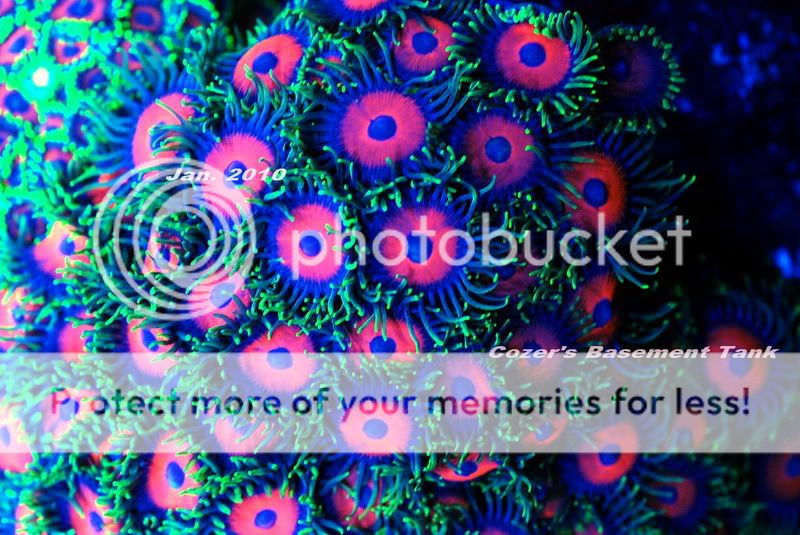
David, the coral you've got there are popping out of this world from that lighting. I'm getting very confused though. Is that still the ThorTek LED lighting in those most recent pictures?
Amazing
Russ
Amazing
Russ
David, the coral you've got there are popping out of this world from that lighting. I'm getting very confused though. Is that still the ThorTek LED lighting in those most recent pictures?
Amazing
Russ
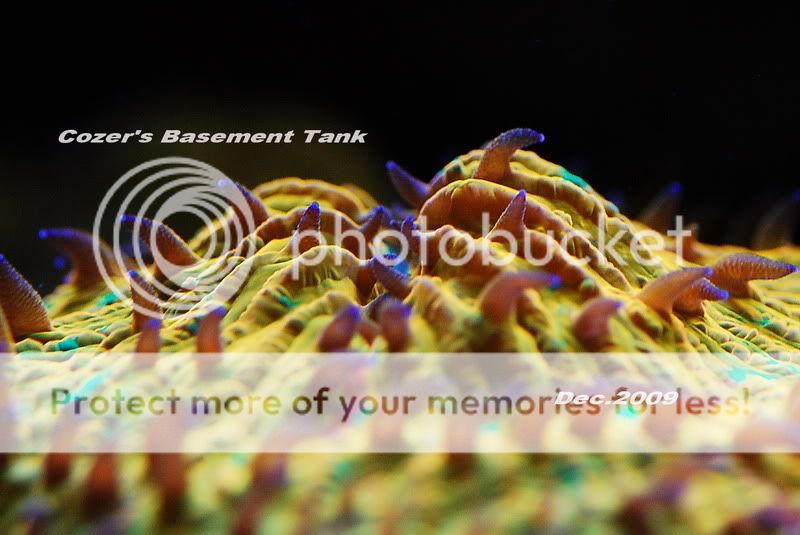
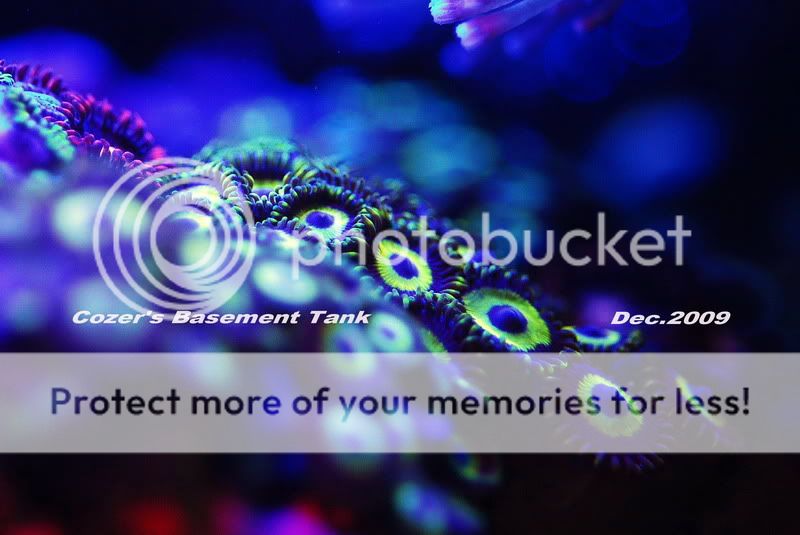
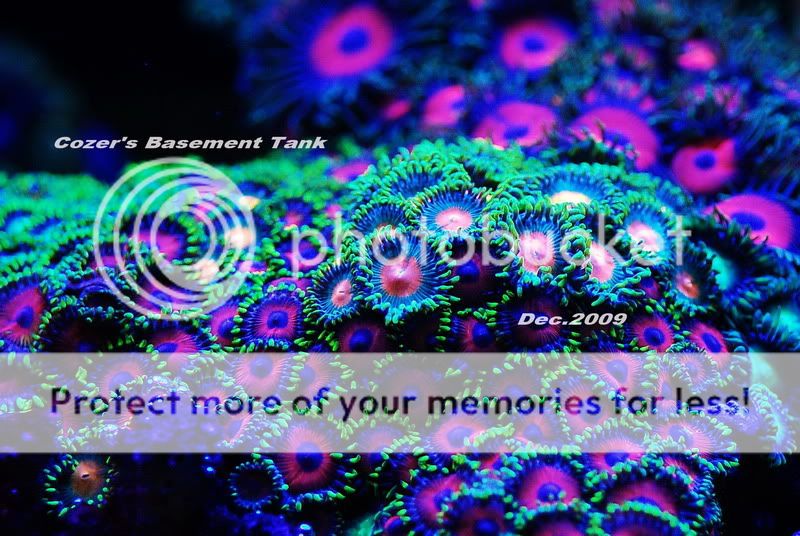
Russ, these pics were still taken under ThorTek lighting. Frankly speaking, with this Thortek fixture on my 24" wide basement tank, I have to move the light forward and backward to get enough lighting on what coral I was going to take a pic of it.
As one knows, the light coverage can be broadened if the fixture is mounted high in position. However, this will certainly reduce the light penetration since they are only 1W lamps. Why I would like to replace Thortek with Illumagic is because Illumagic use 5W lamps and they have mounting legs in variable height. Last week, I have seen Illumagic's prototype 24" set mounting on their own 24" cubic tank, and it offers quite enough light to fulfill the need for entire tank lighting. So......I think it should be a better choice for those tanks larger than 24" in width and depth. As for Thortek, could probably accommondate to either narrow or shallow ones.
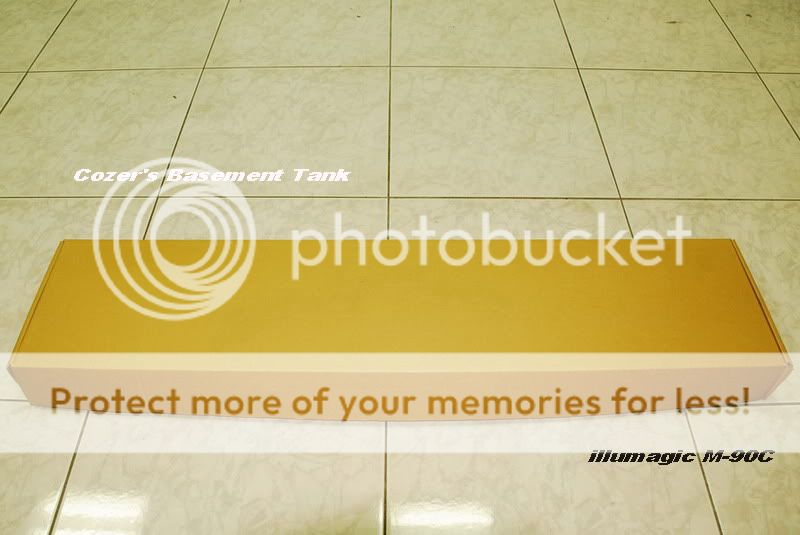
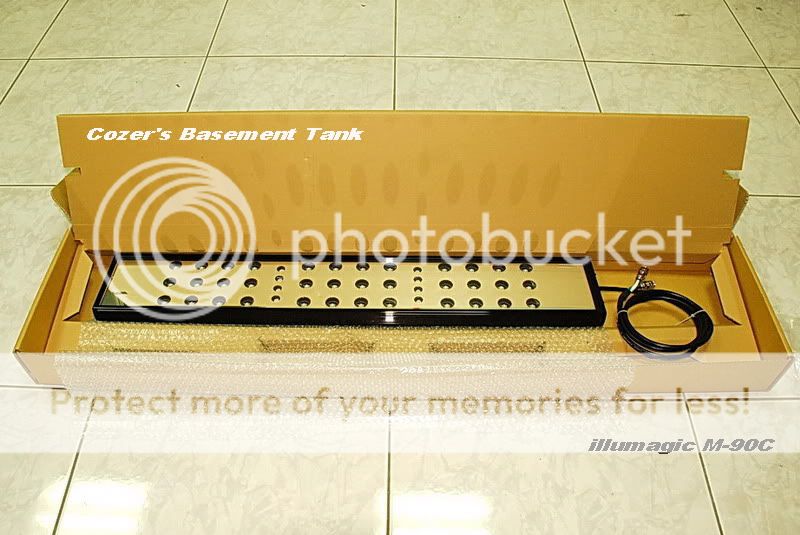
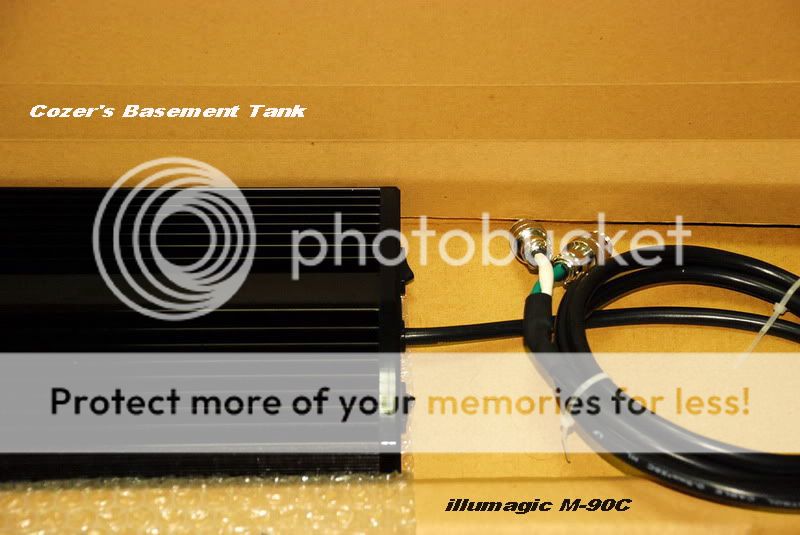
Finally, after a week delay, I recieved my Illumagic Blaze M90C LED lighting fixture. Here are some pics taken during the unpacking of this "New year gift" (should be X'mas gift originally, lol).
Unpacking of the Illumagic "Blaze M-90C".
The specific box for the Blaze series products (thI got my M-90C in a larger box for M-120C due to their lack of M-90C boxes).
Let's unpack it! See those components of the M-90C. They were well placed in their own partitions.
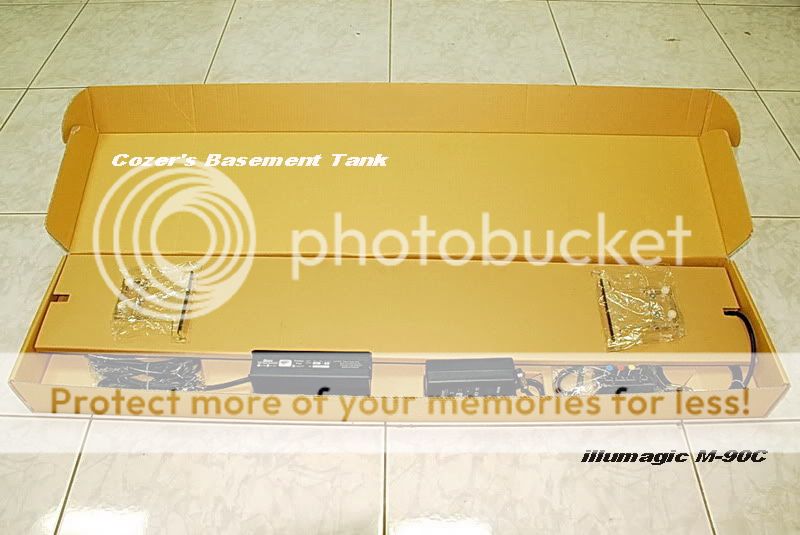
Take all of them out from the partitions~
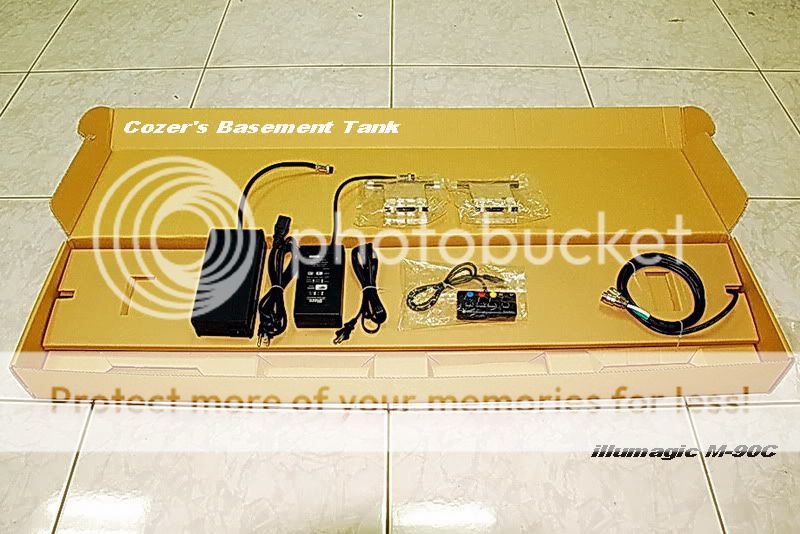
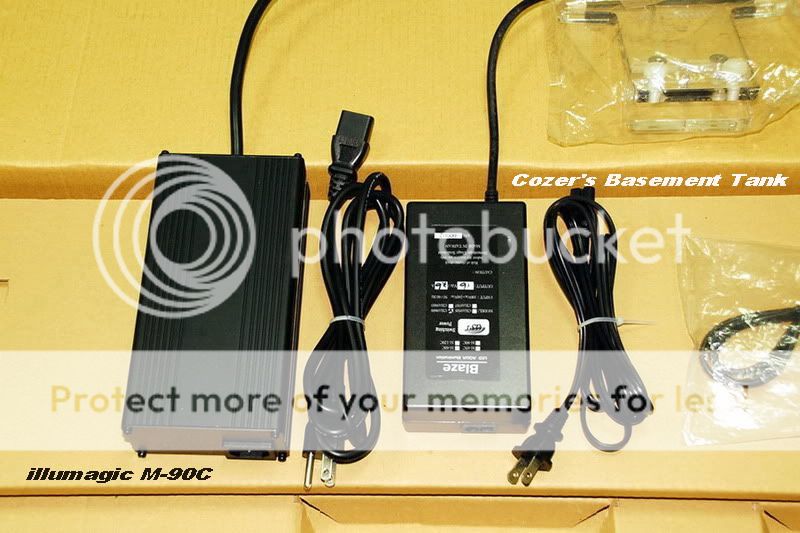
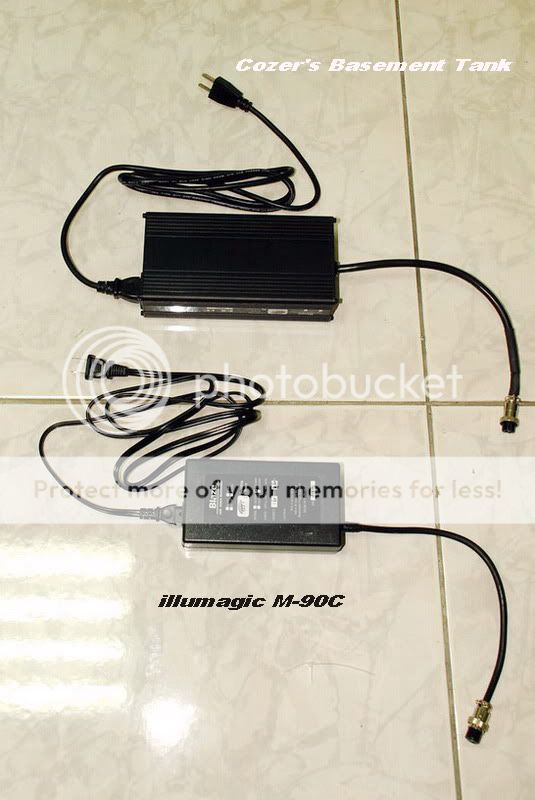
Power supplies and the cables.
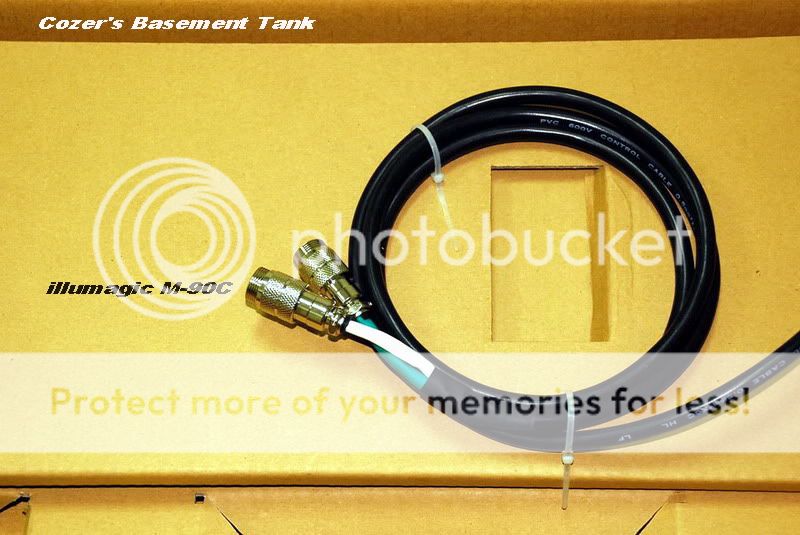
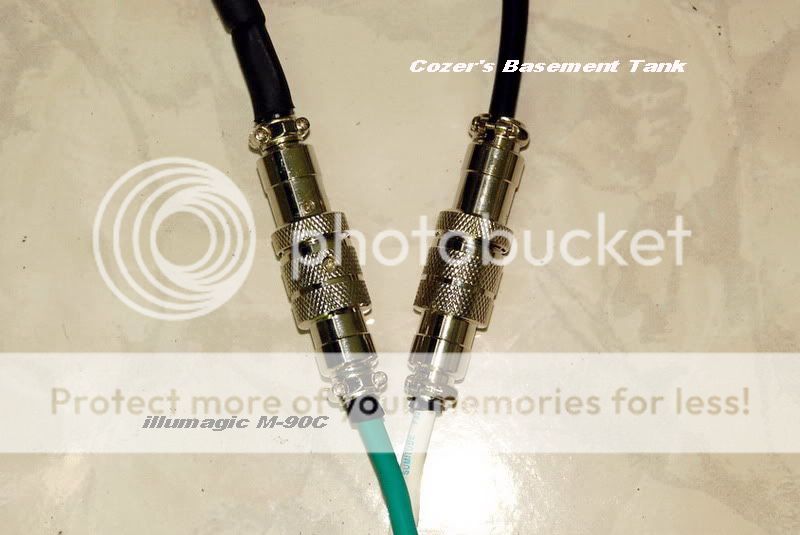
Connecting cables from the fixture body.
Mounting legs made of acrylic.
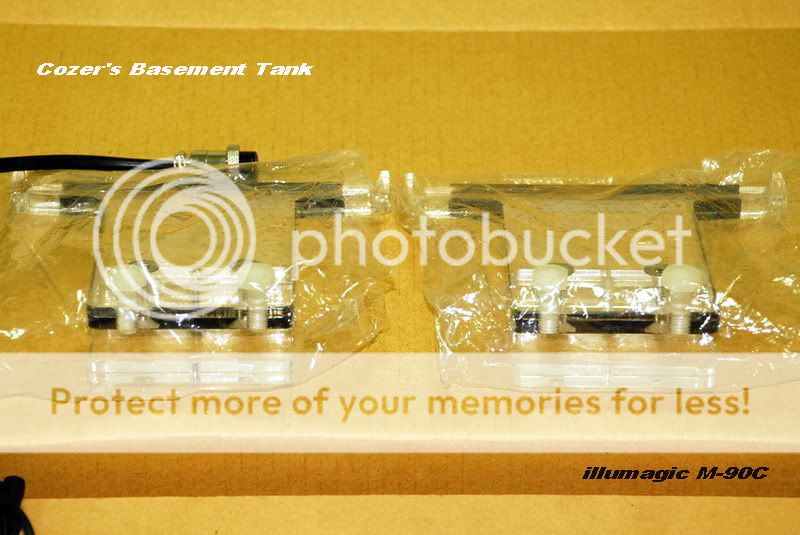
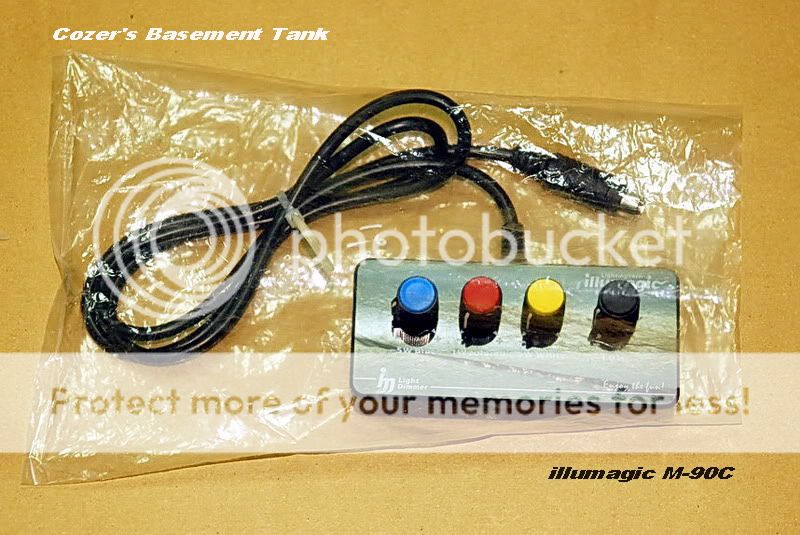
Light dimmer for Blaze series products.
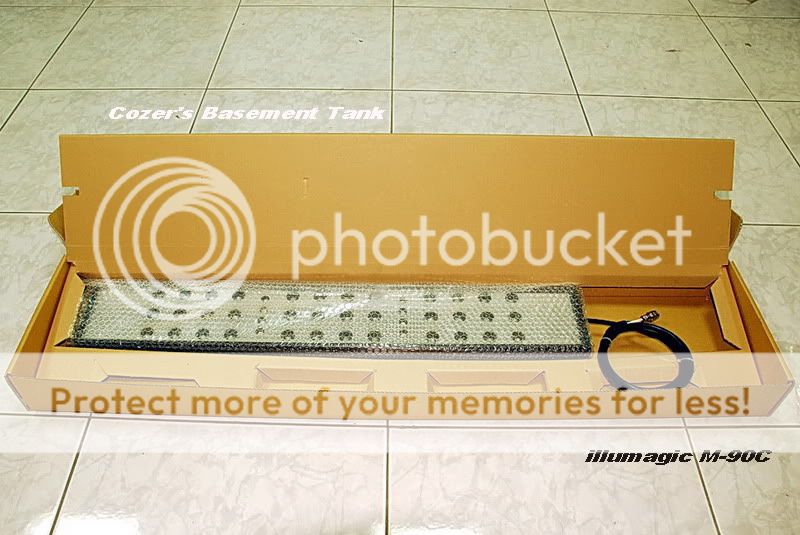
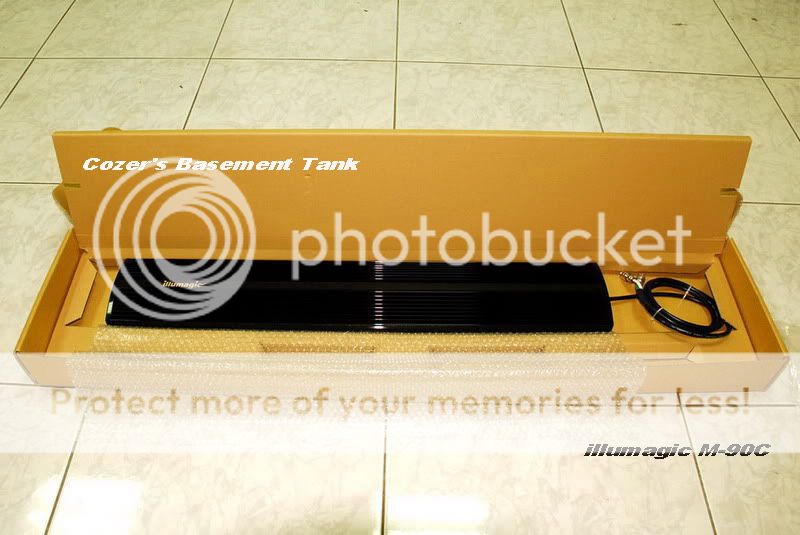
Lifted the paper cover. See~ M-90C appears!
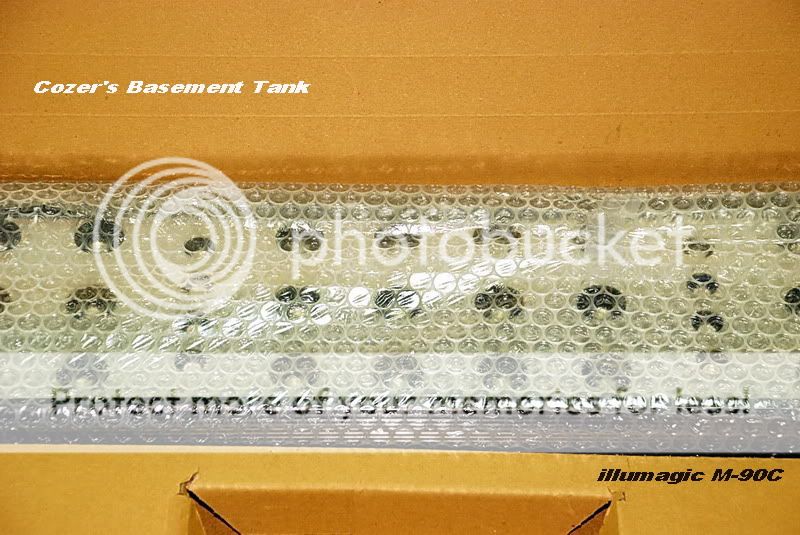
The fixture was well wrapped in the bubble protective film.
Unwrapping the fixture........
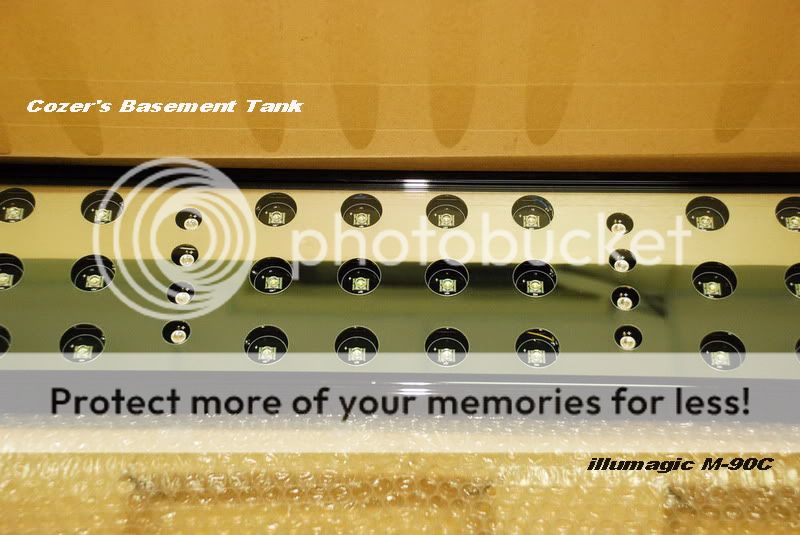
A close look to the fixture. You can see those well arranged LED lamps. The fixture has a protective cover made of tempered glass.
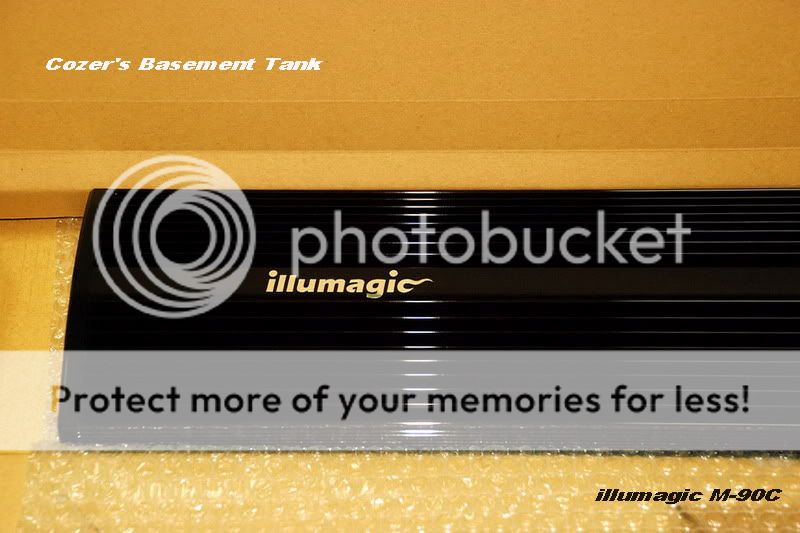
Turn over the fixture. Let's take a look at the heat-sink hood! Black and shining! See the "Illumagic" logo? So cool~~
A close look at the "Illumagic" logo. This is really a fancy stuff!
Another side with cables out.
To be continued~~
Unpacking of the Illumagic "Blaze M-90C".
The specific box for the Blaze series products (thI got my M-90C in a larger box for M-120C due to their lack of M-90C boxes).
Let's unpack it! See those components of the M-90C. They were well placed in their own partitions.
Take all of them out from the partitions~
Power supplies and the cables.
Connecting cables from the fixture body.
Mounting legs made of acrylic.
Light dimmer for Blaze series products.
Lifted the paper cover. See~ M-90C appears!
The fixture was well wrapped in the bubble protective film.
Unwrapping the fixture........
A close look to the fixture. You can see those well arranged LED lamps. The fixture has a protective cover made of tempered glass.
Turn over the fixture. Let's take a look at the heat-sink hood! Black and shining! See the "Illumagic" logo? So cool~~
A close look at the "Illumagic" logo. This is really a fancy stuff!
Another side with cables out.
To be continued~~
Last edited:
Mounting the Illumagic "Blaze M-90C"
First, installed the mounting legs on my tank.
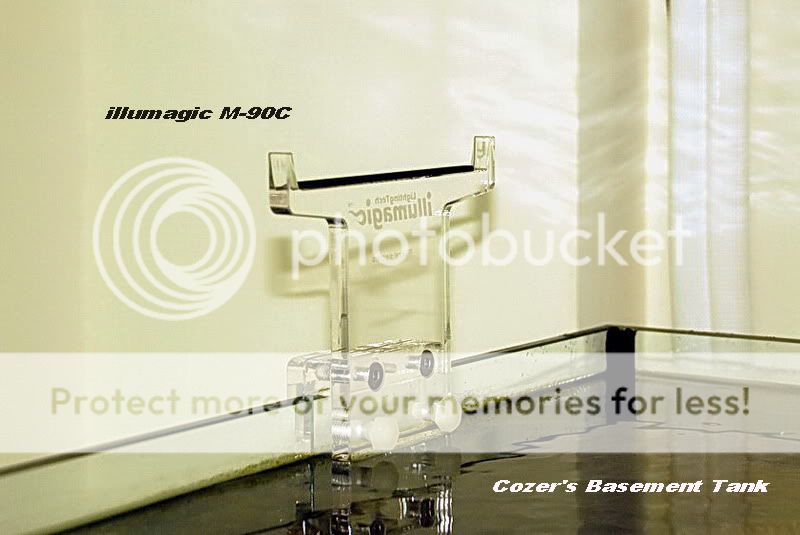
Two were all installed~~
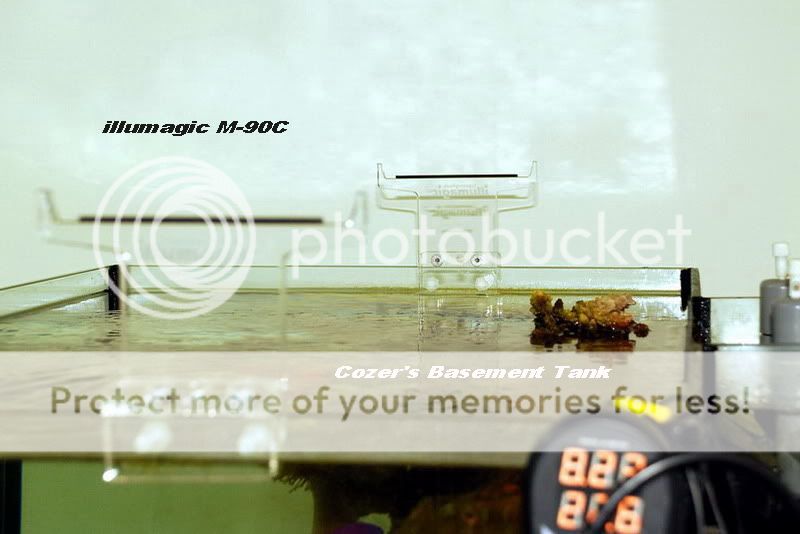
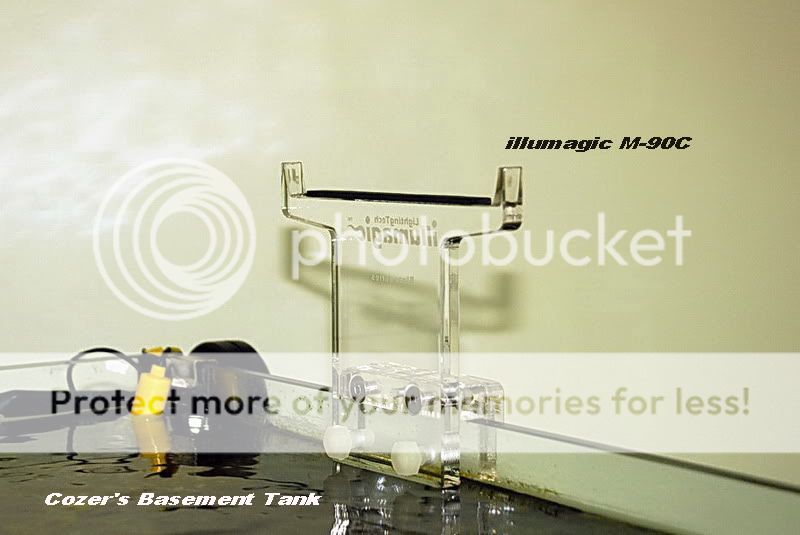
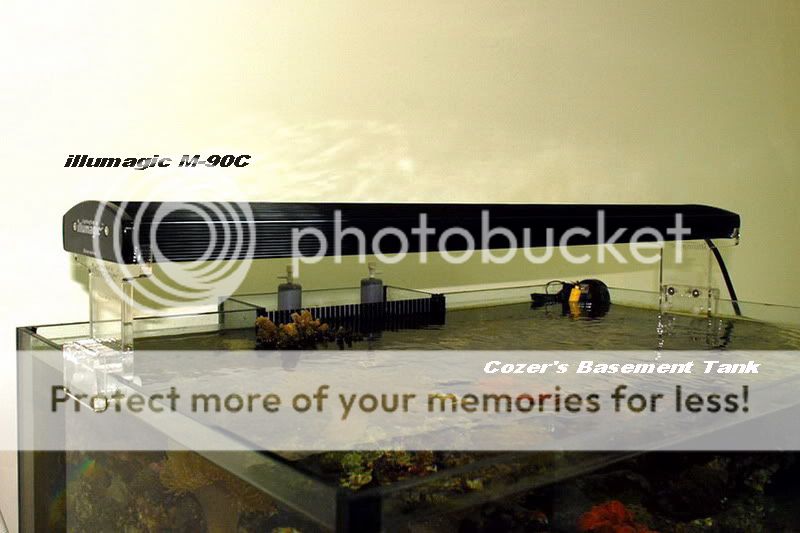
Now, carefully mount the M-90C on the two legs. See, it looks really narrow compared with my W36"xL24"xH18" tank. Can it really offer enough light coverage to this tank? I doubt.

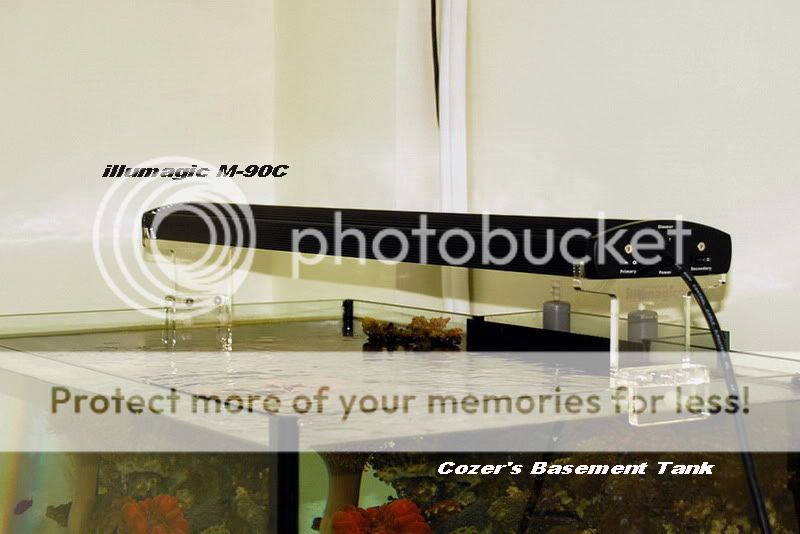
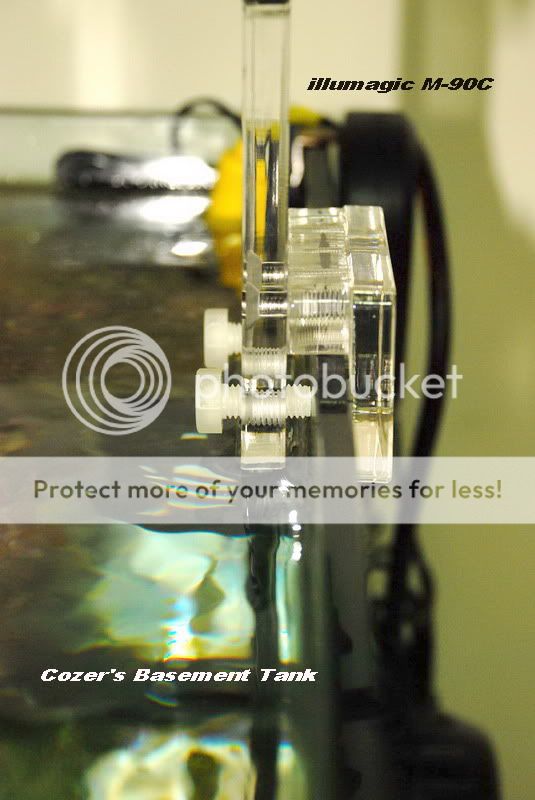
A close look at the fixture mounting on the legs (shining screen printing logo)
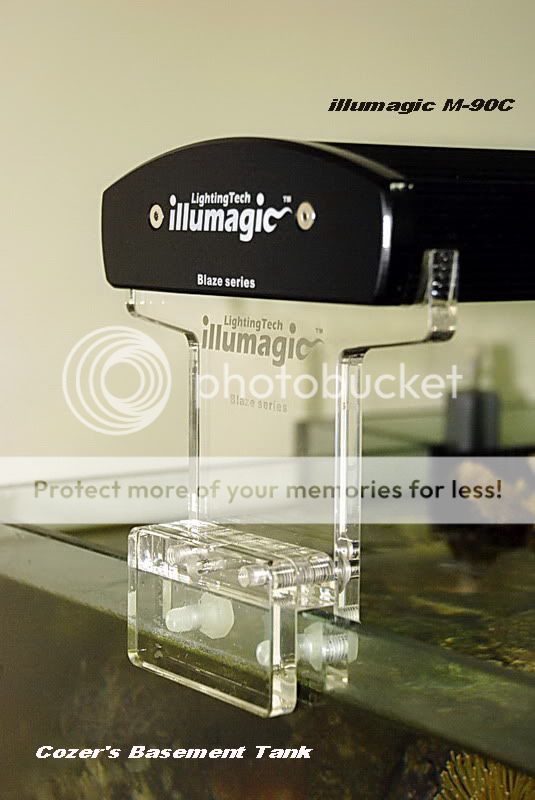
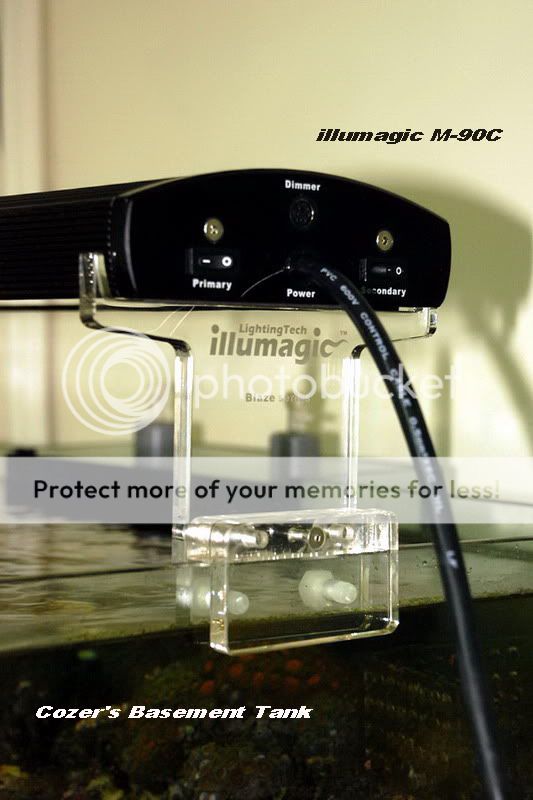
Same screen printed side cover with simple lables. You can see there is a spare socket for light dimmer!
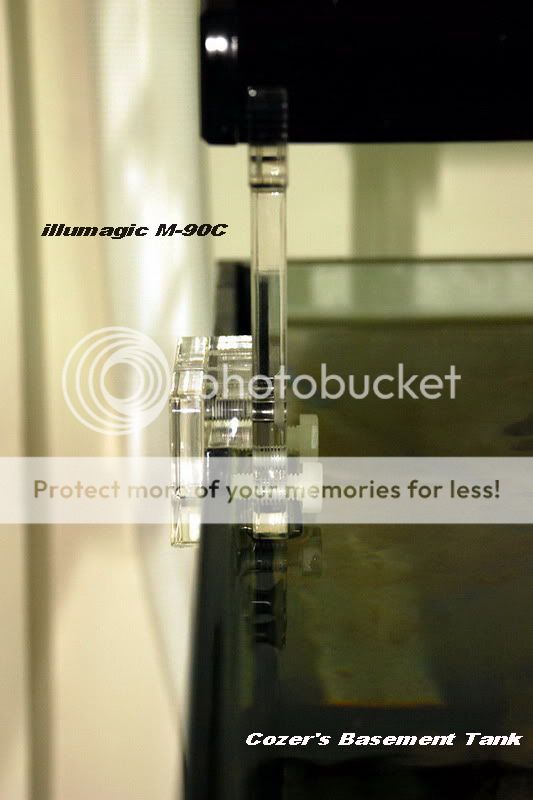
The legs are tightened on the glass with plastic screws.
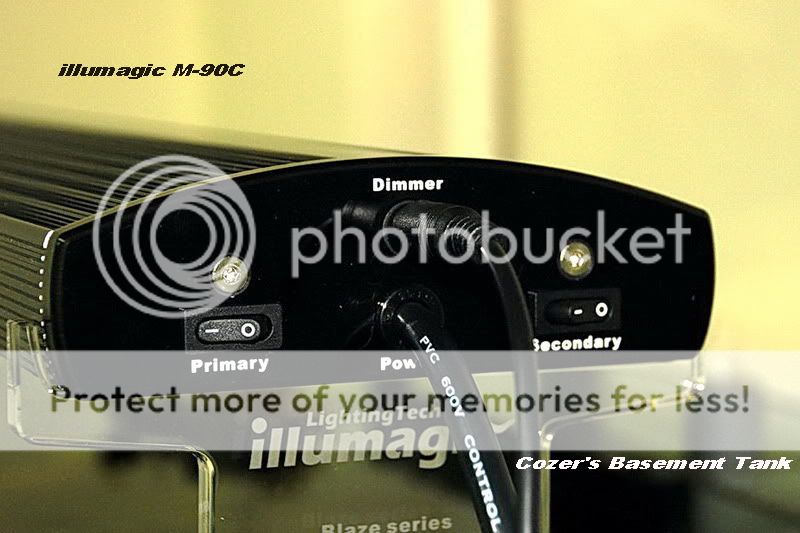
Here shows how the power supplies connected with the cables.
The bridging cable from the fixture connected with cables from the power supplies.
The light dimmer for this fixture. (Same screen prited lables. Cool!)
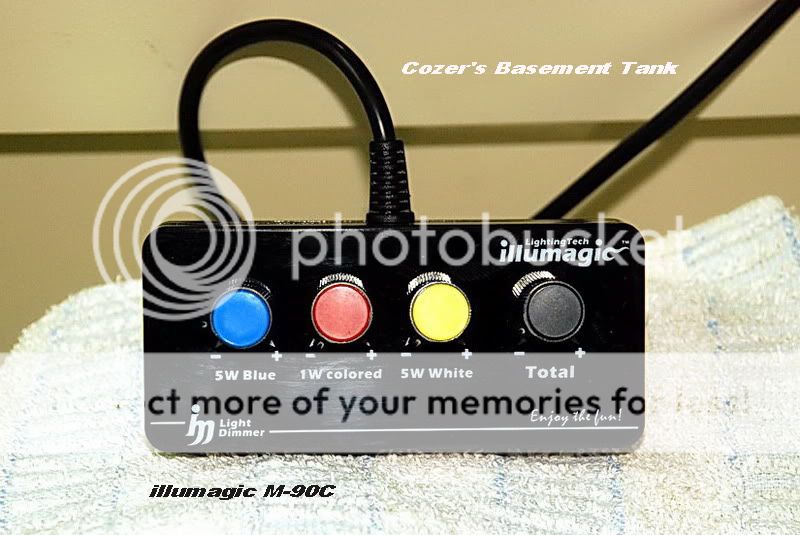
With the cable plugging into the socket.
To be continued..............
First, installed the mounting legs on my tank.
Two were all installed~~
Now, carefully mount the M-90C on the two legs. See, it looks really narrow compared with my W36"xL24"xH18" tank. Can it really offer enough light coverage to this tank? I doubt.
A close look at the fixture mounting on the legs (shining screen printing logo)
Same screen printed side cover with simple lables. You can see there is a spare socket for light dimmer!
The legs are tightened on the glass with plastic screws.
Here shows how the power supplies connected with the cables.
The bridging cable from the fixture connected with cables from the power supplies.
The light dimmer for this fixture. (Same screen prited lables. Cool!)
With the cable plugging into the socket.
To be continued..............
Last edited:
Dim the light!
With the light dimmer, one can simply adjust the light spectrum and intensity as well. Here are some pics taken under different dimming conditions:
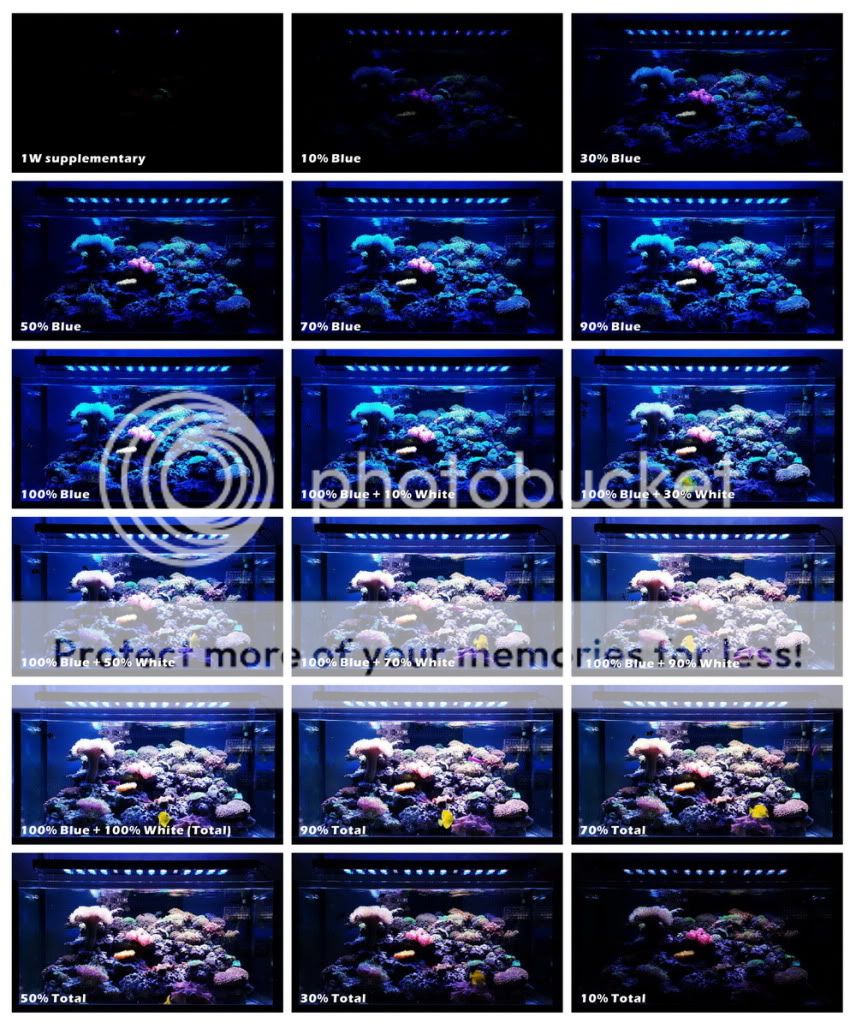
When these pics are put together, they become a animation!
To be continued..............
With the light dimmer, one can simply adjust the light spectrum and intensity as well. Here are some pics taken under different dimming conditions:
When these pics are put together, they become a animation!
To be continued..............
Last edited:

henrystyle
Bad Mutha Shut Your mouth
- Location
- East Stroudsburg, PA
How much do these fixtures go for? US currency..
Sponsor Reefs
We're a FREE website, and we exist because of hobbyists like YOU who help us run this community.
Click here to sponsor $10:
