samksy

FISHING, I'M IN!!!!
Rating - 100%
346   0   0
seriously take that long? you got all the plumping parts already! if you have the room leave it behind the wall.

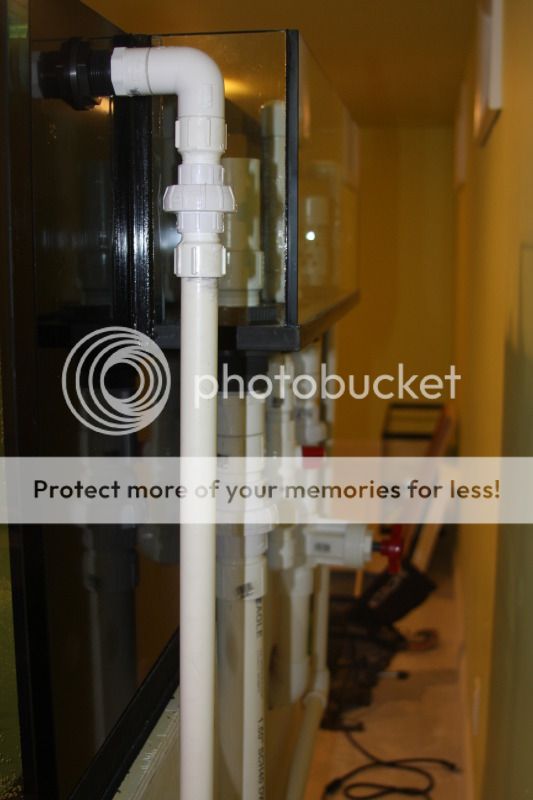
btw have you run a leak test yet?

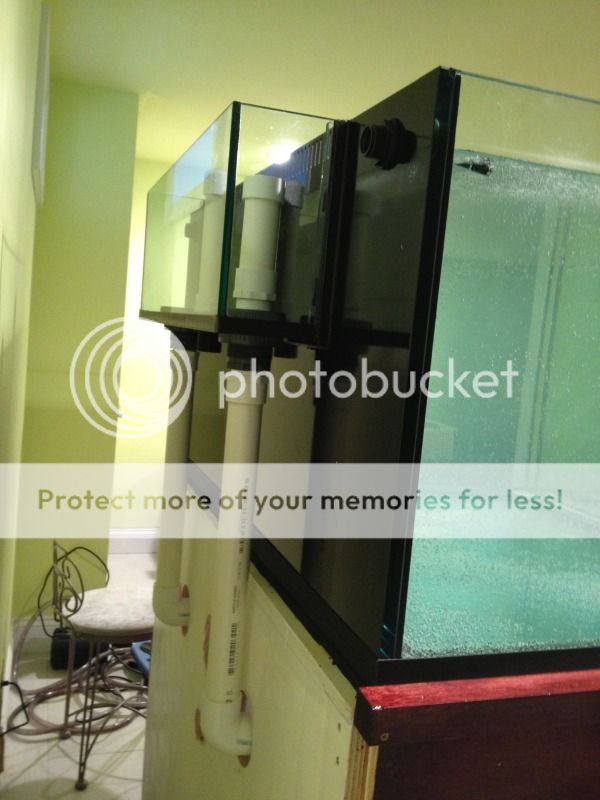
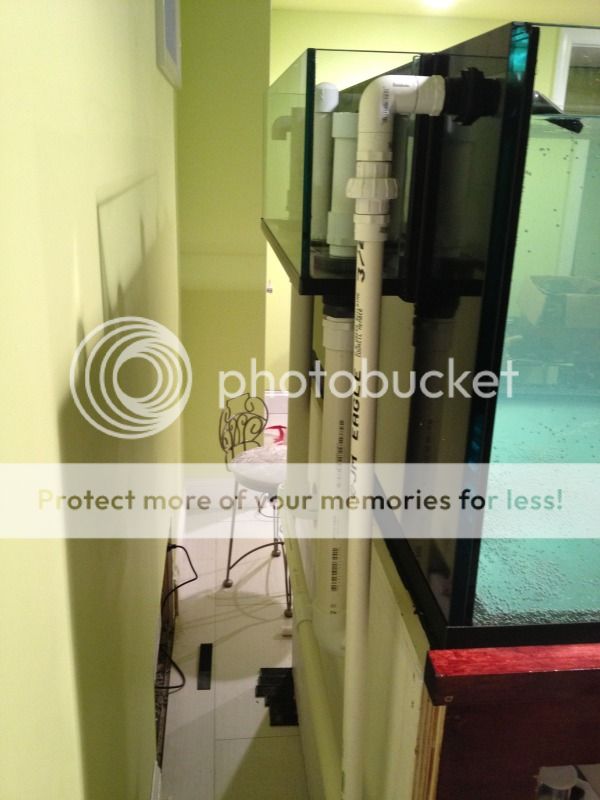
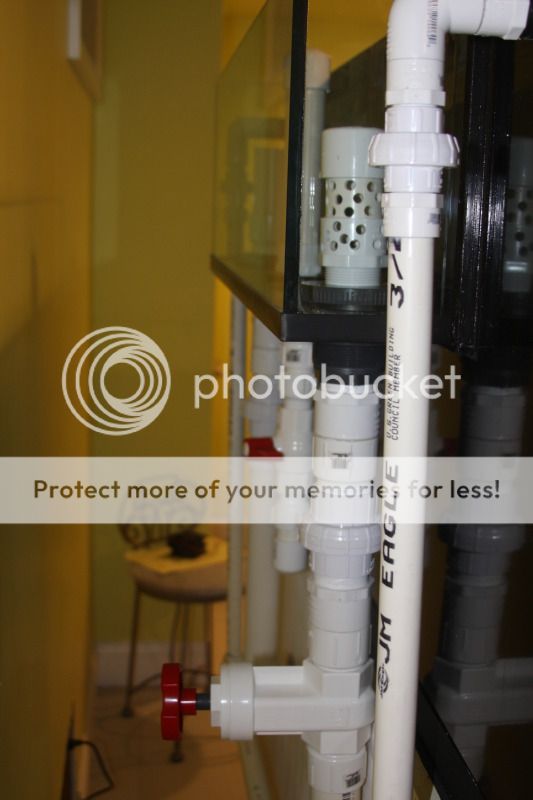
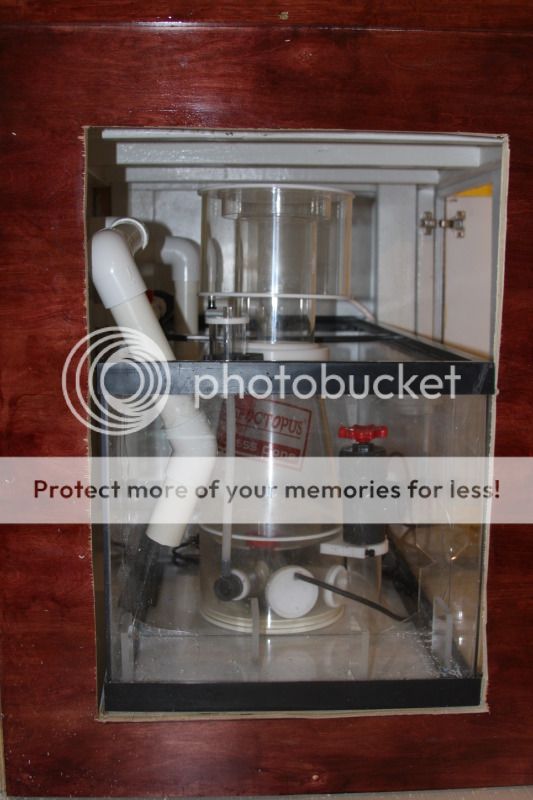
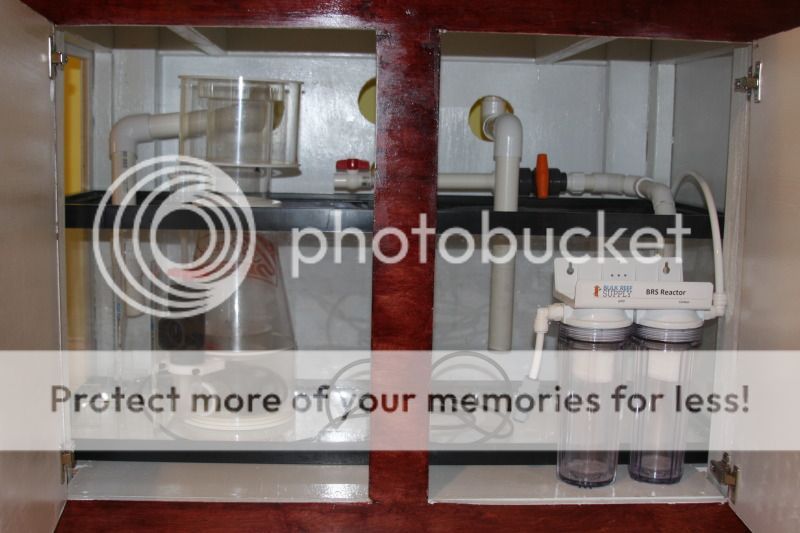
My sump is not done yet, my pump is not here yet, haven't order light yet. So yeah, probably will take that long, unless i just put in water and run it with fish. Have room to the left of the tank, there will be a wall, i can put sump behind that, thinking if i should.

no, i haven't run the leak test yet, hmmm, i probably should. Alrite, i'll do that tonight if i get away from stuff.
 

samksy

FISHING, I'M IN!!!!
Rating - 100%
346   0   0
That tank is really top of the line quality and heavy as hell. My back is still recovering :D

Thanks again Javy for coming. Without you, i think we'll be crushed! Yeah, that damn thing is heavy, i am concern how i'm going to get it out of the basement in a few years....hahhaha. How's your back feeling, recovered now?

Send you a PM on something else.

Tank looks great. Looking forward to seeing this one grow.

Dame I love the rimless.:thrash:

Thank you! Hopefully i can make it look really good, still a long way before i can get it up and running.
 

samksy

FISHING, I'M IN!!!!
Rating - 100%
346   0   0
Finally got some time to work on the plumbing. My goal is to have some nice and clean and simply plumbing that work. Since there is now three overflow holes in the overflow. I have decided to go with herbie style and use the 3 hole to drain to frag tank in the future.

Took Ming's advice and added a side door for easy access and to fit the sump under the tank, too much extra work if i had to put the piping behind the wall and that'll have to wait for 3 month rather have everything contained under the tank.

Overflow plumbing
plumbing1.jpg


plumbing2.jpg


And here's the mess.
plumbing3.jpg
 

samksy

FISHING, I'M IN!!!!
Rating - 100%
346   0   0
Beautiful tank i cant wait to see it running!
Thank you BxReef!!!!

Very nice, this makes me want a rimless tank
Thanks KuyaMark! They look hot!!! Cost an arm thought, but worth it.

love this tank looks great
Thanks jpellica! Hopefully i won't do a shitty job on putting it together. I keep telling myself it's the last reef tank so i don't screw up.

Sick tank! Can't wait to see it stocked with fish and corals.
Thanks Lenny! Glad you like it. Wish i can stock it up just like that. More update to come :)
 

ming

LE Coral Killer
Location
Flushing, NY
Rating - 100%
272   0   0
A couple suggestions.
The main drain should have the durso as low as possible. You'll have a gate valve on it anyways to raise the water to the next highest drain. All 3 looks kinda high.
Also, make 1 extra hole in the back of the stand to install a small computer case fan to vent the stand. It gets very humid and damp in there otherwise. constant damp wood = warp/rot.
Looking good otherwise.
 

samksy

FISHING, I'M IN!!!!
Rating - 100%
346   0   0
A couple suggestions.
The main drain should have the durso as low as possible. You'll have a gate valve on it anyways to raise the water to the next highest drain. All 3 looks kinda high.
Also, make 1 extra hole in the back of the stand to install a small computer case fan to vent the stand. It gets very humid and damp in there otherwise. constant damp wood = warp/rot.
Looking good otherwise.

Ming, really appreciate your feedback :thrash::thrash::thrash:
Will cut down the height of the main drain, how low should the main drain be? 1/2 the height of the overflow? and how much taller should the back up drain be? 1 inch, 2 inch compare to the main drain?

The middle drain is capped and sealed for future frag tank, so height won't matter for now.

I cut out a 4 inch hole between the two big drain pipe, it's kind of hard to see but it's on the first picture....will do just like how you did, blow air in to save the life of the fan.

Thanks and i welcome any comments and feedback guys!!! Don't want to redo it again. Input guys?
 

ming

LE Coral Killer
Location
Flushing, NY
Rating - 100%
272   0   0
I have the main drain right at the bulkhead, and I use a large strainer over it, (I actually cut out every other piece of plastic in the strainer so small particles are less likely to clog it. This is just a preventative measure against small fish/snails getting stuck in the gatevalve.)

The backup drain should be about 1" below where you think the tank water level will be. The further lower it is, the more splashing you will hear when water goes into the overflow box, the further higher it is, the less likely your overflow box will skim the surface water out.

Also, the center drain for your frag tank will likely have a slow leak to the floor unless the durso is glued to the bulkhead (which I don't recommend, durso should never be glued IMO). Instead, glue a ball valve under the bulkhead and turn it to the closed position.

Only last thing I can think of is, you might want to consider having more unions. If you ever decide to move certain plumbing around, you'll appreciate the fact you added unions for easy maintenance. I would add unions after each drain for starters.

Ming, really appreciate your feedback :thrash::thrash::thrash:
Will cut down the height of the main drain, how low should the main drain be? 1/2 the height of the overflow? and how much taller should the back up drain be? 1 inch, 2 inch compare to the main drain?

The middle drain is capped and sealed for future frag tank, so height won't matter for now.

I cut out a 4 inch hole between the two big drain pipe, it's kind of hard to see but it's on the first picture....will do just like how you did, blow air in to save the life of the fan.

Thanks and i welcome any comments and feedback guys!!! Don't want to redo it again. Input guys?
 

samksy

FISHING, I'M IN!!!!
Rating - 100%
346   0   0
I have the main drain right at the bulkhead, and I use a large strainer over it, (I actually cut out every other piece of plastic in the strainer so small particles are less likely to clog it. This is just a preventative measure against small fish/snails getting stuck in the gatevalve.)

The backup drain should be about 1" below where you think the tank water level will be. The further lower it is, the more splashing you will hear when water goes into the overflow box, the further higher it is, the less likely your overflow box will skim the surface water out.

Also, the center drain for your frag tank will likely have a slow leak to the floor unless the durso is glued to the bulkhead (which I don't recommend, durso should never be glued IMO). Instead, glue a ball valve under the bulkhead and turn it to the closed position.

Only last thing I can think of is, you might want to consider having more unions. If you ever decide to move certain plumbing around, you'll appreciate the fact you added unions for easy maintenance. I would add unions after each drain for starters.

Thanks dude! Very good advice.

I totally forgot about the strainer part. Make one out of pvc, the hole might be a little big but should work.

Add unions on all drain. Mounted the gave valve on the main drain right below the drain. The pipe are trim down a little, still adjustable so if need i can trim off extra on the pipe.

Add a ball valve for the future frag tank drain to prevent dripping.

Finish most of the plumbing under the tank. Did a T for reture and possible future add for a manifold, not sure if i'll be using it. So just a ball valve and it's close for now.

The sump needs to be fix up, needs to add baffle and just missing a return pump, as soon as that gets here, i can do a freshwater run and check for leak.


14.jpg


13.jpg


12.jpg


11.jpg
 

Sponsor Reefs

We're a FREE website, and we exist because of hobbyists like YOU who help us run this community.

Click here to sponsor $10:


Top